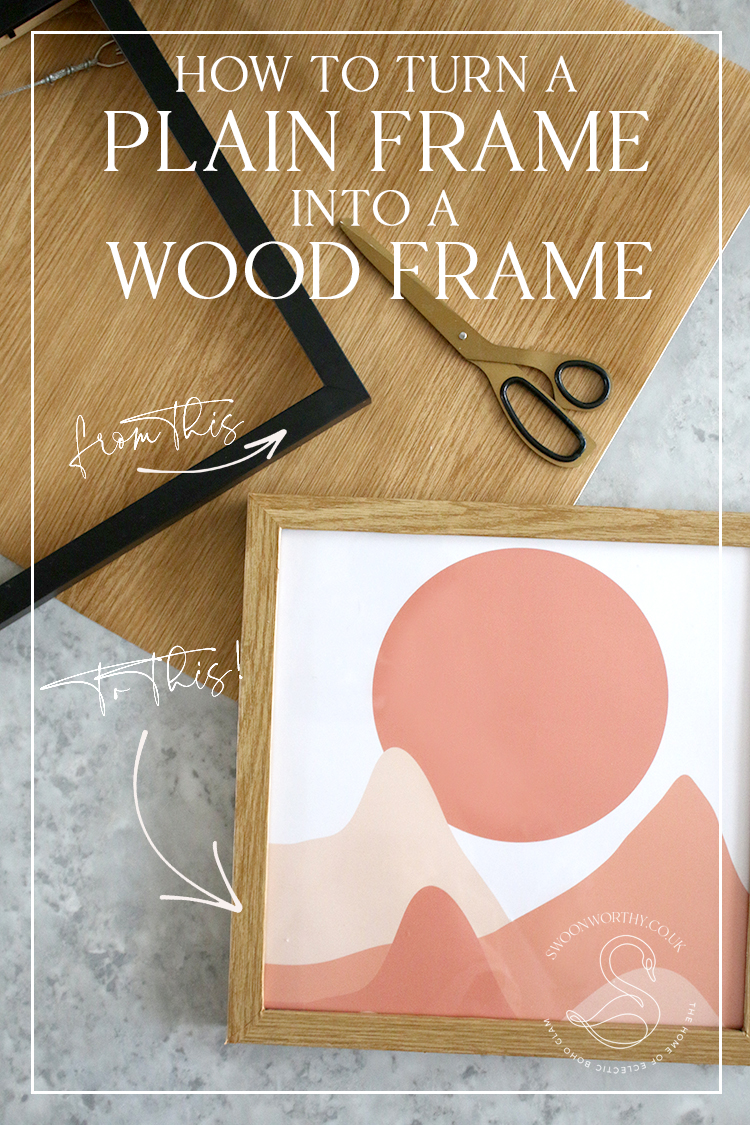
I’ve been looking for affordable ways to fill my home with art recently. I have a bunch of frames knocking around with prints that I either no longer like or don’t work with my colour schemes which I’ve slowly been filling with new pieces. Most of my frames are gold but recently, I’ve been purchasing some in a soft oak colour which I’ve really liked and worked well with the mix of gold or white frames I already own. But the black ones I owned weren’t working all that well. What I really wanted was more oak frames… but how do I turn a black frame into an oak one?
I decided to go back to an old favourite – sticky back plastic (or ‘contact paper’ as it’s called across the pond). Now, I’ve used sticky back plastic for so many things over the years, particularly the marble-effect and gold ones – from shelving, coasters and storage boxes to chests of drawers and vanity tops. I even covered a bread bin in it. So I figured there must be some out there that resembled a wood grain and it didn’t take me long to find it.
Wrapping the black frames in oak-effect sticky back plastic wasn’t too difficult but it did take a bit of trial and error to make it look as realistic as possible. I had a look at some of my existing frames and realised that the grain always ran lengthwise on each side and they all had mitred corners. So I knew that I had to incorporate this as I went to give them the best chance of making them look as though they were really made out of wood.
I am actually pretty happy with how they came out so I figured I’d share a little tutorial here on my blog just in case you have some plain frames that you’d like to turn into ‘wood-effect’ frames instead.
This post may contain some affiliate links which means if you click on a link and make a purchase, I may earn a small commission from the brand for the referral. I am not paid or asked to use these links. You’ll never pay more for clicking on these links.
Here’s What You Need
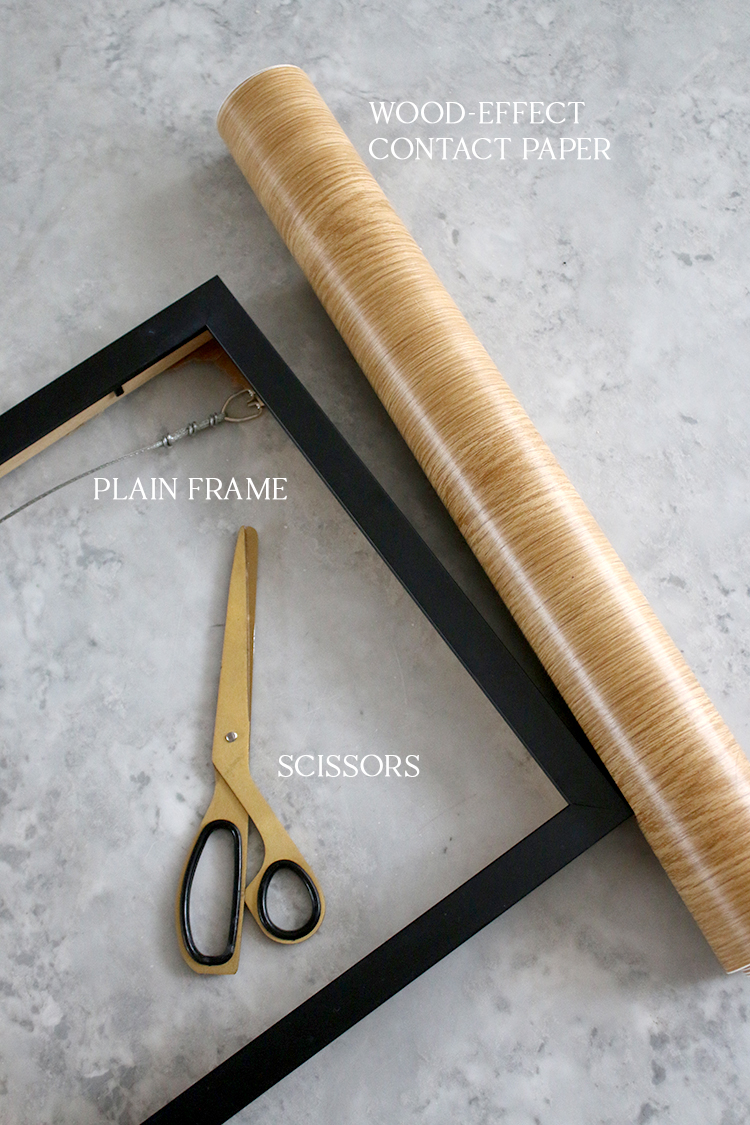
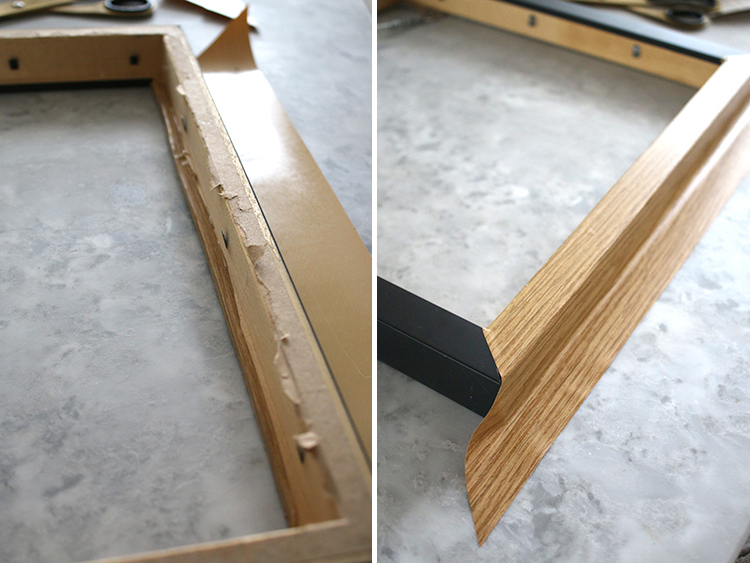
- Your plain (flat faced) frame with the glass, print and backing removed
- Wood-effect Sticky Back Plastic
- Scissors
- A Pencil
Plain Frame to Wood Frame Tutorial
Step One
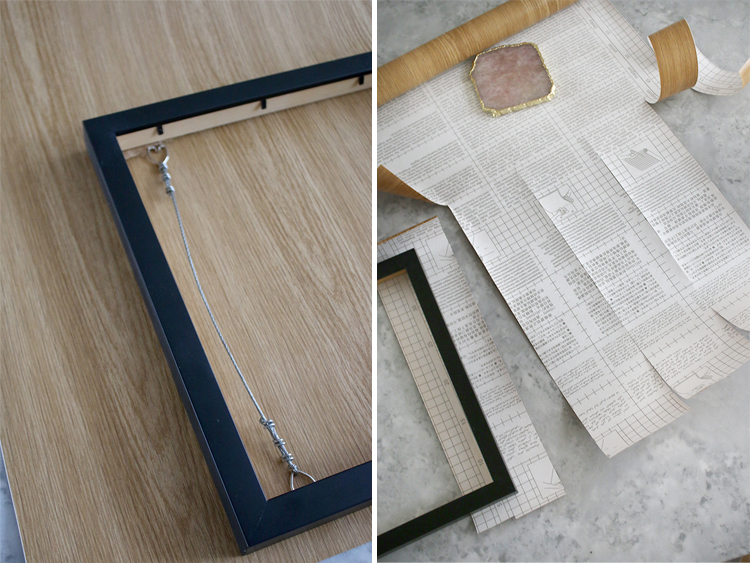
The first thing you want to be sure of is that the grain is going the right way for each side of your frame. The grain should follow vertically down the frame (rather than run across horizontally) so you’ll want to cut each side of your frame so that you have 4 individual pieces.
Make sure you have enough to wrap fully around the frame on both sides. You can always trim the piece in situ if you find you have too much.
Step 2
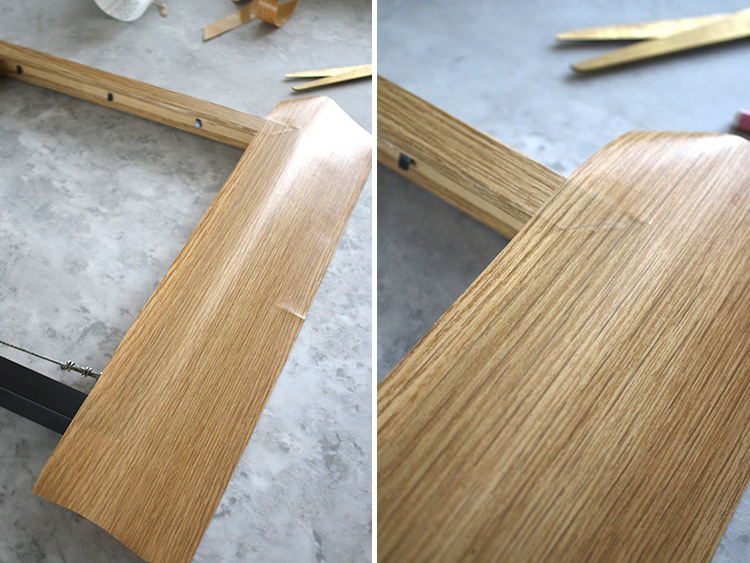
Take the backing off your first piece of sticky back plastic and place it on your first side, making it sure it’s straight and you have enough to wrap it around to fully cover the front and sides. Draw a light pencil mark at a 45 degree angle where the two sides of the frame come together. This will ‘fake’ the look of a mitred corner. Lightly lift the paper and cut across at this angle on each side of the sticky back plastic.
Use your nails or a plastic card (a debit or credit card will do!) to ensure the front is stuck well against the front of the frame, running it along the entire length to make sure there are no bubbles.
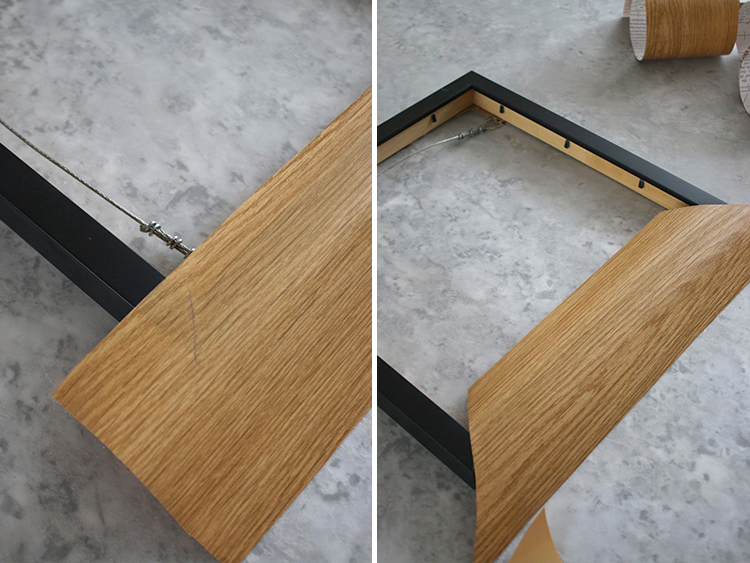
Step 3
Flip the frame over and wrap the frame tightly and securely around the inside lip of the frame as seen in the top left image, again, using your nails or a card to ensure it’s stuck down with no bubbles. Then flip the frame again to the front and stick down the sides, making sure there are no bubbles under the paper. If you find you have a few bubbles, gently lift and resecure down. You want to ensure the front and sides (the parts you’ll see when it’s hanging) look as perfect as possible – the back is not as important!
Step 4
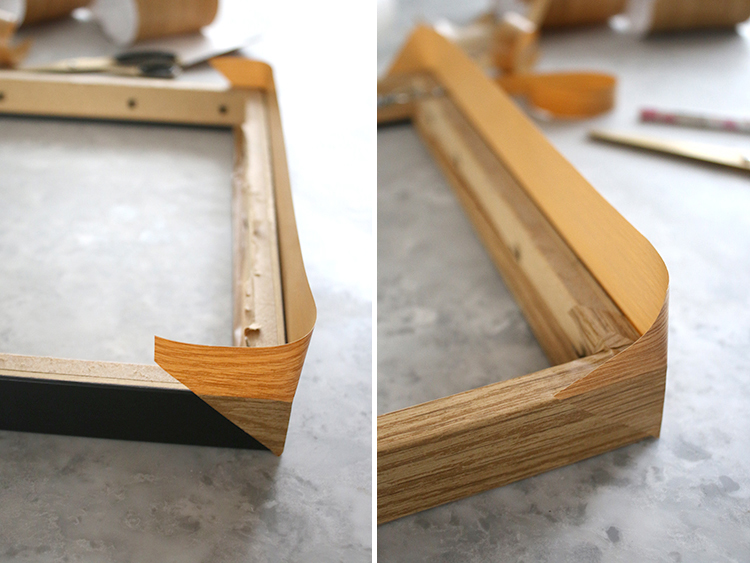
So for this next step, I ended up changing up slightly how I did it so apologies if the images are confusing. Flip the frame around again and what you will have is the image on the left above. I initially folded this entire piece in but it ended up looking a bit bulky in the corner so instead, I trimmed that corner piece into a triangle as seen on the right just to remove the excess.
You’ll then fold in the top of the triangle just like you would when wrapping a present and then you can stick the entire back down as above.
Do the same for both sides and then stick the last part on the back. You want to make sure you aren’t covering those little tabs that hold down your backing so if you find your piece is too wide, just trim it with your scissors.
Step 5
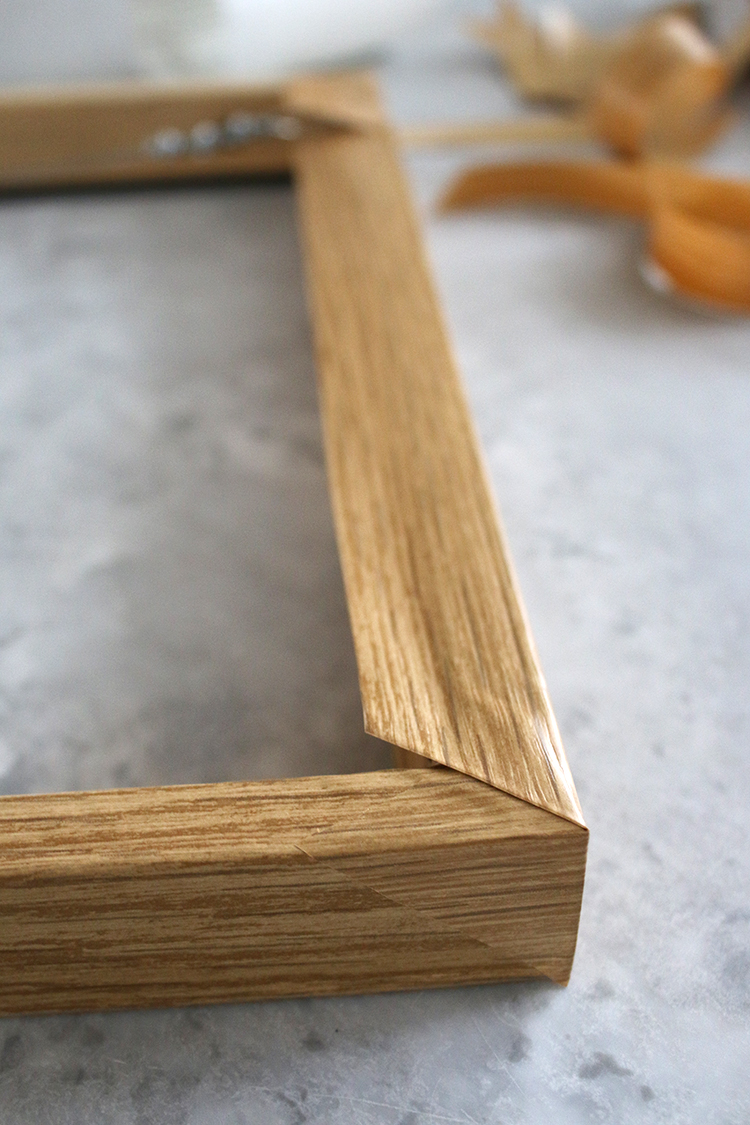
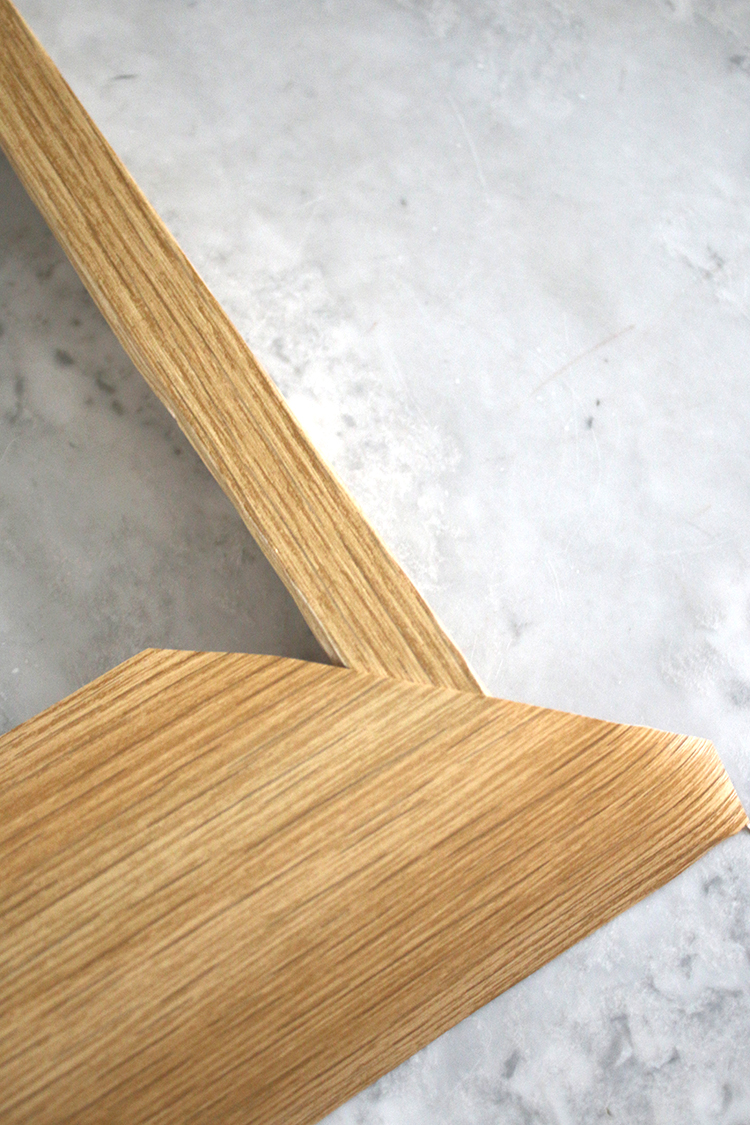
Now you are going to repeat these steps for each individual side of your frame. Make sure when you cut your corners that each piece sits flush with the previous one so you get a nice mitred corner. I tended to overlap just a bit so there were no gaps showing where the paper meets.
Continue to stick down in the same order as your first one. Front first, then wrap around the front lip, then the side and then the back last.
Step 6
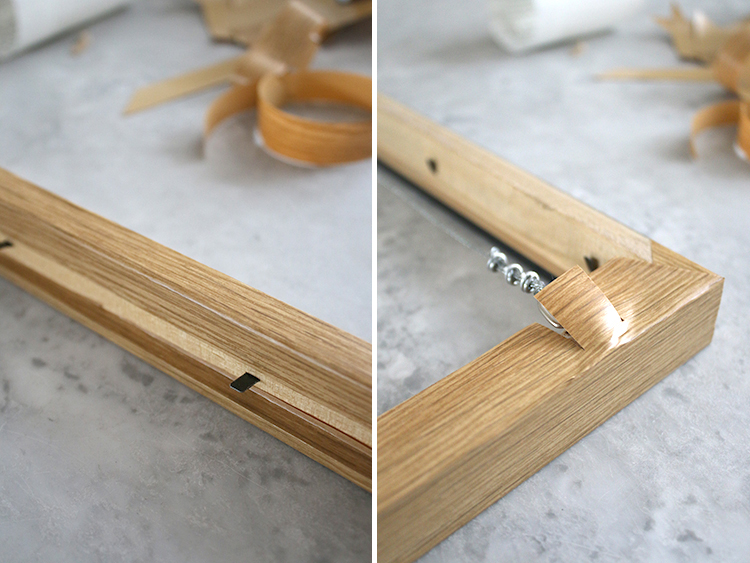
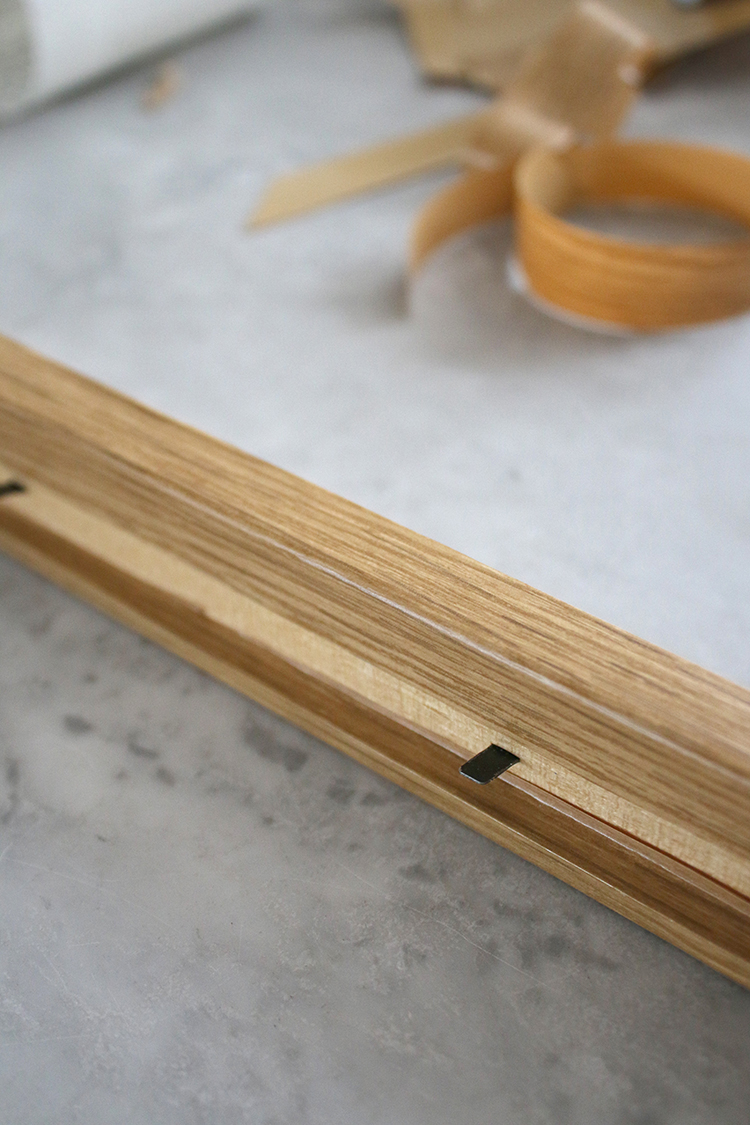
Finally, if you have hangers already present on the back of your frame, simply cut out a notch around the paper to allow for it and stick down fully around it.
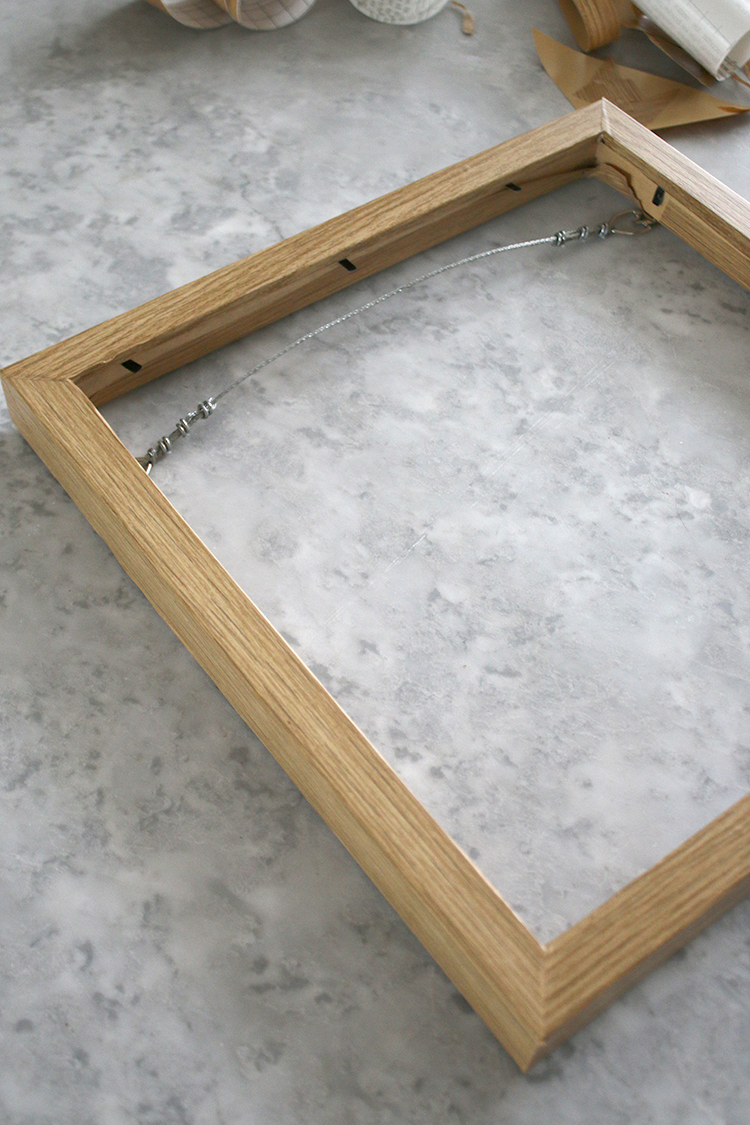
Once you’ve repeated all the steps above for each side, the front of your frame should look like this! Now you can put the glass, your print and the backer back into the frame and you’re all done!
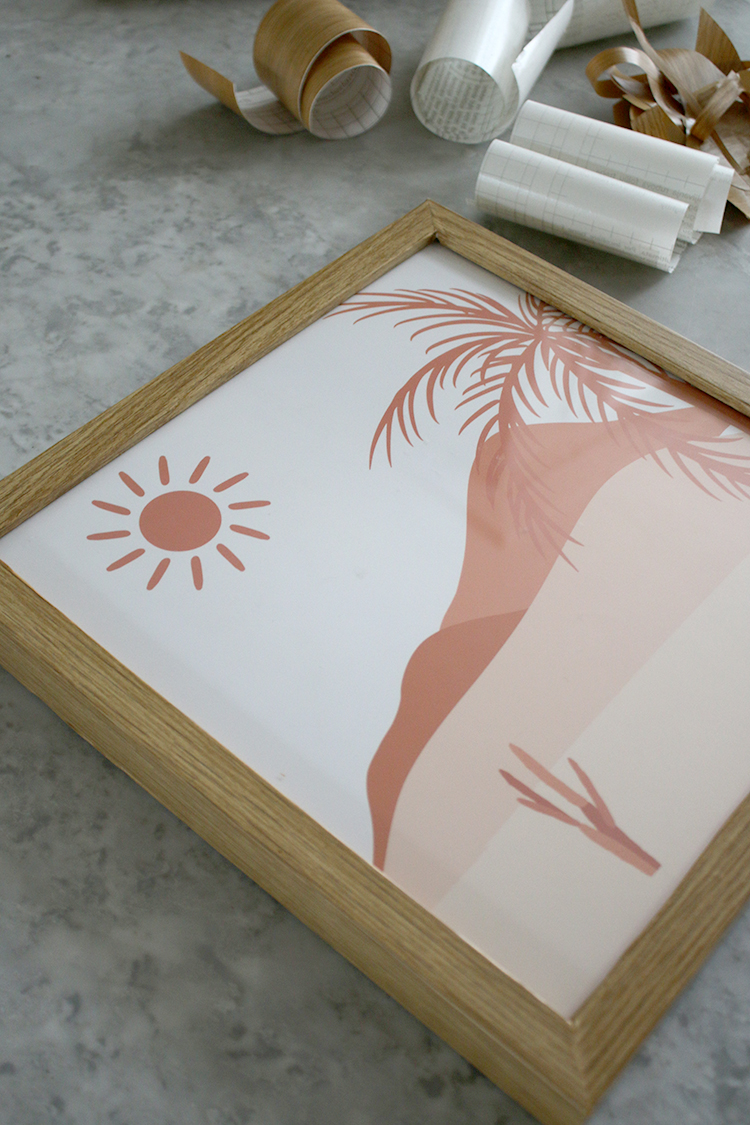
Pretty realistic, don’t you think?!
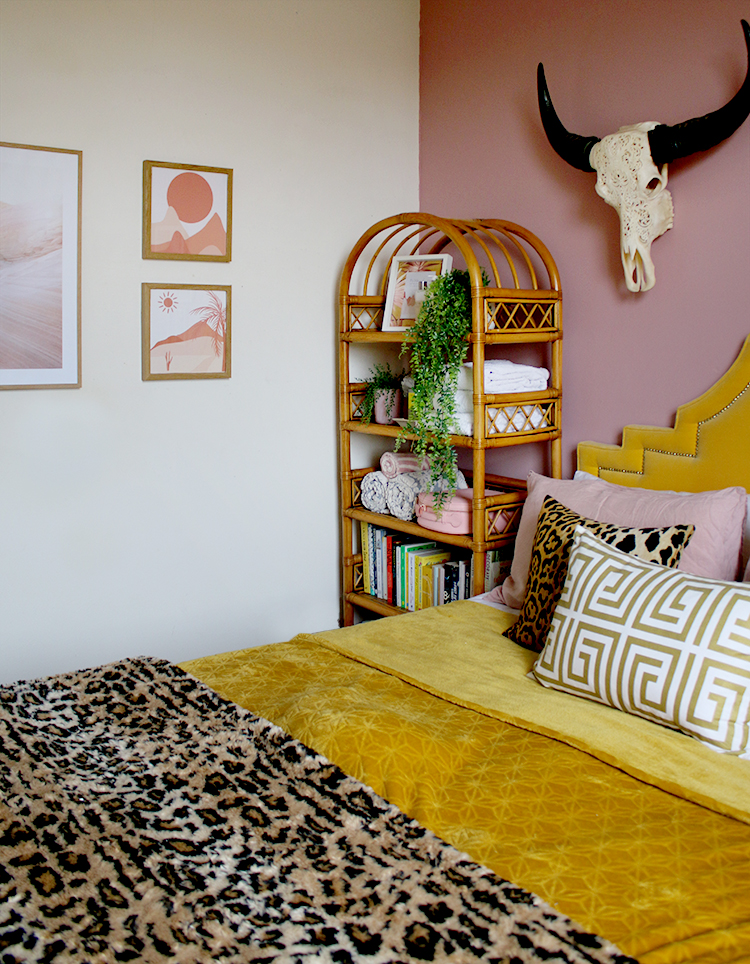
I’ve hung these in the guest bedroom for now as you can see and next to my other (real) wood frames, it’s hard to tell the difference! (Also, if you can find the cat in the picture above, I’ll give you 5 bonus points – yes, I just made the bed around her as she wouldn’t move when I took this shot! lol)
I hope you found this tutorial helpful. I only used a very small amount of the sticky back plastic I purchased to do these two frames so now I’m looking for more projects where I can use it! I’d love to know what you think and if you have some frames knocking around that you want to turn into wood? Let me know in the comments.


I can’t believe how fab these look, a brillant way to reuse what you already had. They look great against your other frame and you can’t tell.
Ive never known a kitty who loves to be wrapped up like she does💕💕💕
This is such a fabulous idea – I’ve been having a similar issue and can’t wait to get upcycling!
Emma | HarmonyBlaze.co.uk
These worked very well and look like the real thing!