Back in February, I dreamt I’d moved into an old dilapidated apartment (or maybe it was a house, I’m not sure) but the kitchen had all this orange pine panelling and strange sliding cupboard doors. It was old and out of date and quite frankly, pretty ugly but in the dream, I had plans. I was going to take out the upper cupboards, put in shelving and add hooks along the wall, paint the panelling in white and another section in pink… halfway through my fervent planning, I woke up.
I did not have any sponsors on this project but this post may contain some affiliate links. You will never pay more for clicking on these links but I may earn a small commission from the brand for the referral. I have not been asked to use these links by the brands.
I had a strange feeling of both relief and disappointment when I woke. I was so excited about turning that crappy kitchen into something prettier and more practical with just a few inexpensive changes that I was a little gutted I couldn’t actually carry out my plan! Well, if nothing else, it re-awoke my urge for a fun DIY project. I’ll be totally honest, I haven’t really felt the urge to make big changes to our house. Renovation work can be both costly and disruptive and I hadn’t the headspace nor the budget for it for quite a while. My head was already ‘full’ with getting my fledgeling luxury candle business off the ground and money was a bit tight considering I’d pooled my savings into the new business.
We do have plenty left to do in this house but they are all big jobs – the hallway needs a total overhaul, the main bathroom is another big (but not urgent) job on the list. Otherwise, we still had the old kitchen/utility room. The new kitchen had been created on the other side of the house so this one was being used as a utility room but its remodel was another really big job – ripping everything out, updating the ancient electrics, constructing walls and adding a downstairs loo. I wanted a small, fun job, not a major project. And so I dismissed the dream, thinking maybe I could tick off something easier on my list like repainting the bedroom or adding panelling and repainting the living room.
Then, during this time I ordered all the tube packaging for every new Swoon Worthy scents candle that I’ll be releasing this year. I have to buy all of the packaging in one go due to the minimum order quantities of my manufacturer. The issue with this, of course, is that I then need to find space for the 8 huge boxes that were arriving imminently. We needed to make some space and quickly.
About a month ago, Wayne agreed that we needed to lose the old refrigerator in the utility – we weren’t using it and it took up valuable space. So it was moved to our outhouse awaiting being picked up for recycling and I decided a big cleanup and clear out of the utility was long overdue. Let me tell you something, friend… this was AFTER I cleaned up. Yep, it was that bad.
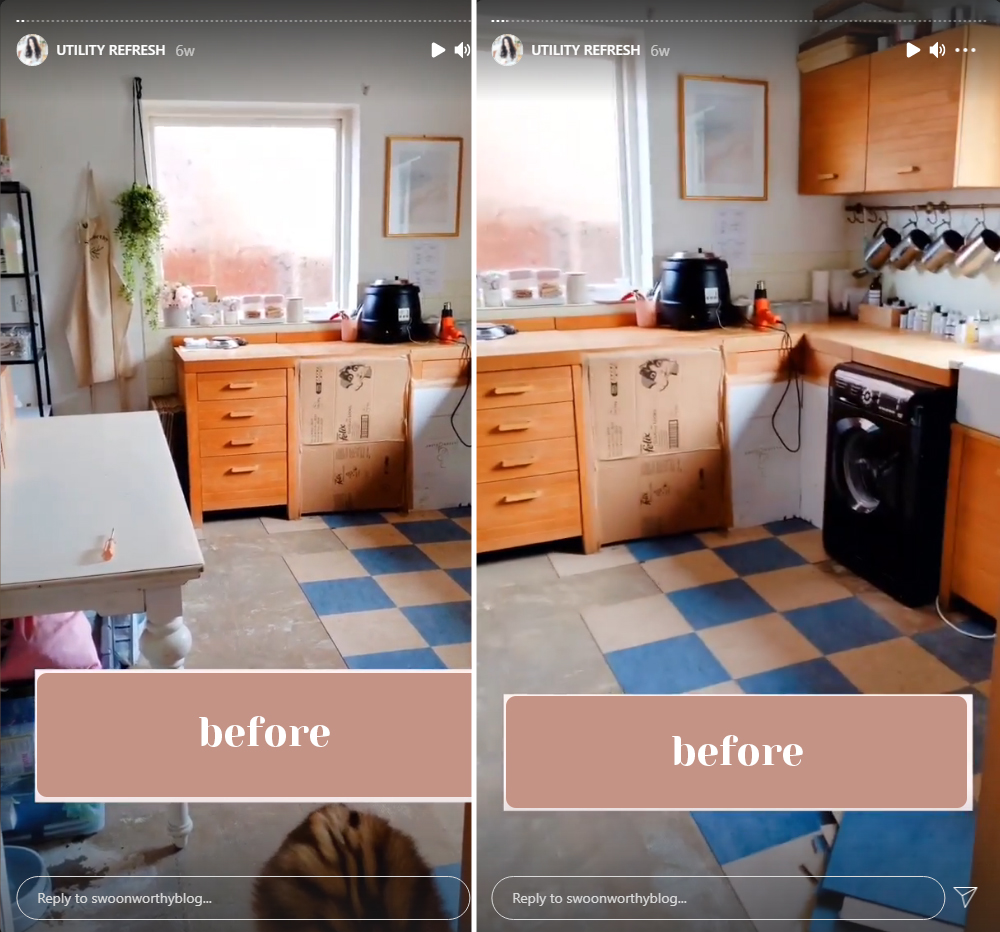
This was when I decided to start sharing the process over on Instagram. Note the horrible blue and cream vinyl tiles I was mid-way through ripping up and yes, that is cardboard over the cupboards – classy!
I wish I had proper ‘before’ pictures of this room (these are all just screen grabs from Instagram Stories) but to be honest, I hadn’t really planned to do much in there aside from a bit of a clean up so we had some space for storage (after all, I had no intention of blogging about it so why take ‘before’ pictures?). But this clean up sparked an idea. Whilst I pour all my candles on the big island in our new kitchen (not only is there more room, but it is also a bit warmer in there and the wax sets better in a warmer space), the actual mixing and making takes place in the utility room. And honestly, it was pretty grim in there and not the most inspiring workspace.
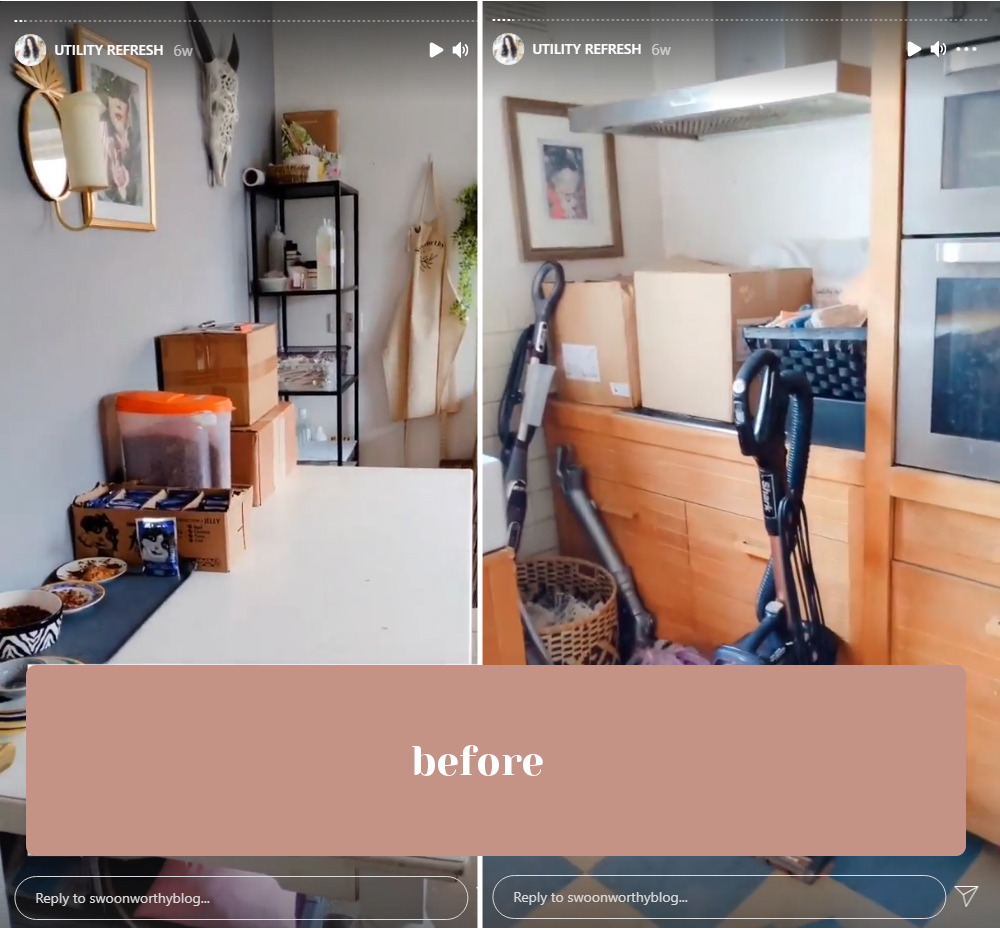
As you can see from the screengrabs, the space had long become a dumping ground. Part candle studio, part utility, part ‘pet area’… it was so horrible and neglected, it had become one of those spaces you just try to forget really exists. Except you can’t because you use it every single day.
So as I was cleaning, removing the cobwebs that had appeared in the corners and the dust that had settled into the areas of the room we never used as well as rejigging my workspace and ridding the room of extraneous rubbish, I thought about how long it will likely be before we can really tackle the space properly. Months, easily, I thought. We didn’t really have the thousands of pounds we’ll need to bring it up to the standard we’d like to but it was a little depressing thinking about living and working with it as it was for the next 6 months at a minimum!
And so I decided a bit of a refresh was in order. I work in there every week making candles, we are in and out of the space all the time as we feed the pets in there, it’s where our washing machine is – it’s not a room that can easily be ignored, it’s valuable space! Plus, this room sits directly across the hall from our lovely new kitchen which – let’s be honest – was a depressing view from the kitchen.
I shared all my updates over on Instagram so if you’d love a blow by blow of each thing I did in the order I did it, then head over there and click on the Utility Refresh and Utility 2 highlights.
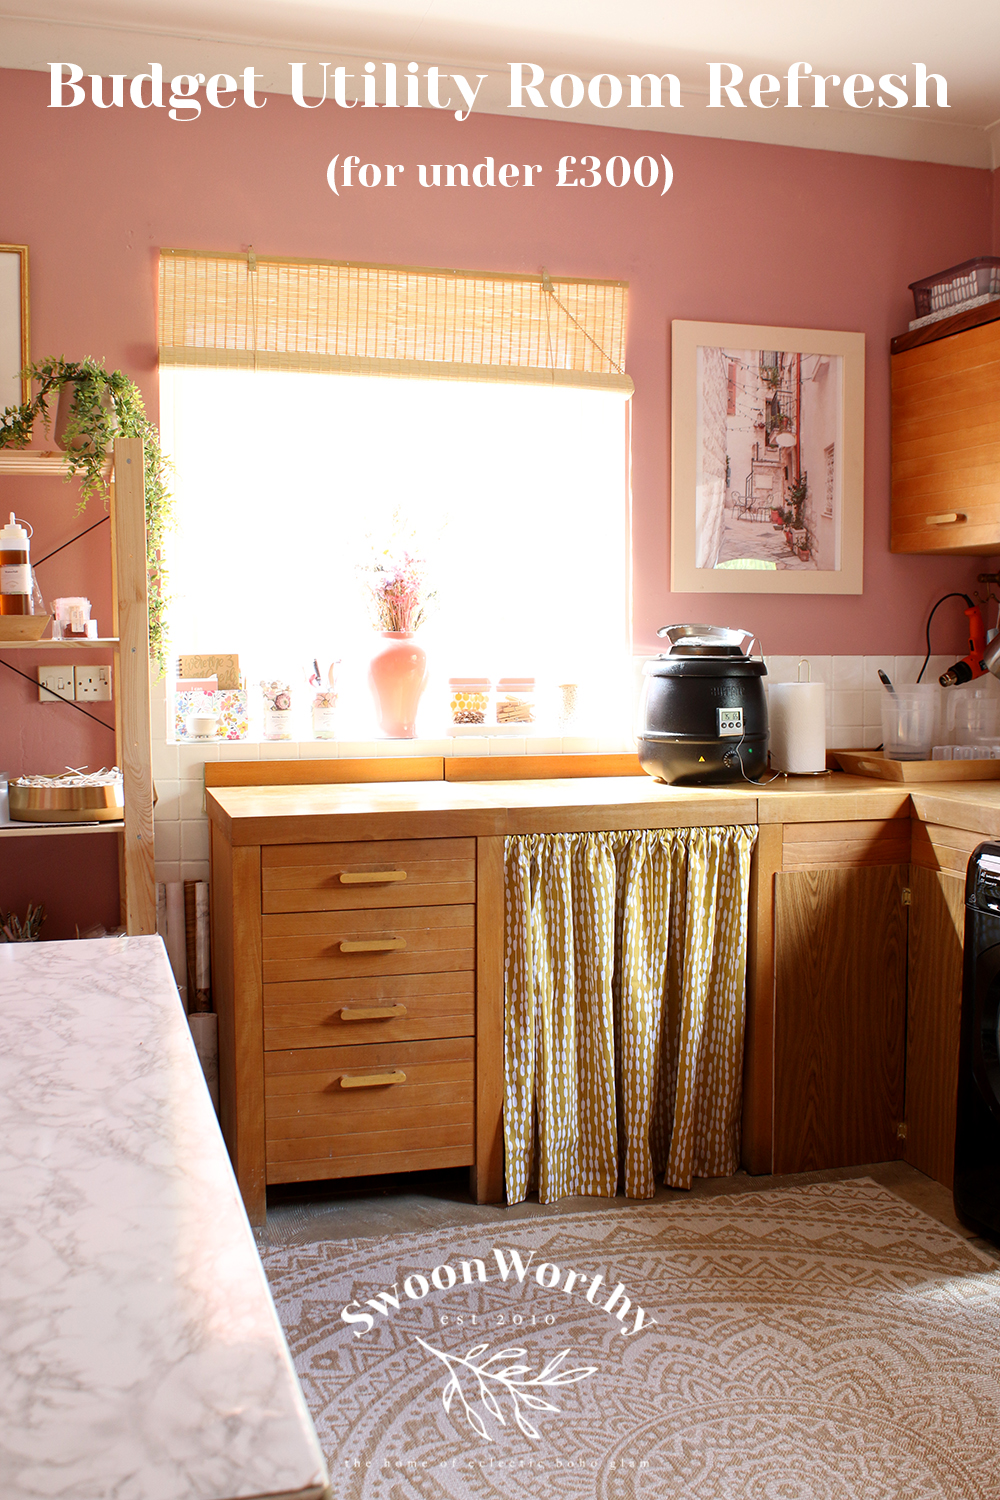
Of course, I’m going to share the pictures of the finished space now and talk you through what I did!
I knew a bit of paint would brighten things up and some simple storage solutions were in order. I didn’t want to spend a lot of money, I just wanted to make it liveable enough to buy ourselves time until we could really invest the money and time to do it all up properly. As you saw from my screen grabs, the first step was ripping out old blue and cream vinyl flooring which was stained, tired and peeling in various areas. I decided I’d rather just live with the concrete flooring than that awful floor anymore.
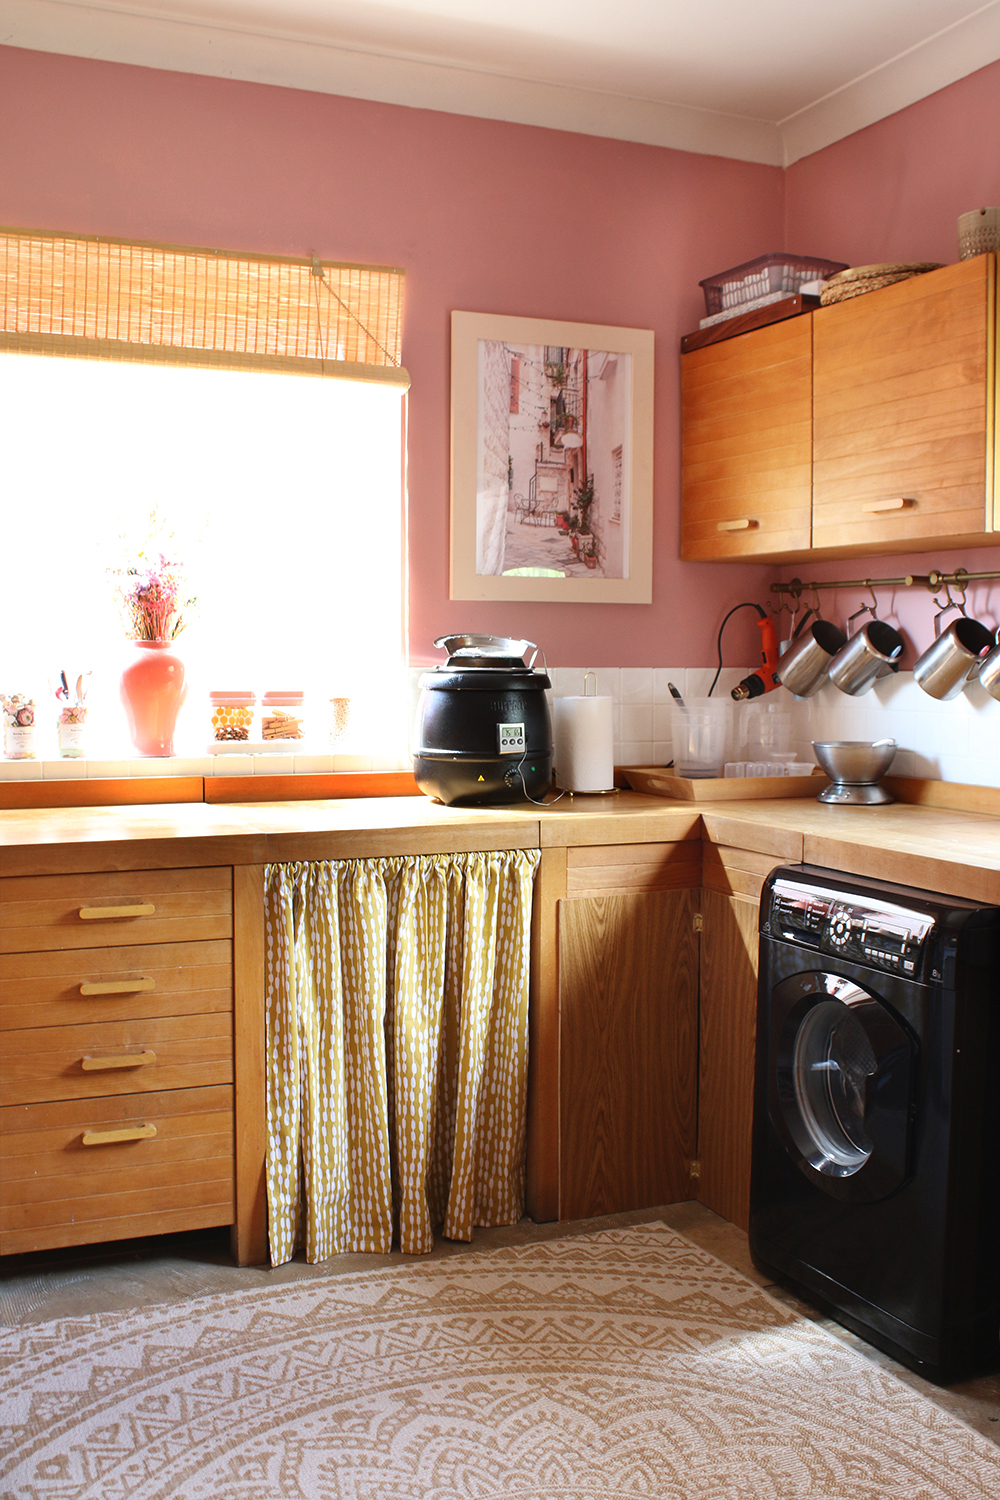
I ended up choosing a cute indoor/outdoor rug from Benuta in soft browns to add a touch of pattern to the floor which covers most of it anyway.
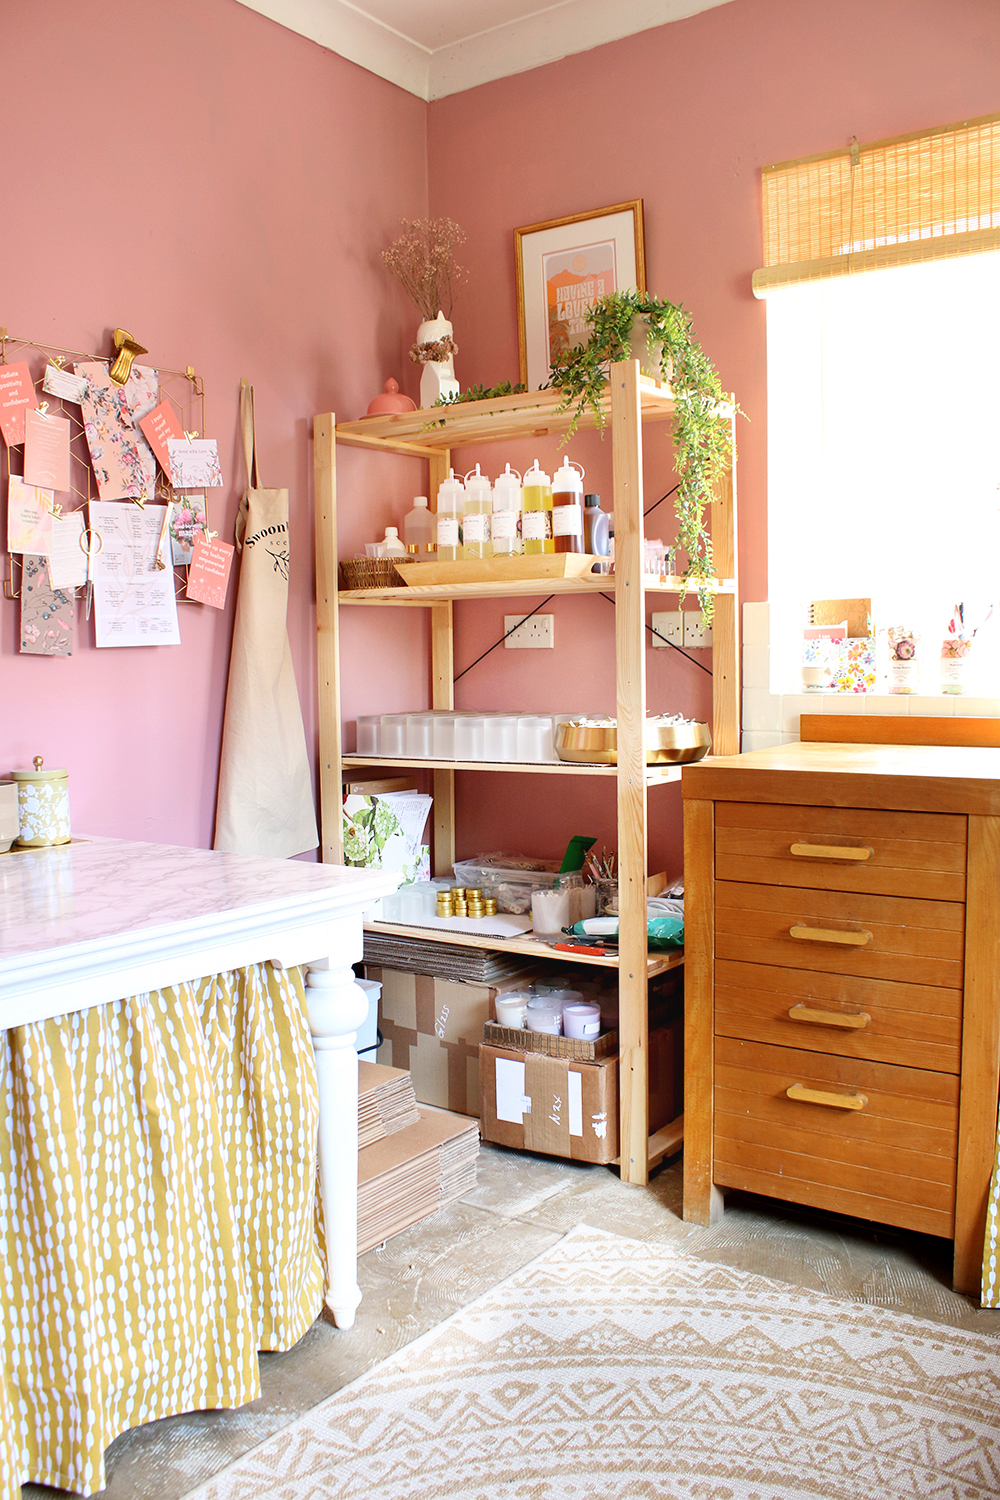
I painted the walls with an old favourite: Little Green Paint Company’s Intelligent Emulsion in Hellebore. If you’ve followed my blog for a while, you’ll recognise it’s the same colour I used in my little makeup/vanity room and the feature wall in our guest bedroom. It’s a warm, rosy hue that I already loved and as I didn’t want to spend a lot of time choosing something different or buying a bunch of testers, I thought I’d stick to what I knew would work. Sometimes it’s easier not to reinvent the wheel, ya know?
So whilst the walls were painted a lush pink, I also painted the tiles in here, something I’d never had a chance to try before. As it turns out, tile paint is an excellent way to freshen up old tiles – they turned out beautifully white and I couldn’t be more impressed with the glossy finish. This is the product I used.
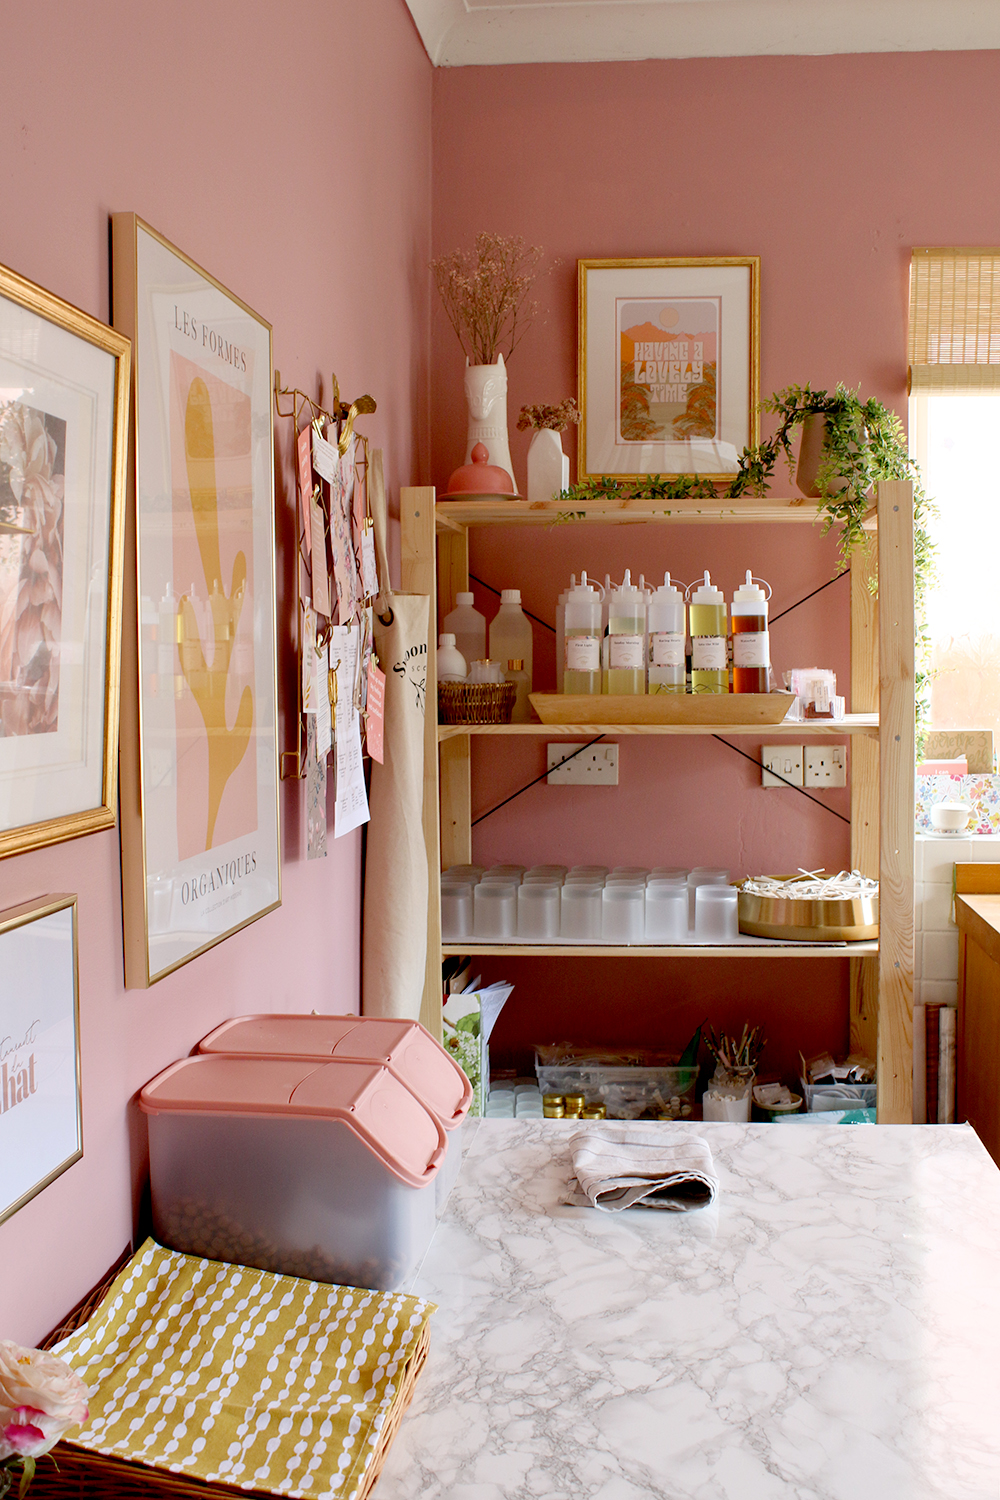
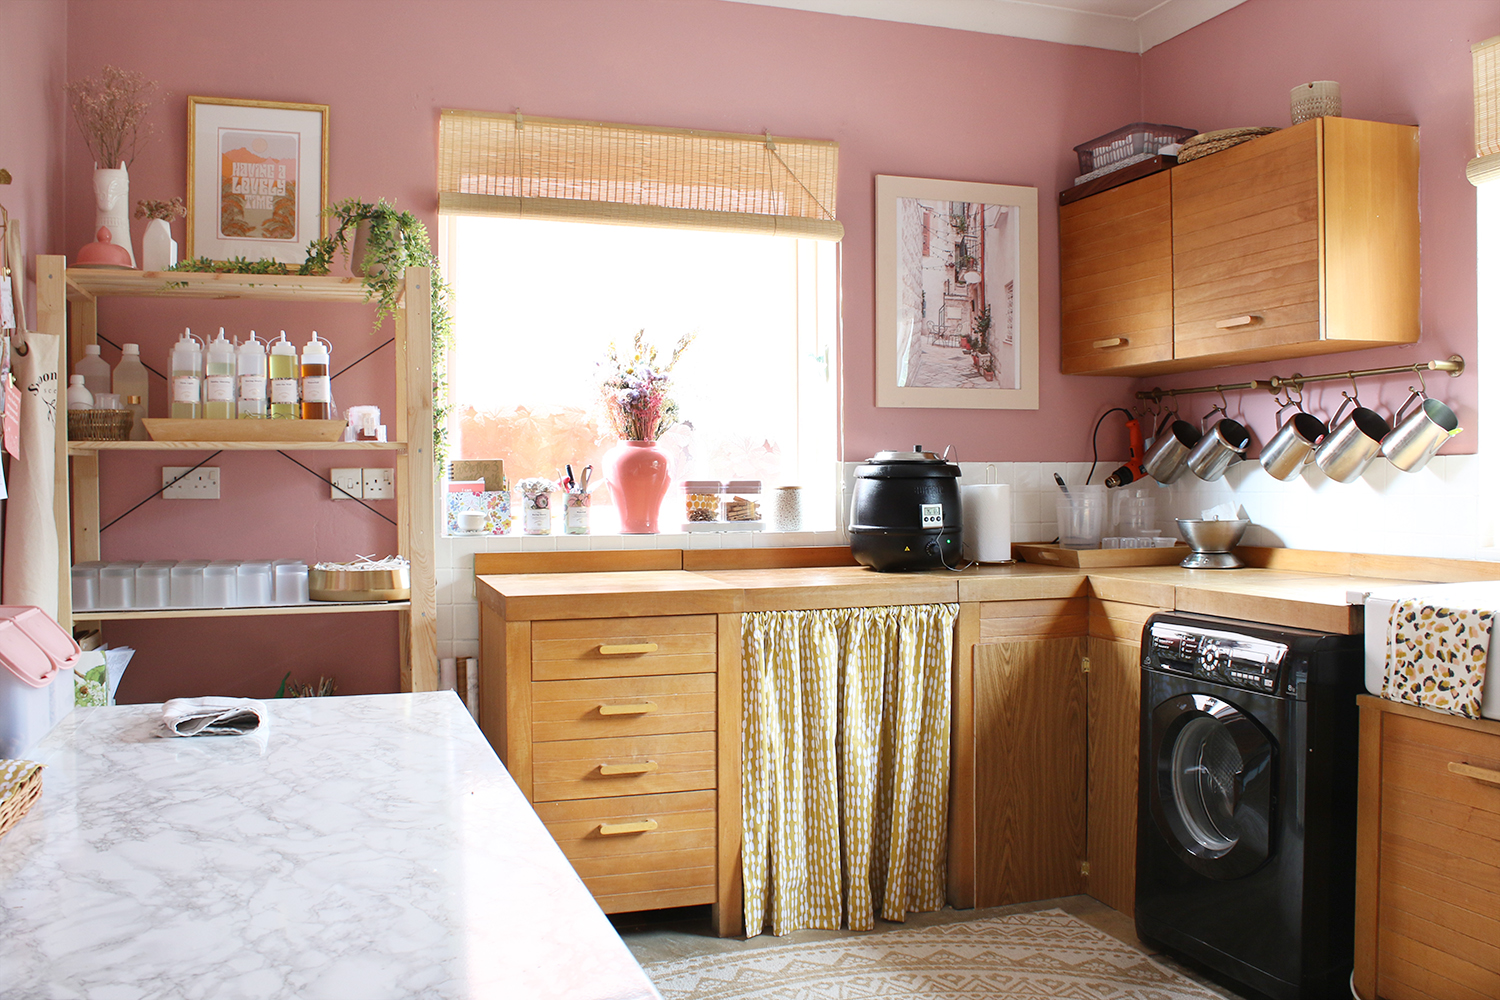
I also purchased a wood storage unit from B&Q for under £50. It made the most of the space left behind once the fridge was moved and is where I am storing all the items I need for candle making in reach. Suddenly the view from our kitchen was getting much better.
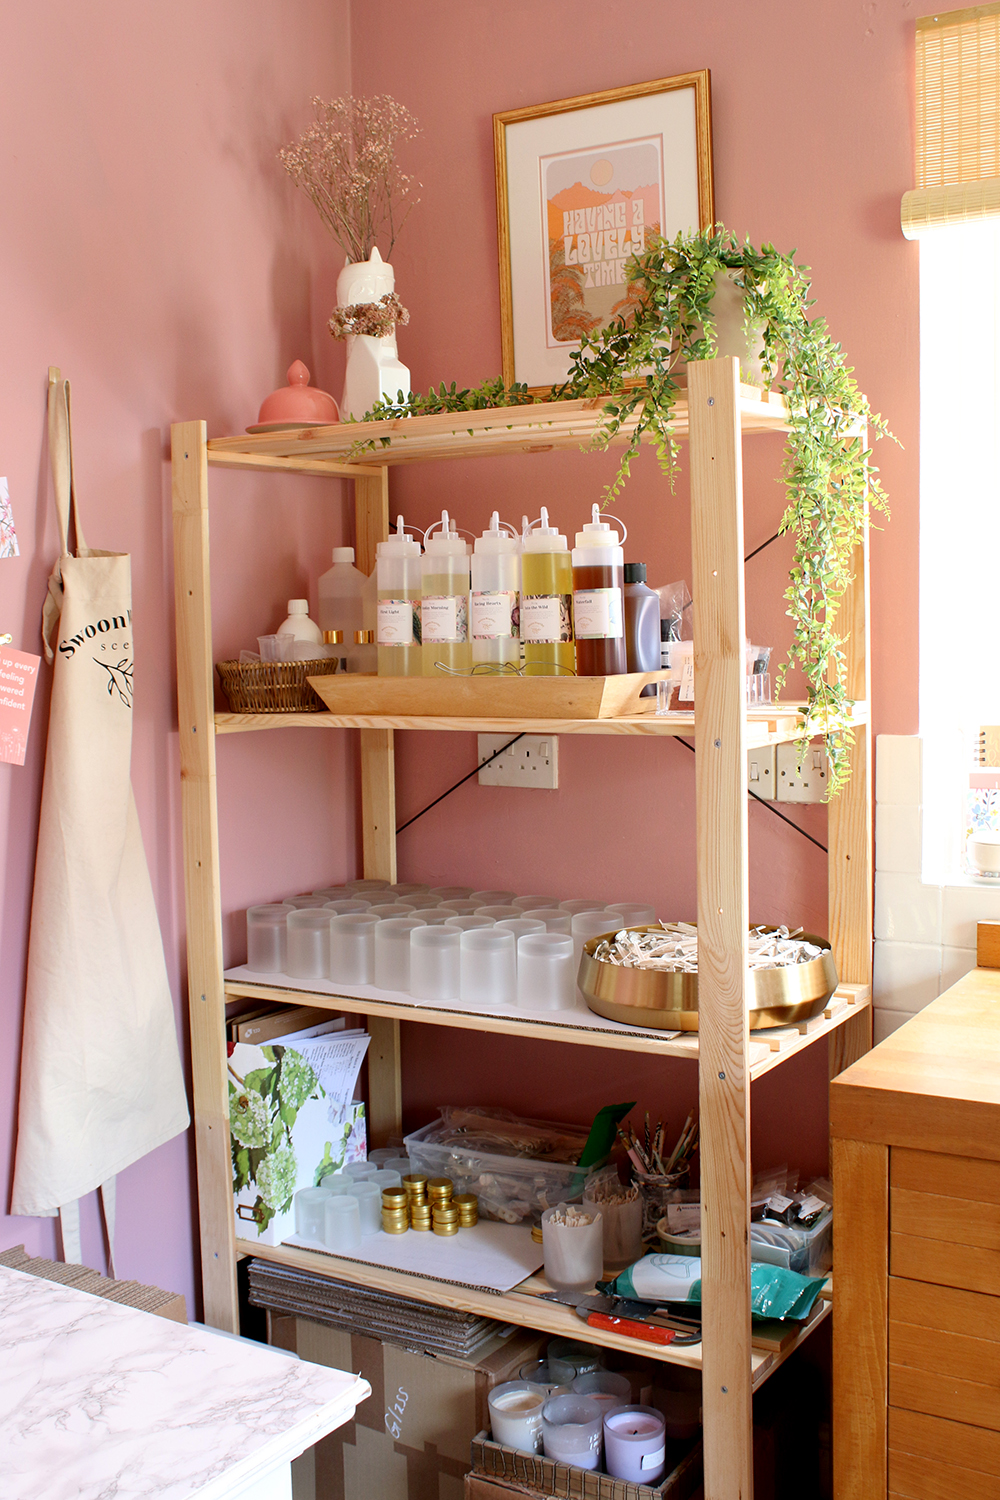
For above the storage unit, I purchased a new print from OMG Kitty, a lovely Midlands-based illustrator. I adore the boho 70s vibe of the print and it reminds me I do have a lovely time when I’m making my candles!
As these things go, I’d only intended to throw some paint on the walls and be done with it but the more I did, the more I realised needed doing – its always a bit of a snowball effect as you freshen up one part of the room, the crappy parts just stand out even more in contrast!

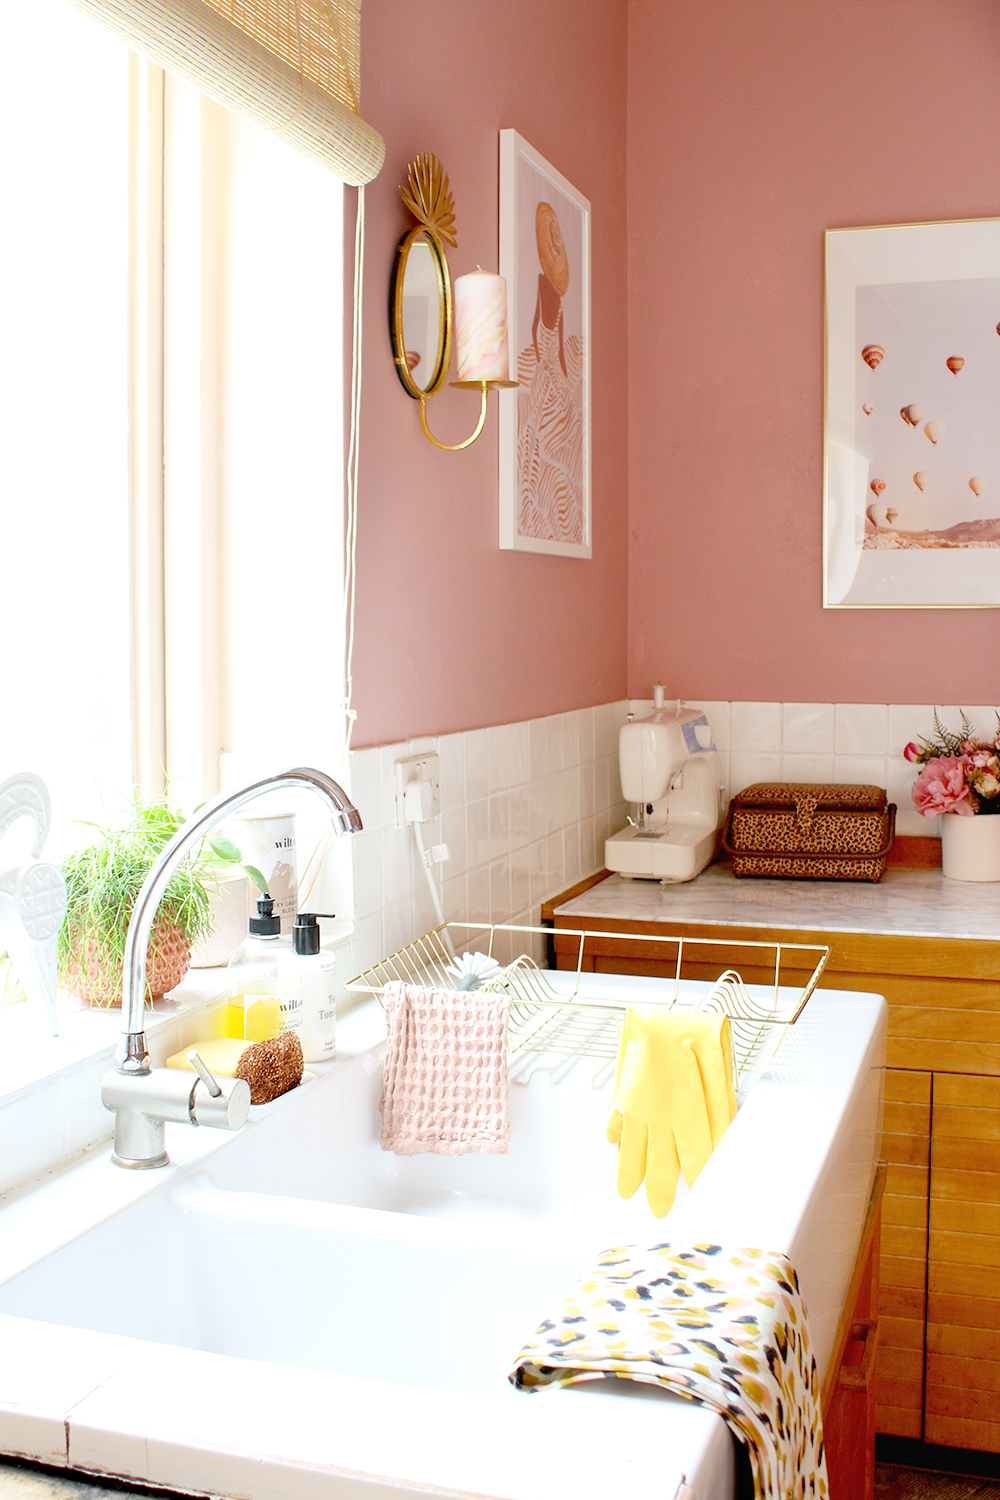
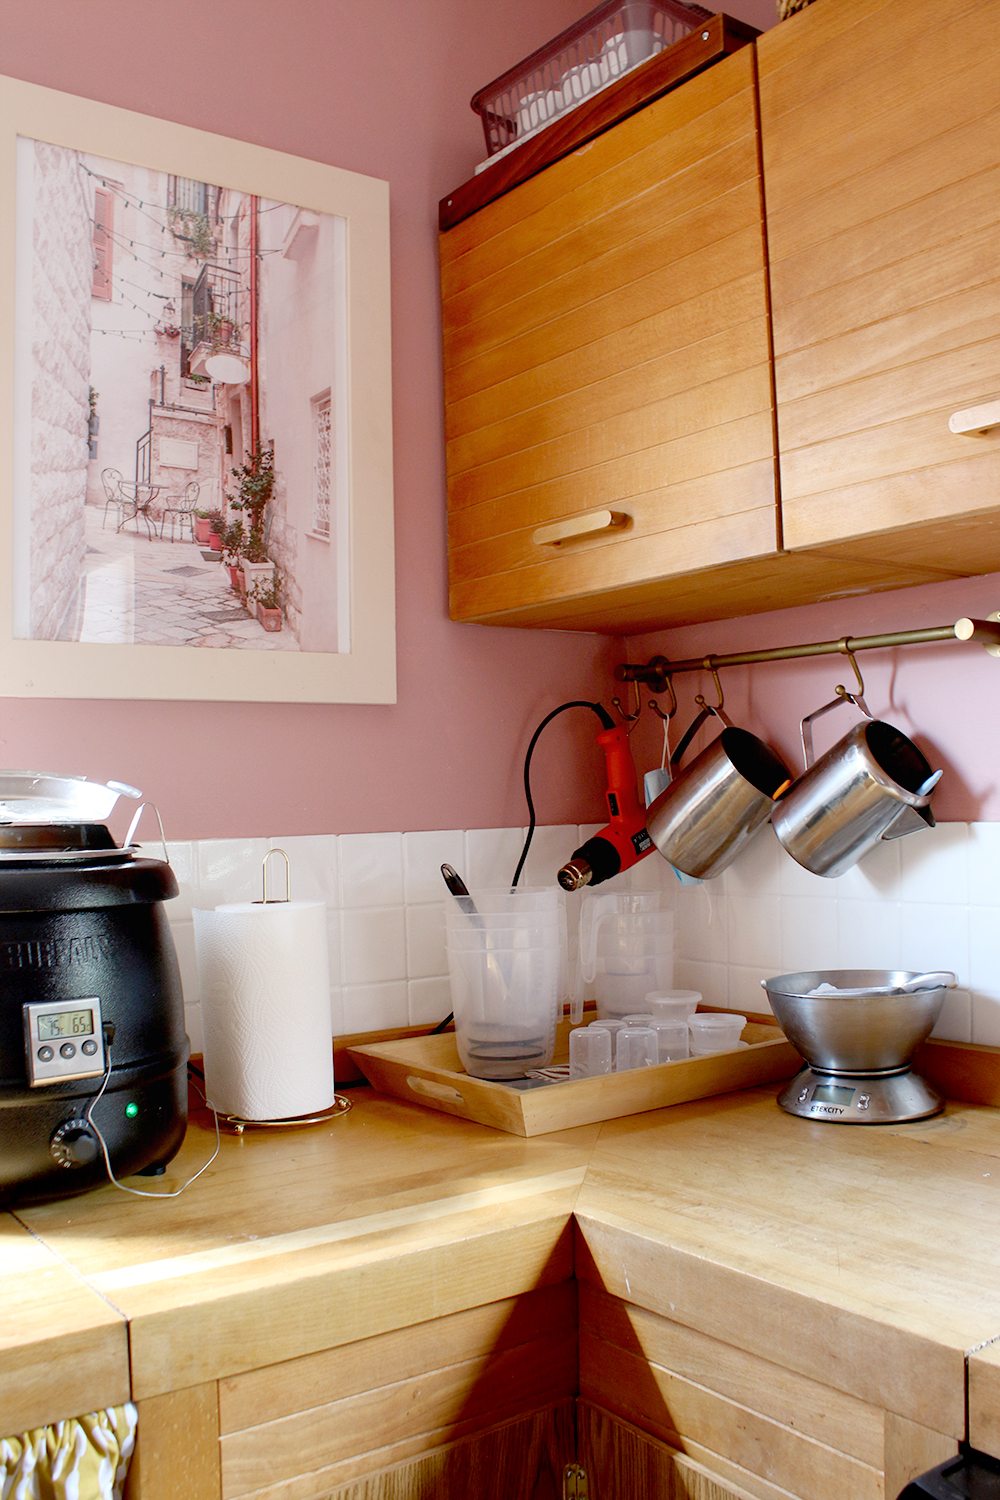
We realised quite quickly that the extractor fan and hob were totally redundant as we no longer cook in here. Once those were removed, I patched up the walls and painted them and I used a piece of MDF cut to size and covered in marble contact paper to cover the resulting hole in the top of the cupboard where the electric hob used to be. It’s now a nice little spot to store and use my sewing machine. The tall oven unit has yet to move out of the space but we’re planning on removing the ovens and using the unit in a very large new shed we just had delivered (more on that one soon) for storage. It’ll just open the room up quite nicely! Of course, I’ll have to fill the walls and paint the area behind the unit but that will probably happen over the next couple of weeks.
The two prints you see in the “sewing corner” are from Desenio. I already had the frames handy so thought a few new prints in the soft pink/peach/brown shades of the room fit in nicely.
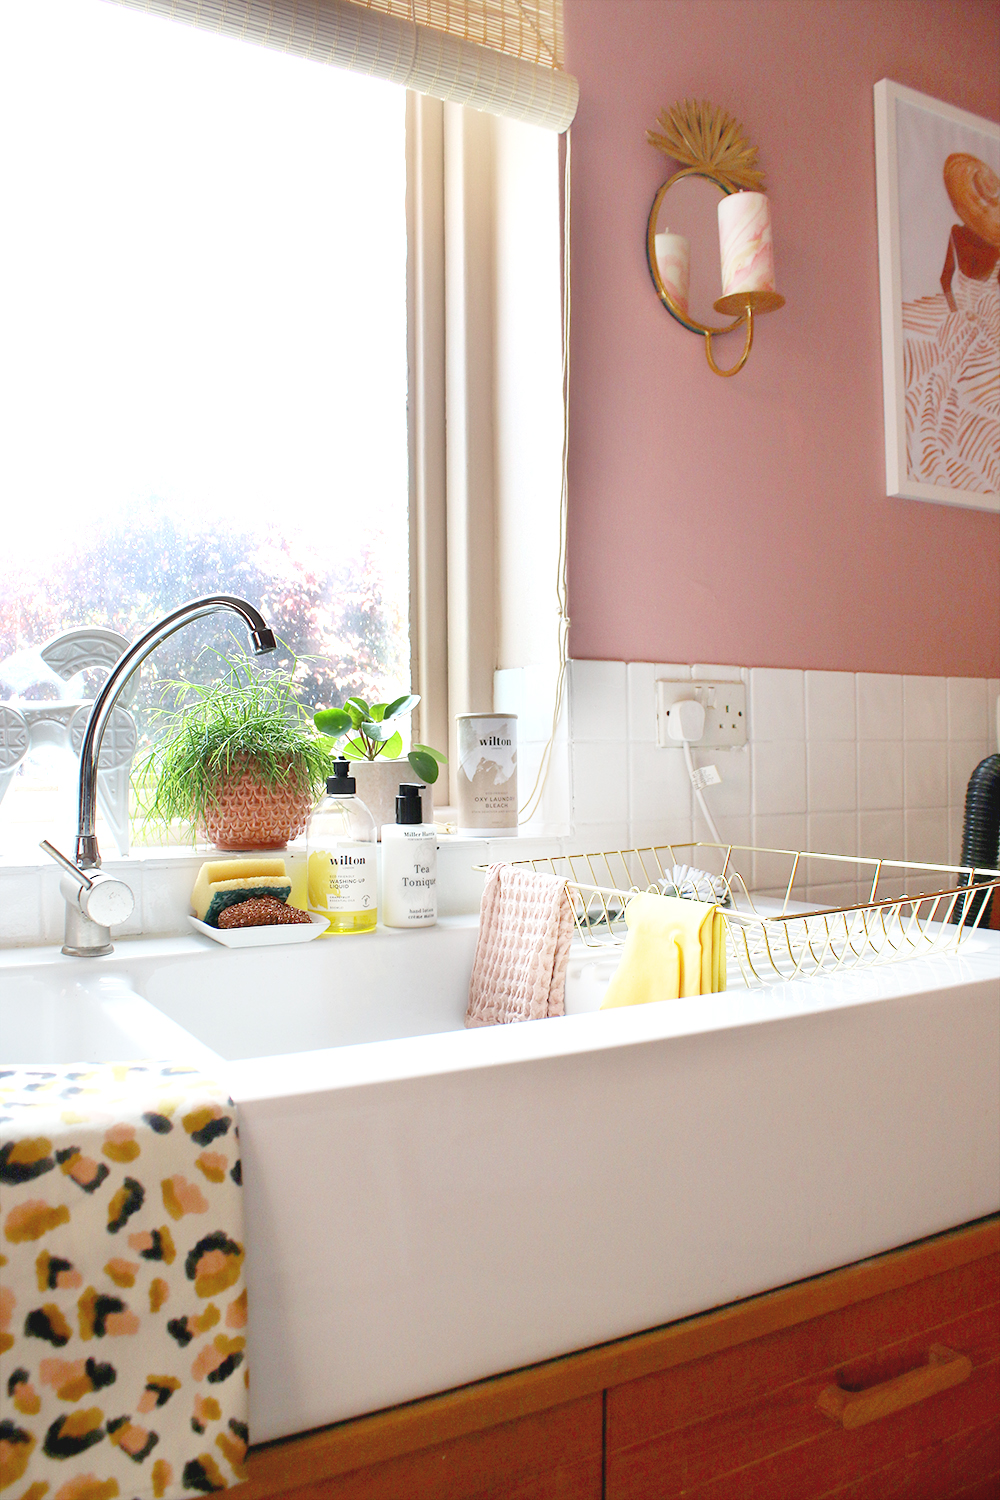
The sink got a good scrub (I used Cif and a copper scouring pad to remove old dried-on paint and weird blue stains from the copper pipes that had appeared over time) and I purchased that small gold dish drainer from Matalan and a cute leopard print teatowel from Plewsy, another recent Instagram discovery.
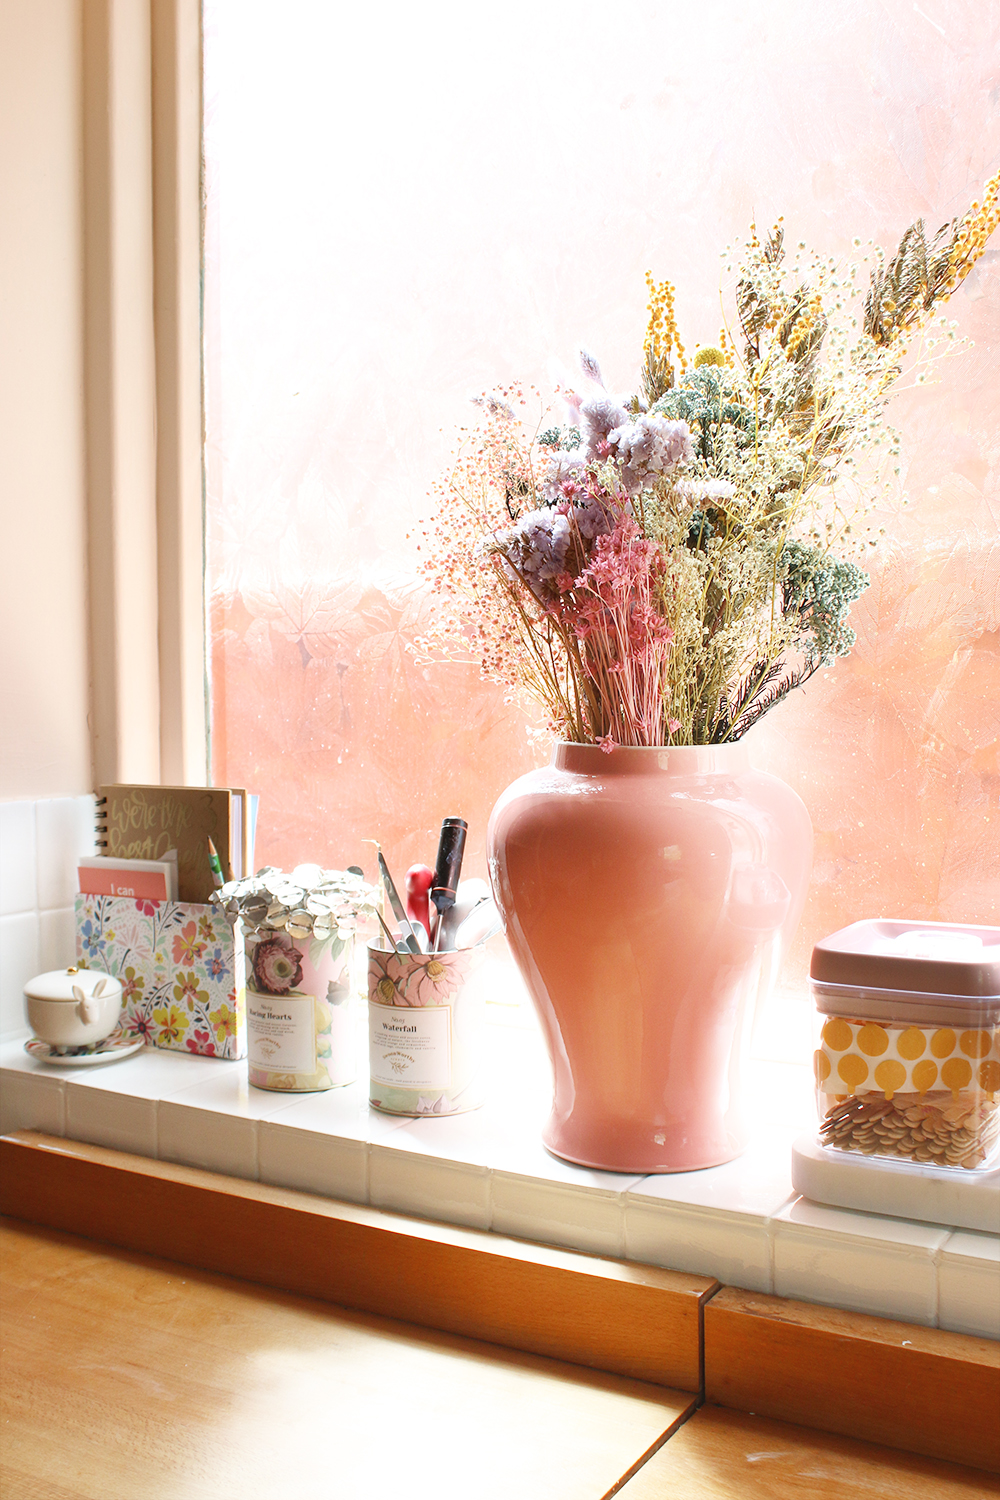
I also painted the window recesses and the window frames in leftover Peach Baby paint – the same colour I used in my office remodel late last year which warmed up this north-facing room and covered over the years of neglect the windows have had. Eventually, they’ll need to be replaced entirely but for now, the paint and new bamboo blinds from Habitat soften and tidy them up.

Replacing the horrible cardboard I originally had here, I found a curtain panel in my stash from Habitat and it was large enough to do quite a bit with it. The first thing I did was sew a small curtain to cover the empty space under the worktop – handy for storing boxes out of sight. You’ll see I also covered over the deep open shelving unit in the corner with a small screen (a lot of spiders hang out in there, I have never been a fan of it and things get dusty and horrible at the back thus the reason for wanting to cover it). I just used some hardboard cut to size, added hinges and covered it in a contact paper that was a similar colour to the cupboards. I like that we can still access the shelves behind it if we needed to but otherwise, it sort of all just blends in.
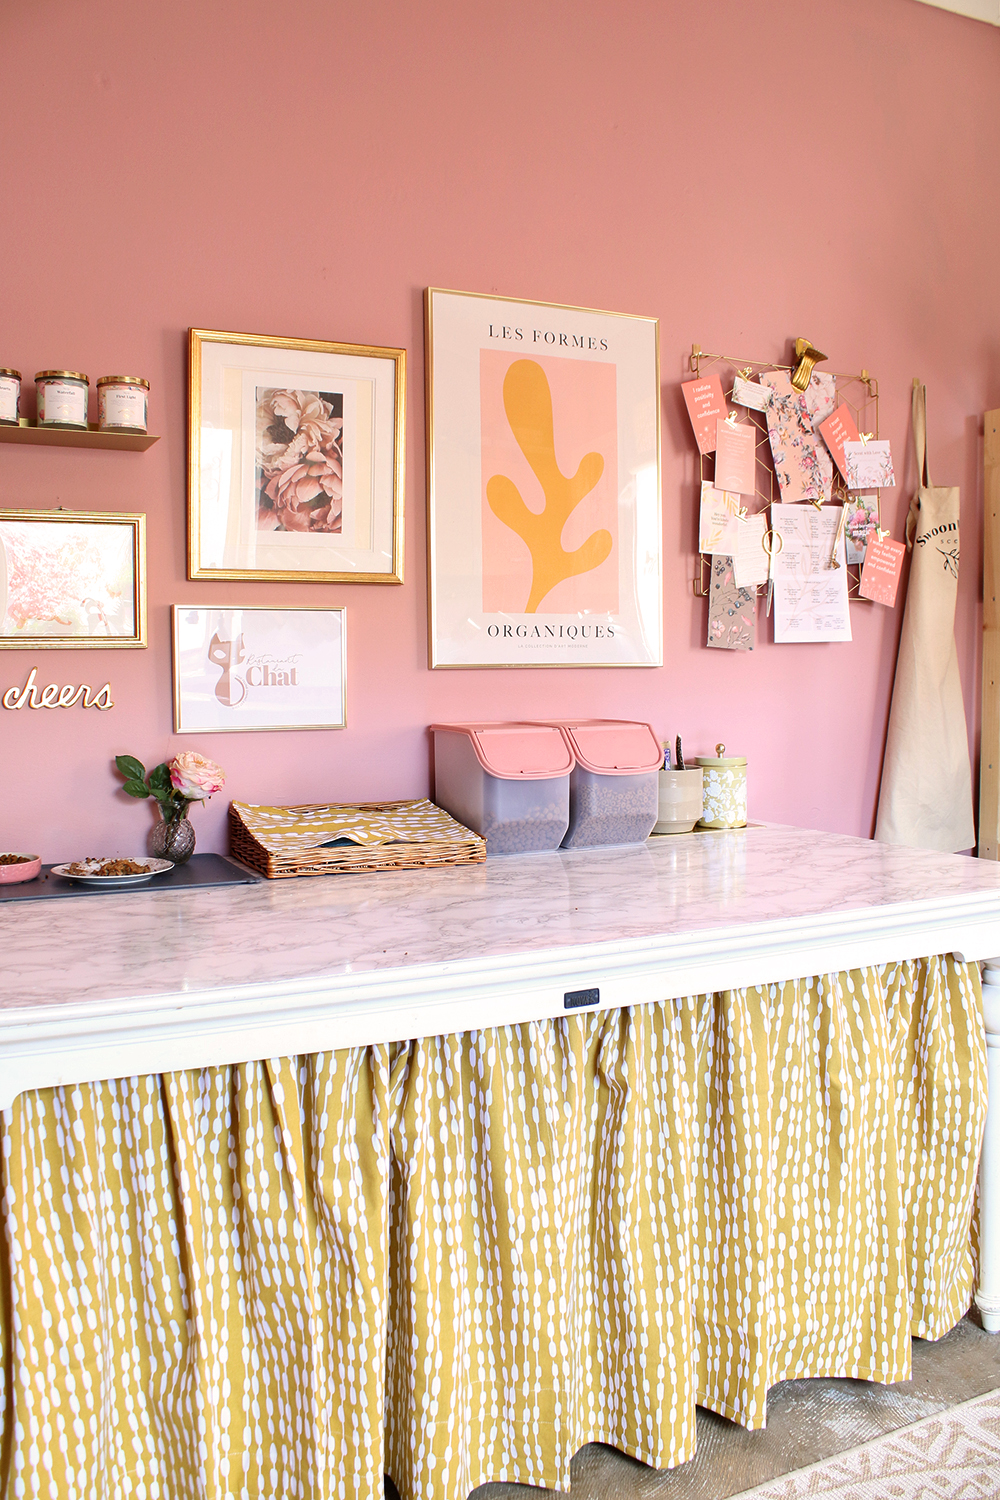
On the other side of the room – what is essentially the ‘pet area’, the Habitat curtain panel went far enough to create a curtain to hide all the storage under the table. I used a staple gun (if you want to see how I did it, I used exactly the same method as I had long ago when I created a skirted vanity in our old house in my dressing room).
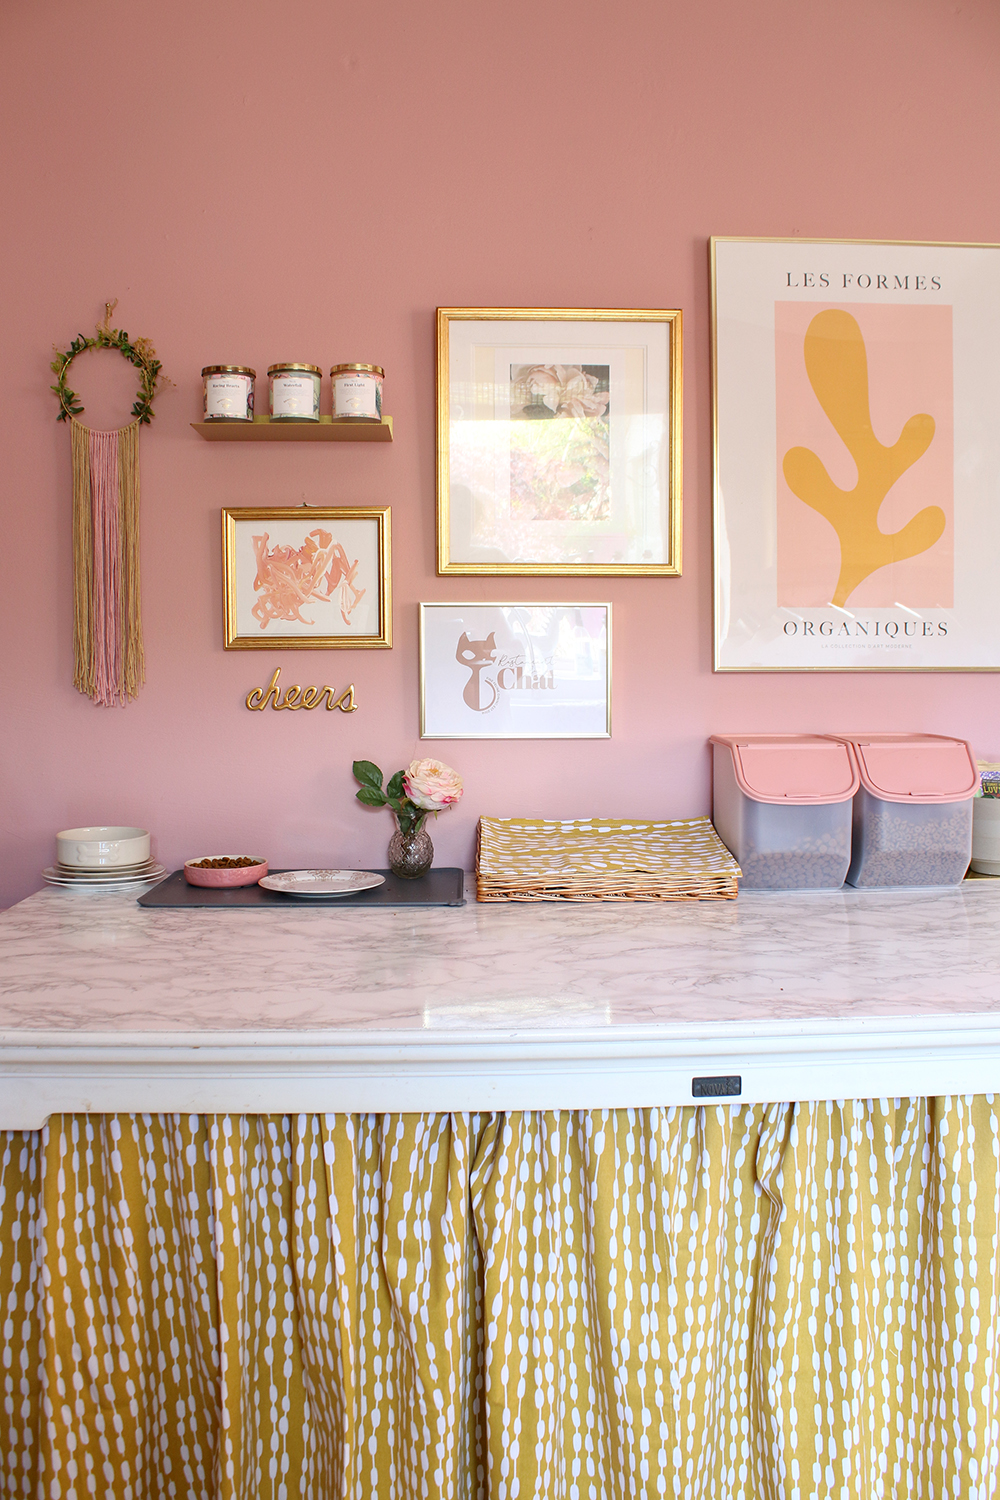
I also created a small gallery wall above the table using bits and pieces I had around the house although I did buy the small gold shelf (used to display some of my Swoon Worthy Scents candles) as well as the larger print from Desenio.

I thought I’d lean into the whole pet feeding area by creating a little logo for an imaginary cat restaurant and printing it and framing it. Well if you can’t have fun with design, what’s the point, right?! I even added a little bud vase with an artificial flower as an added extra!

I purchased some new bowls for the pets as well as new tubs for the dried cat and dog food we had. The wet meat is now stored in a little rattan tray I’ve had for years and the wire memo board was another inexpensive purchase from Matalan. I also covered the table with marble contact paper.
So I think I’ve covered everything! The whole project took maybe 2 weeks of a lot of work and then another 3 of just doing a few bits and pieces when I had some time on my hands and I spent just under £300 all in which I think is pretty good considering what a change it’s made to the whole room.
Of course, there is plenty more that I could do but I didn’t want to spend a lot of money on this makeover. The whole point was to simply create a space that’s a lot more pleasant and functional rather than a full-blown renovation (that will be planned for the future). Now, if I know the full remodel of this space is still a bit away (it’s going to take a little while to save up, after all), I may get some inexpensive vinyl flooring as a stop-gap as that’s probably the last real ‘eye sore’ in the room. Again, this is all temporary so I don’t want to go too overboard!
The funny thing is, I had dreamt about doing up a crappy kitchen on a budget and here I am, a few months later, doing up a crappy kitchen on a budget! Maybe it was a sign and the Universe was telling me this was going to be my next project! ;)
It’s pretty amazing how much you can get done and the difference you can make in a space in such a short amount of time. Whilst this isn’t a full-blown makeover, I wanted to share because it’s a great reminder to never underestimate the power of paint and a bit of elbow grease, even if your budget is tight. You can make even the crappiest rooms shine and function better with a little bit of planning and time and spending your money wisely. I still have a few things left to do here but I hope you’ve enjoyed the makeover process! Have you tackled a neglected space in your home? Do let me know in the comments below!


It looks fab! So sweet but also functional. And very you… ;-)
Awww, Pablo… ♥
Such a fab makeover. Always love your colour choices Kimberley!
Looks great Kimberley! Definitely has your “touch” making a silk purse from a sow’s ear (not that the space was bad) but you know what I mean. Love that photo of Pablo! He was a gorgeous cat!
Great space now. Good old “contact paper”. It was called sticky-back plastic in my long-gone youth. Looks good.
Have you thought about painting the concrete floor? I did this in my garage and it lasted well for two years, with cars, lawnmower and bikes trundling in and out. With your great rug, it would be easy, cheap and more environmentally friendly than vinyl.
Great article, really enjoyed reading it. Particularly love those gold frames!
Looks lovely!! Really enjoyed following along on the stories! It was my favorite “show” for a few weeks this spring!
Great work! I actually quite liked the color of the tiles before ahah, even though yes, vynil isn’t exactly ideal!
What a transformation! Love the habitat curtain, might have to try this in our home!x
The Velvet Home | UK Interior Blog