So this is going to be a bit of an odd post because we actually started this DIY raised bed planter project at the end of last summer and only just got around to finishing it this Spring! I know, I know, that sounds slightly baffling (I’ll explain why in a second) but I figured I’d share it anyway because first, you may be thinking about saving some cash to make your own planter…
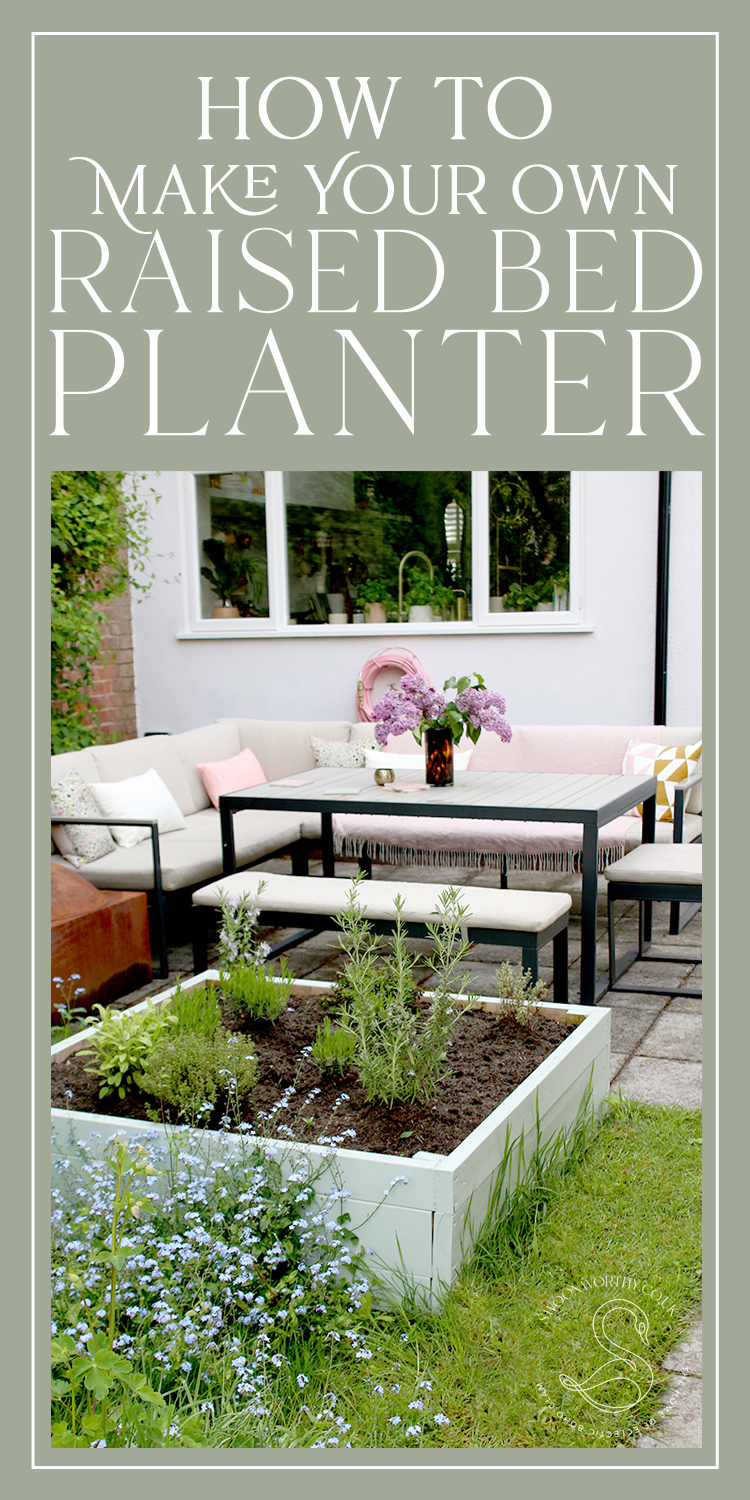
…Second, because I realised I’d saved all my notes and progress shots as I’d intended to share it last year and third because it was a such an easy, successful and inexpensive project that we’re going to be doing it again and making 2 more over the next couple of weeks.
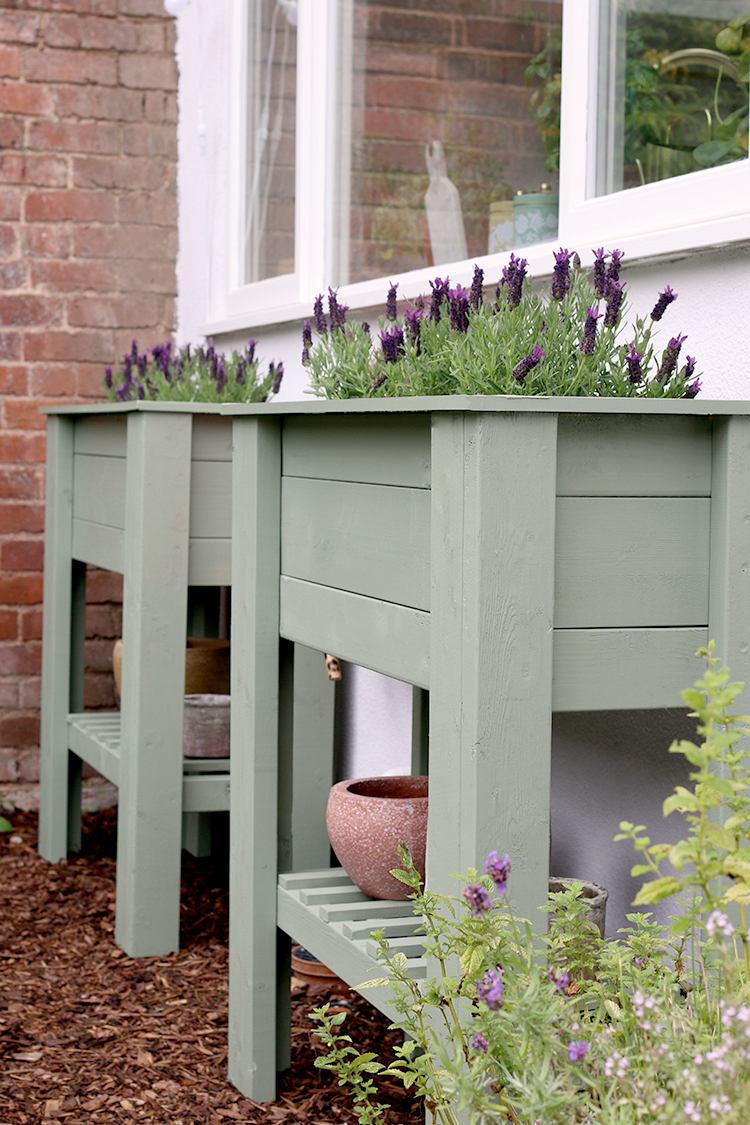
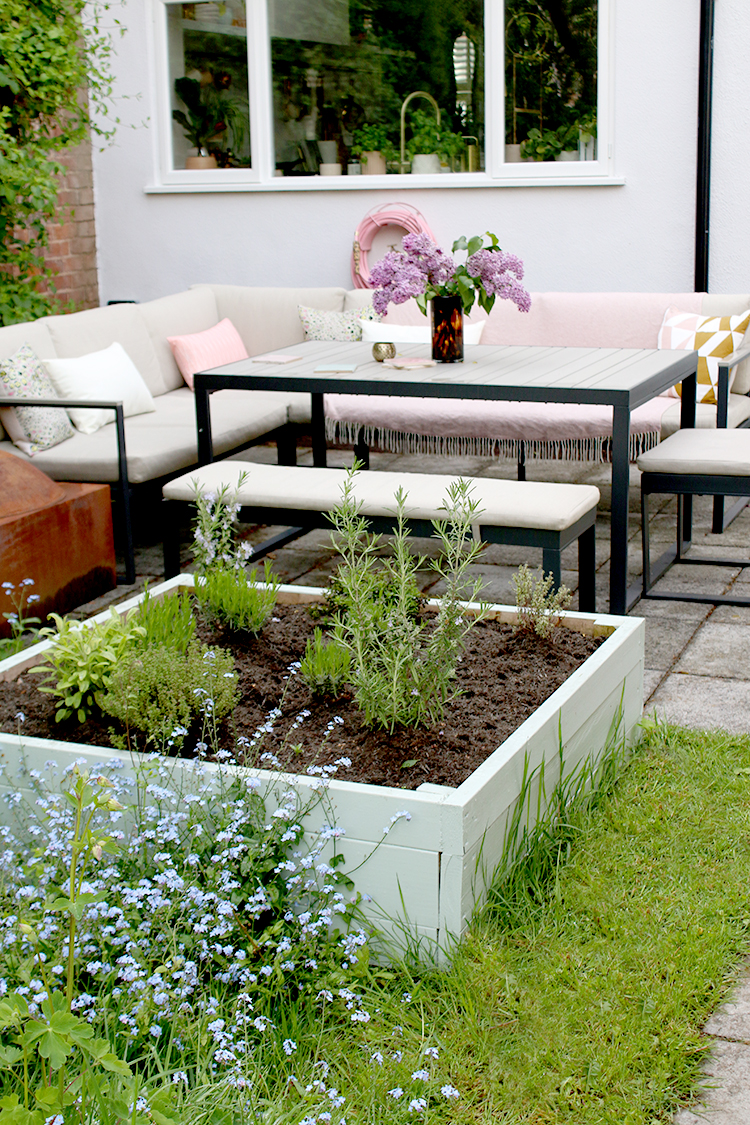
**UPDATE! You can find my tutorial for the standing raised bed planters here – this is what they look like!**
In my last post, I talked about all the work we’ve been doing to just get the back of the house looking good again after building work really took its toll but I also explained that once our extension was complete, we ended up moving to some other projects indoors and weren’t able to finish everything we wanted to outside before the autumn and winter months set in.

This was one of those jobs! So the raised bed planter was created but I hadn’t finished the planting and I hadn’t painted it which is what I finally got around to doing just the past couple of weeks.
So when you see the progress shots, you’ll see we actually built it in our as-then-incomplete dining room (it’s since been completed if you missed the reveal last year). It’s such a simple project, however, and while you can certainly buy raised garden beds in shops and online, I like the fact that making a DIY planter means you can easily adapt the size to whatever space you’re working with, paint it any colour you like and save so much money in comparison to buying it ‘off-the-shelf’.

I’d even saved a photo of our receipt (sometimes I even amaze myself at the shit I save for the sake of blogging). We purchased everything from Wickes and it came out to less than £40 (we had some of the materials like the decking screws, paint and membrane already) but considering I’d seen similar-sized ones priced at £200+, well you can see why going DIY here could save you a good few pennies.
Materials You’ll Need
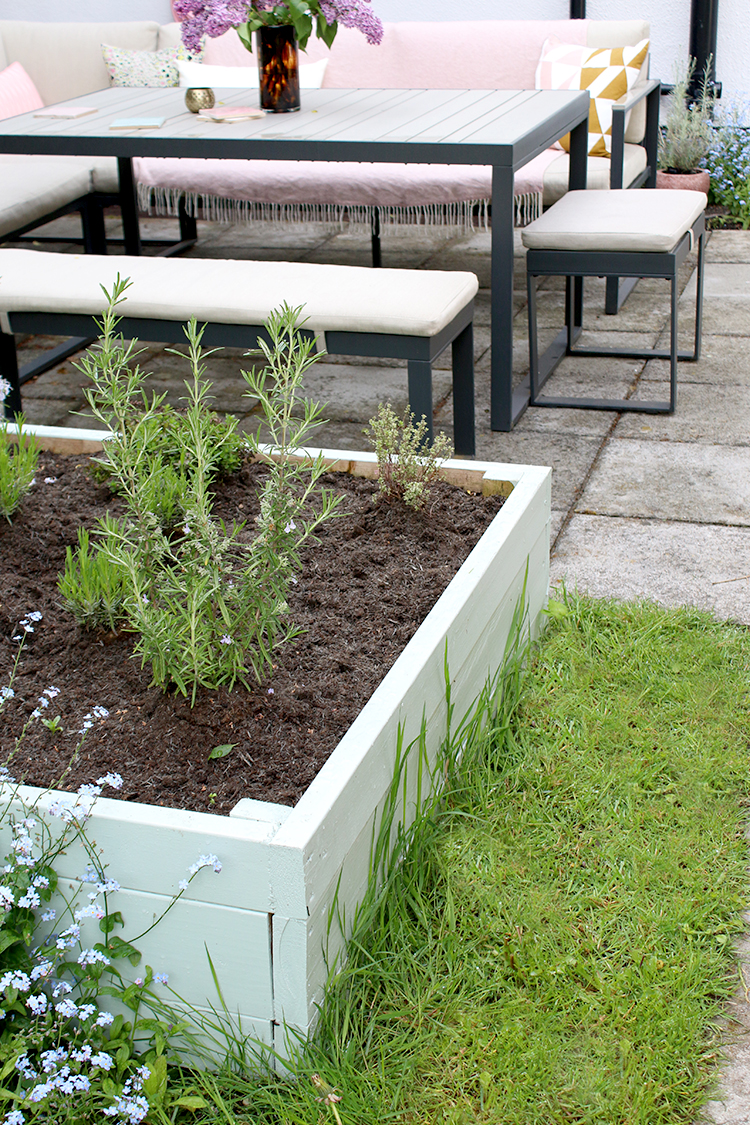
I thought I’d share exactly what we used and the sizes of timber we purchased. Like I said, this is a project that can be easily adapted to create whatever size you need. The finished size of our raised bed planter was roughly 1.2M wide x 1.2M long x 37cm high.
- 1 length 38mm x 63mm x 2.4M Treated Studwork Timber
- 4 lengths 38mm x 89mm x 2.4M Treated Studwork Timber
- 2 lengths 38mm x 140mm x 2.4M Treated Studwork Timber
- Box of Timber Decking Screws 4.5mm x 60mm (this isn’t the set we purchased as we already had some. I linked to these for convenience but you may find them cheaper elsewhere)
- Roll of large green garden bin liners (but any bin liner or plastic sheeting will do)
- Aggregate or stones for drainage (we already had these from the building work)
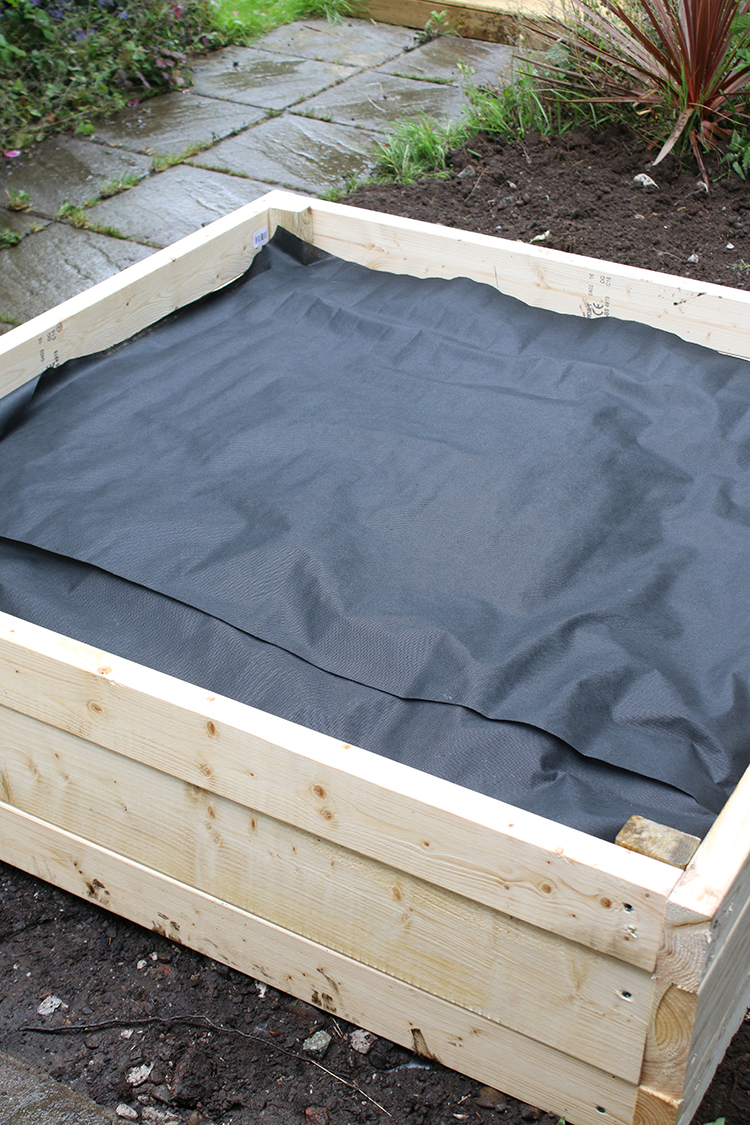
- Weed membrane (optional but it seems to have helped keep them at bay)
I ended up painting my raised bed planter in Cuprinol’s Garden Shades in Fresh Rosemary. Obviously you can oil it, stain it or paint it, whatever you fancy.
How to Make a DIY Raised Bed Planter
Again, this is just how we did ours, I’m sure there are a million different ways to do this project but this worked for us. If you’re wondering why we chose both 89mm width and 140mm width ones, it’s because we just thought it would add a bit of interest to use different widths but its certainly not necessary if you want to make all the sides the same width.
We also drilled pilot holes with a drill for each screw as we went to make it easier to screw the wood into place.
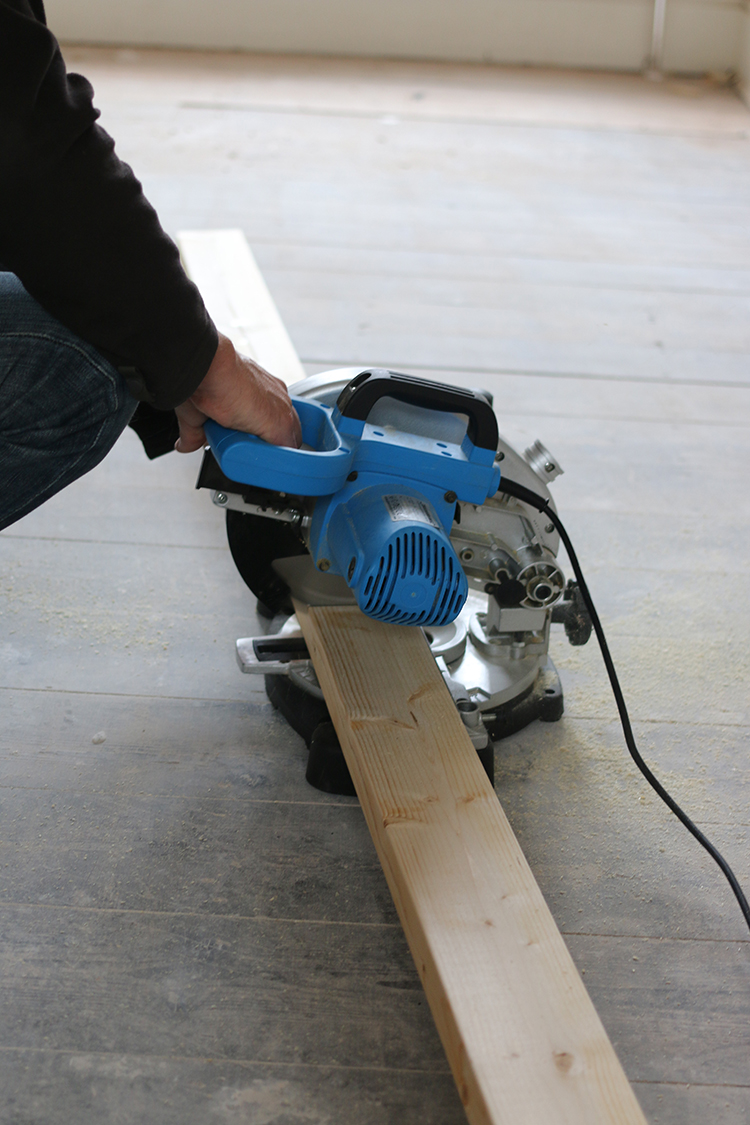
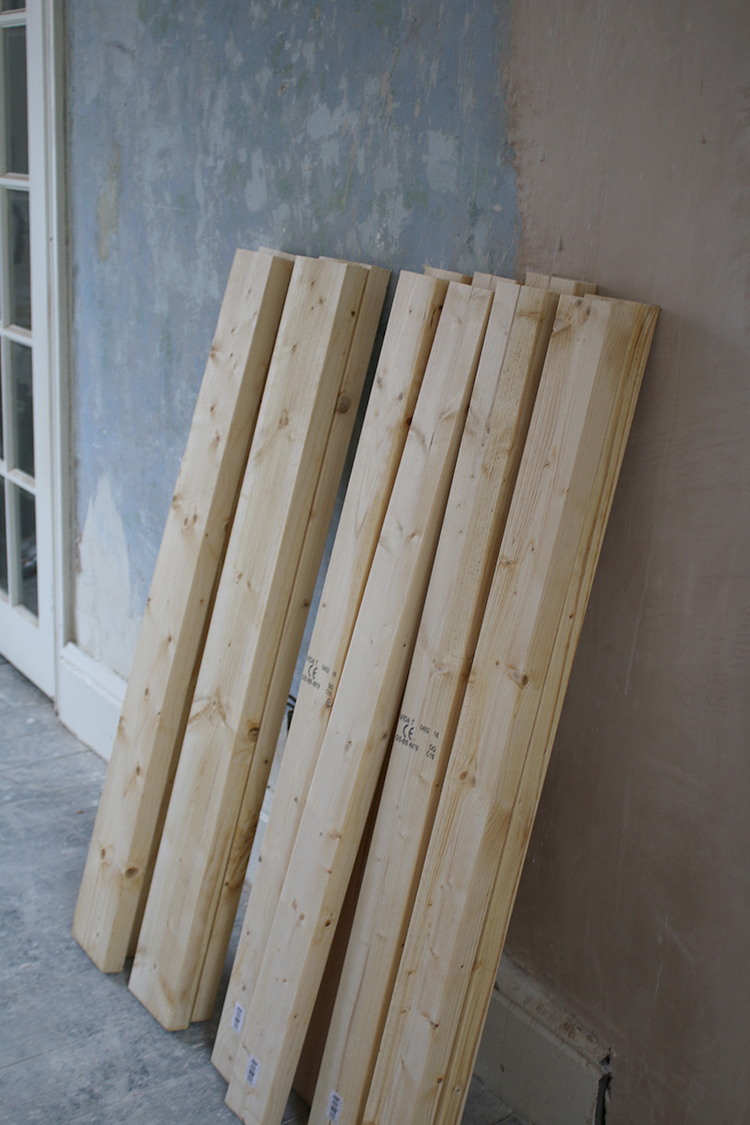
Step 1: Cut all your timber pieces in half so that you end up with 14 pieces that are all 1.2m lengths
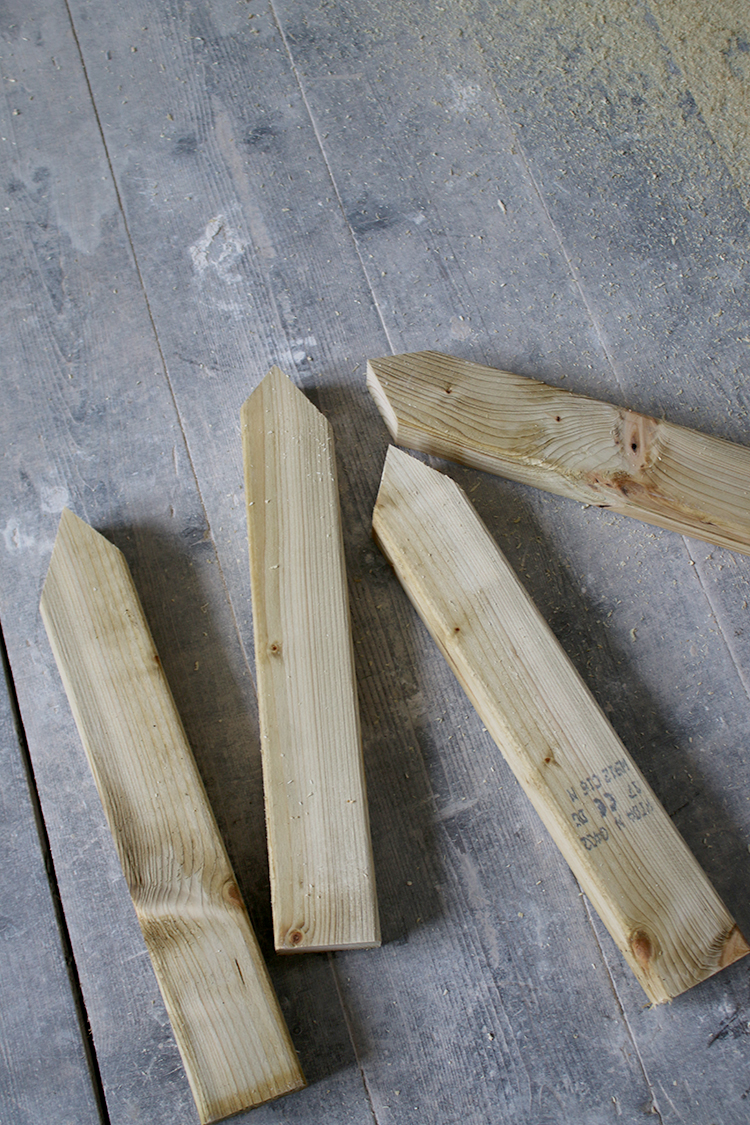
Step 2: Cut the 63mm width lengths in half again so that you have 4 pieces in total and then trim one end to a point so that it creates a stake.
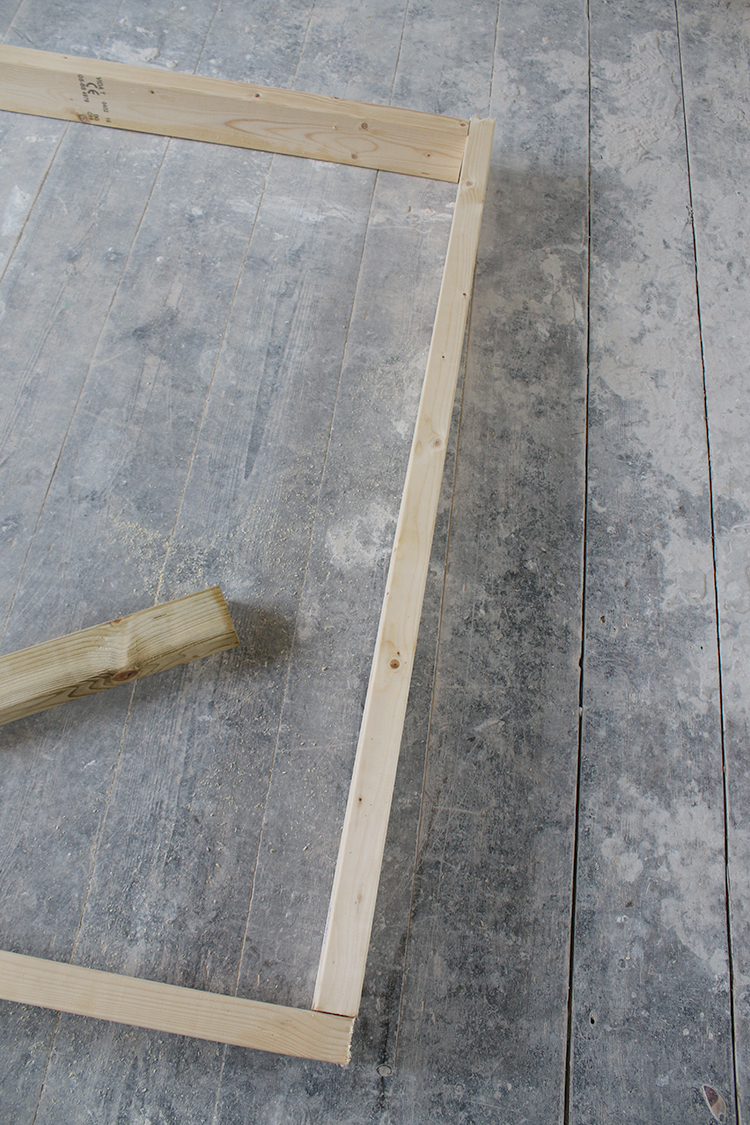
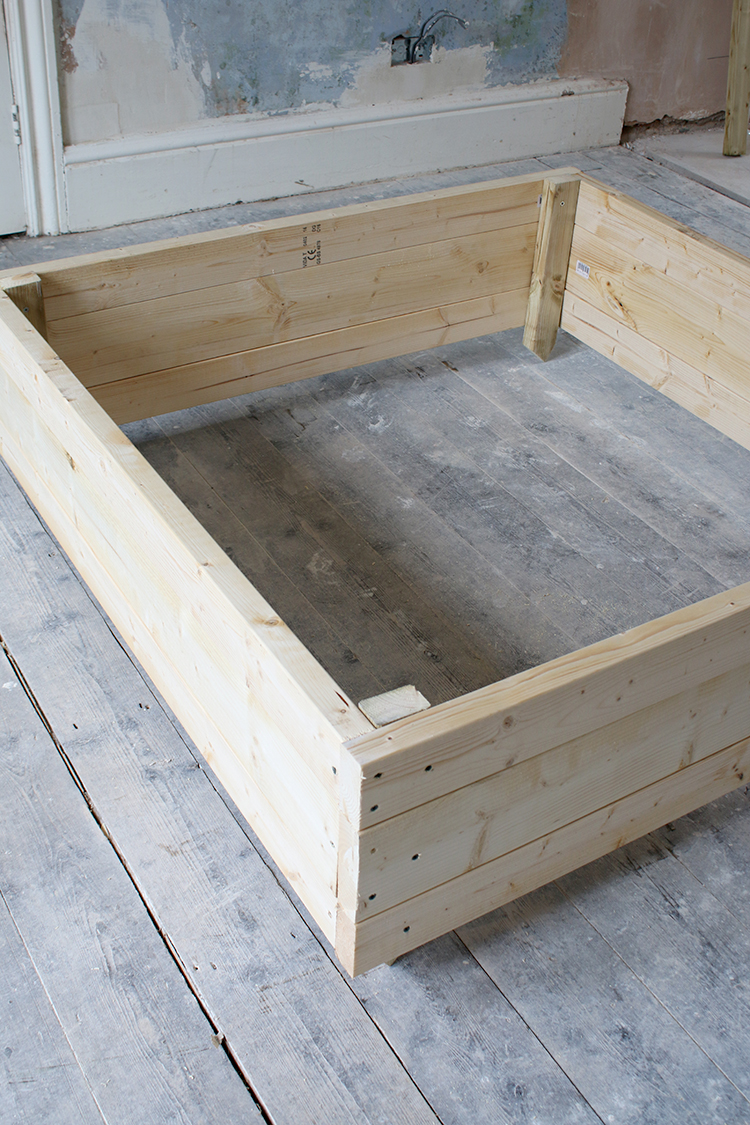
Step 3: Lay 4 of the 89mm x 1.2M width lengths to create a square like the above – essentially you are creating two ‘L’ shapes and putting them together to make a square so all the ends are butting up to one another.
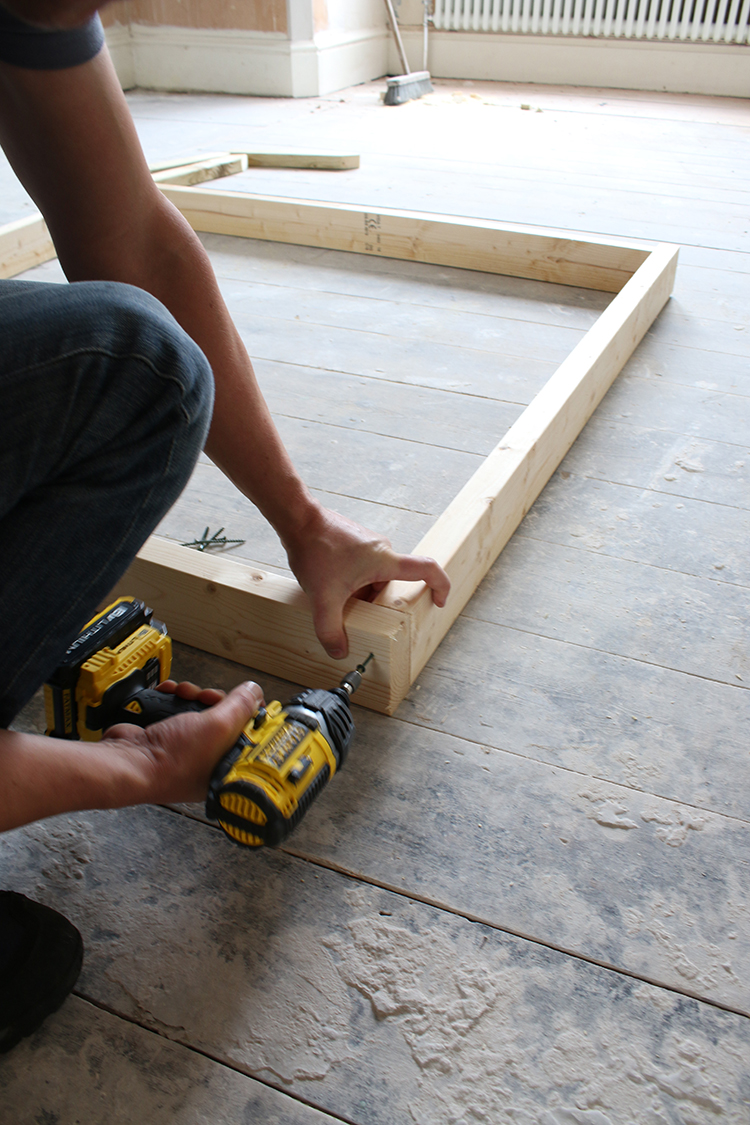
Step 4: Using deck screws, use 2 screws each corner to secure. You may want to use a framing square to make sure everything is at a straight 90-degree angle.
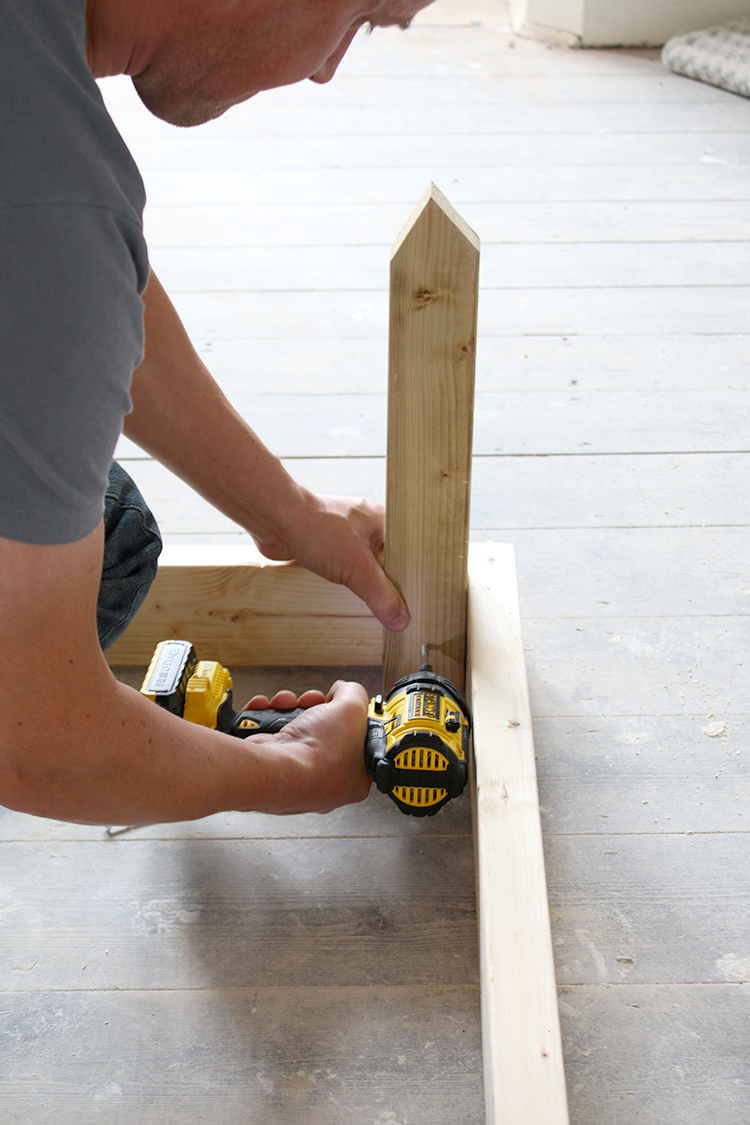
Step 5: Set stakes flush against the corners and use screws to secure in place. As your frame will be upside down at this point, you’ll want to make sure the point is sticking up and the bottom is flush with the top of the sides of the planter. See the image above for clarity.
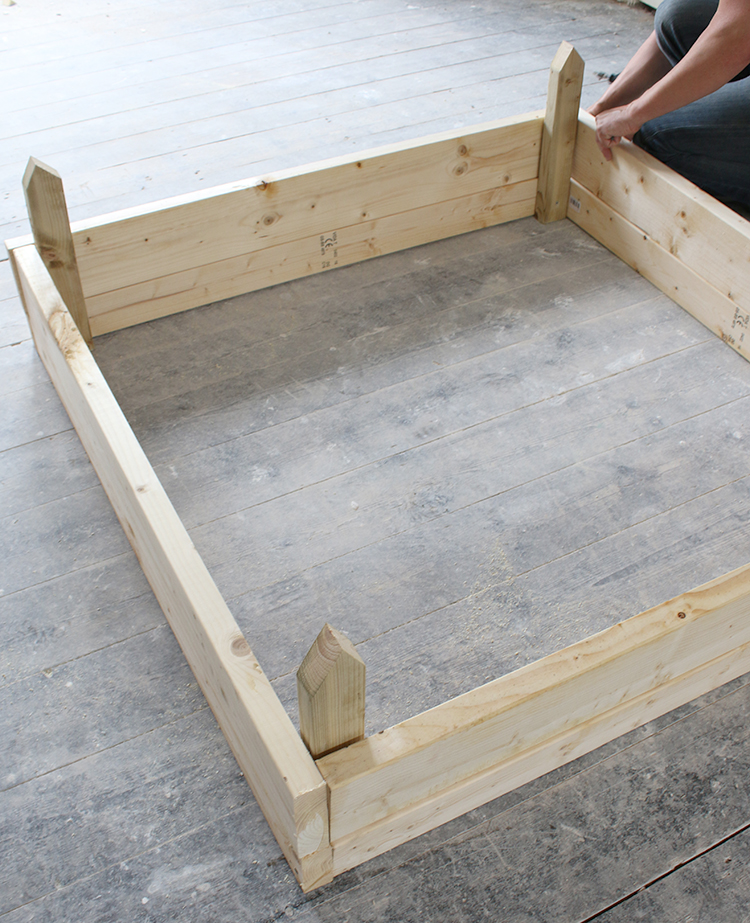
Step 6: Your next layer will use the 140mm x 1.2M planks if you chose the same studwork we did so this wider width is in the centre. Screw into the stakes and at the corners.
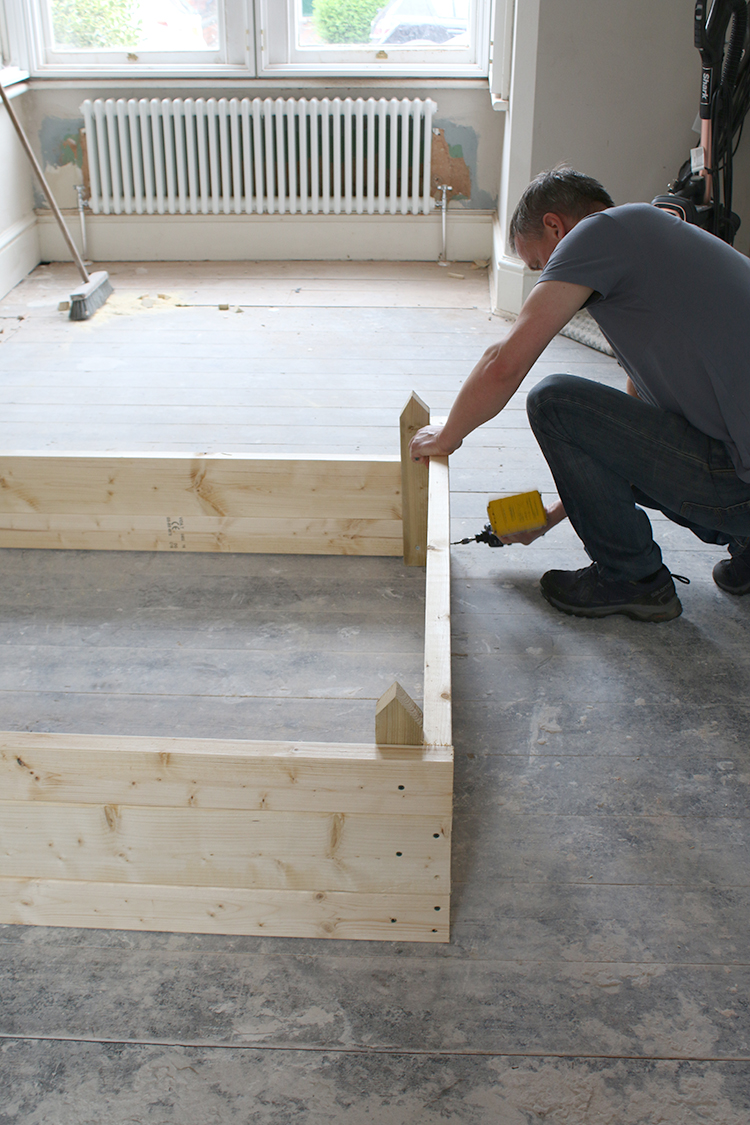
Step 7: Your last layer will use the 89mm x 1.2M planks again. Again, screw into both the stakes and at the corners.
Step 8: You’ll see as this planter is meant to sit on the ground, we didn’t put anything on the bottom of it – essentially all you’re doing is creating a frame. You can now flip your planter over and set it in your chosen position.
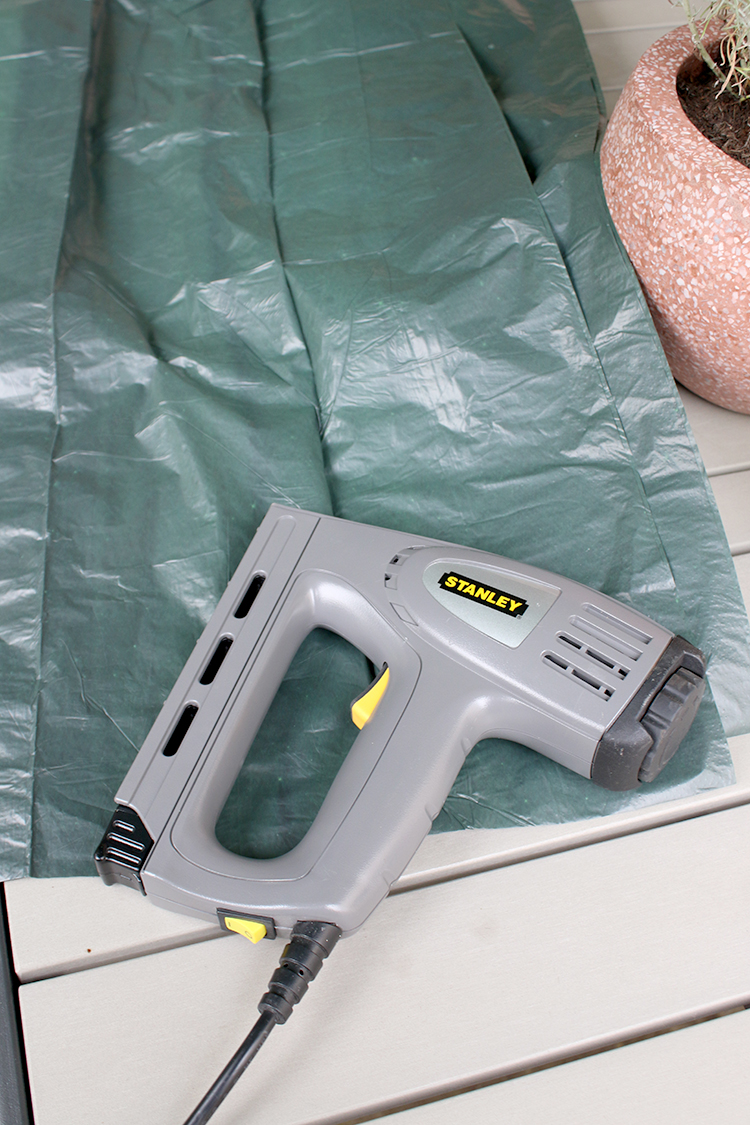

Step 9: I decided to use green bin liners to line the bed and protect the wood from rotting. They are basically pre-folded so I just cut the ends off and stapled them all along the inside of the structure with a staple gun. See the image above for clarity.
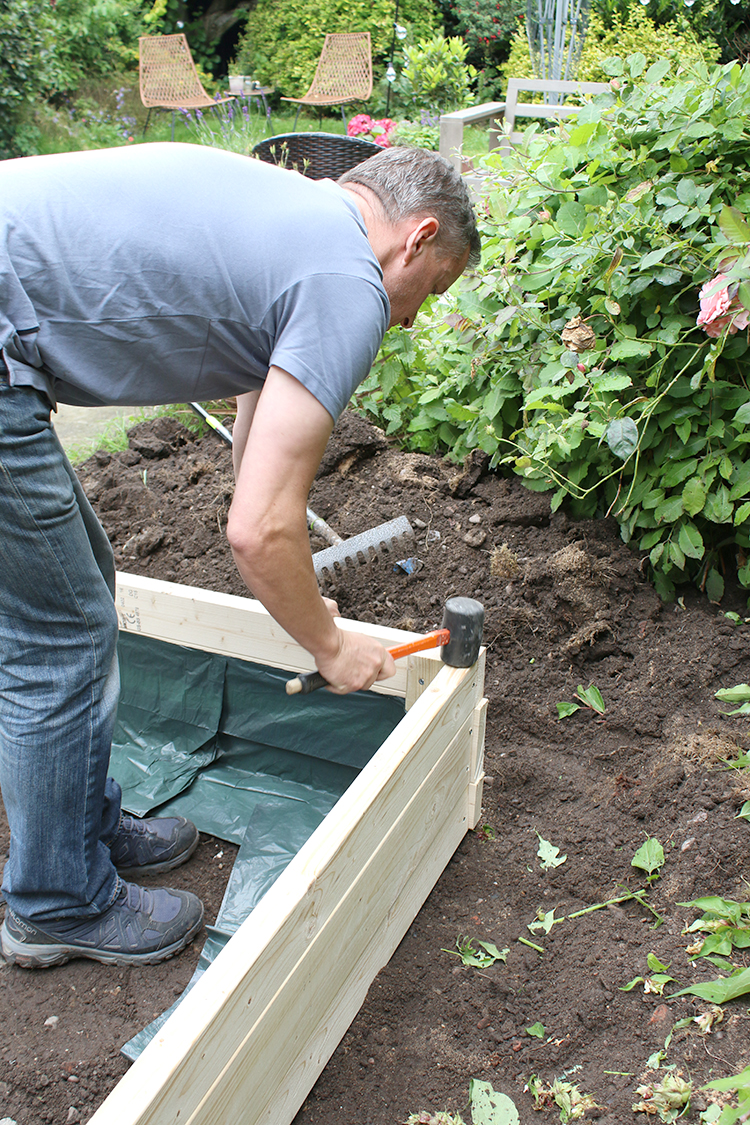
Step 10: Using a mallet at the corners to set it into the ground (if you don’t have a mallet, get a bit of scrap wood to set on top and hammer that so you don’t damage the wood).

Use a level to ensure everything is straight.
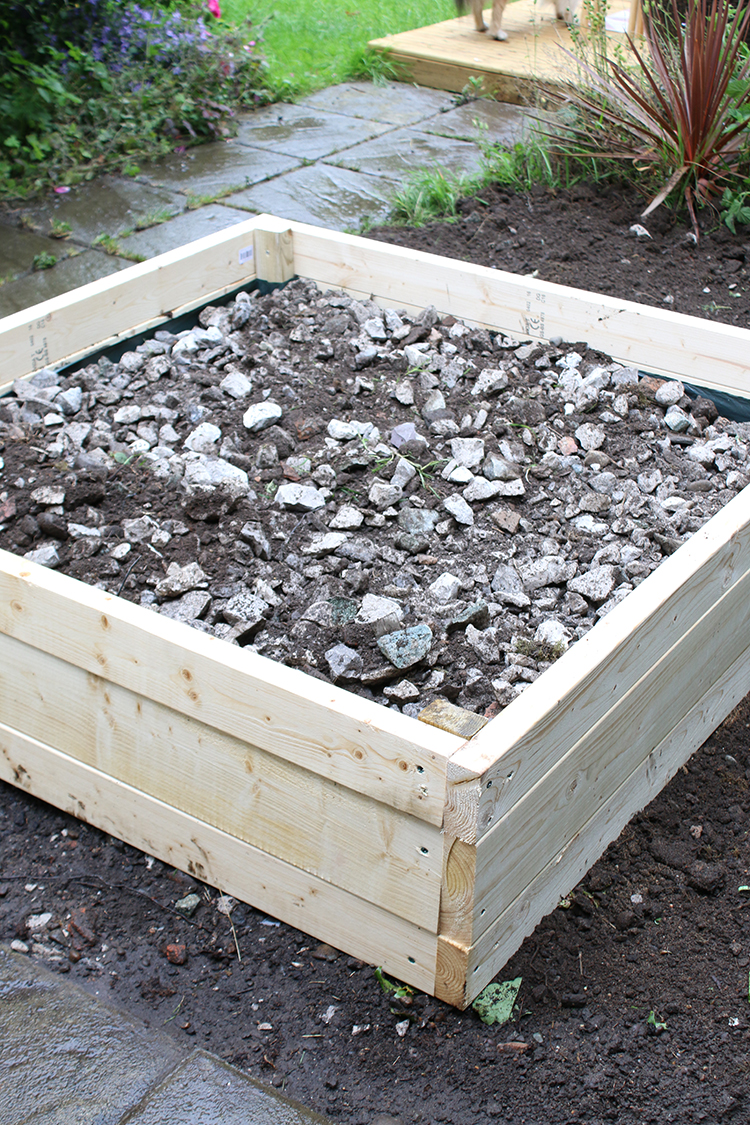
Step 11: Now I remember Wayne and I having a “discussion” (ahem) about this but I still feel I was right in the end (haha!) and that we should have lined the bottom with aggregate to give the planter better drainage. He insisted it should be in the middle layer and sandwiched between a bottom and top layer of compost. I gave in and then immediately regretted it. We ended up putting too much soil in the bottom layer and too much aggregate and then only had a thin layer of compost for the top layer.
So this is what I’d recommend: a bottom layer of aggregate or stones, a layer of weed membrane and then your top layer will be compost. Honestly, men! SMH.

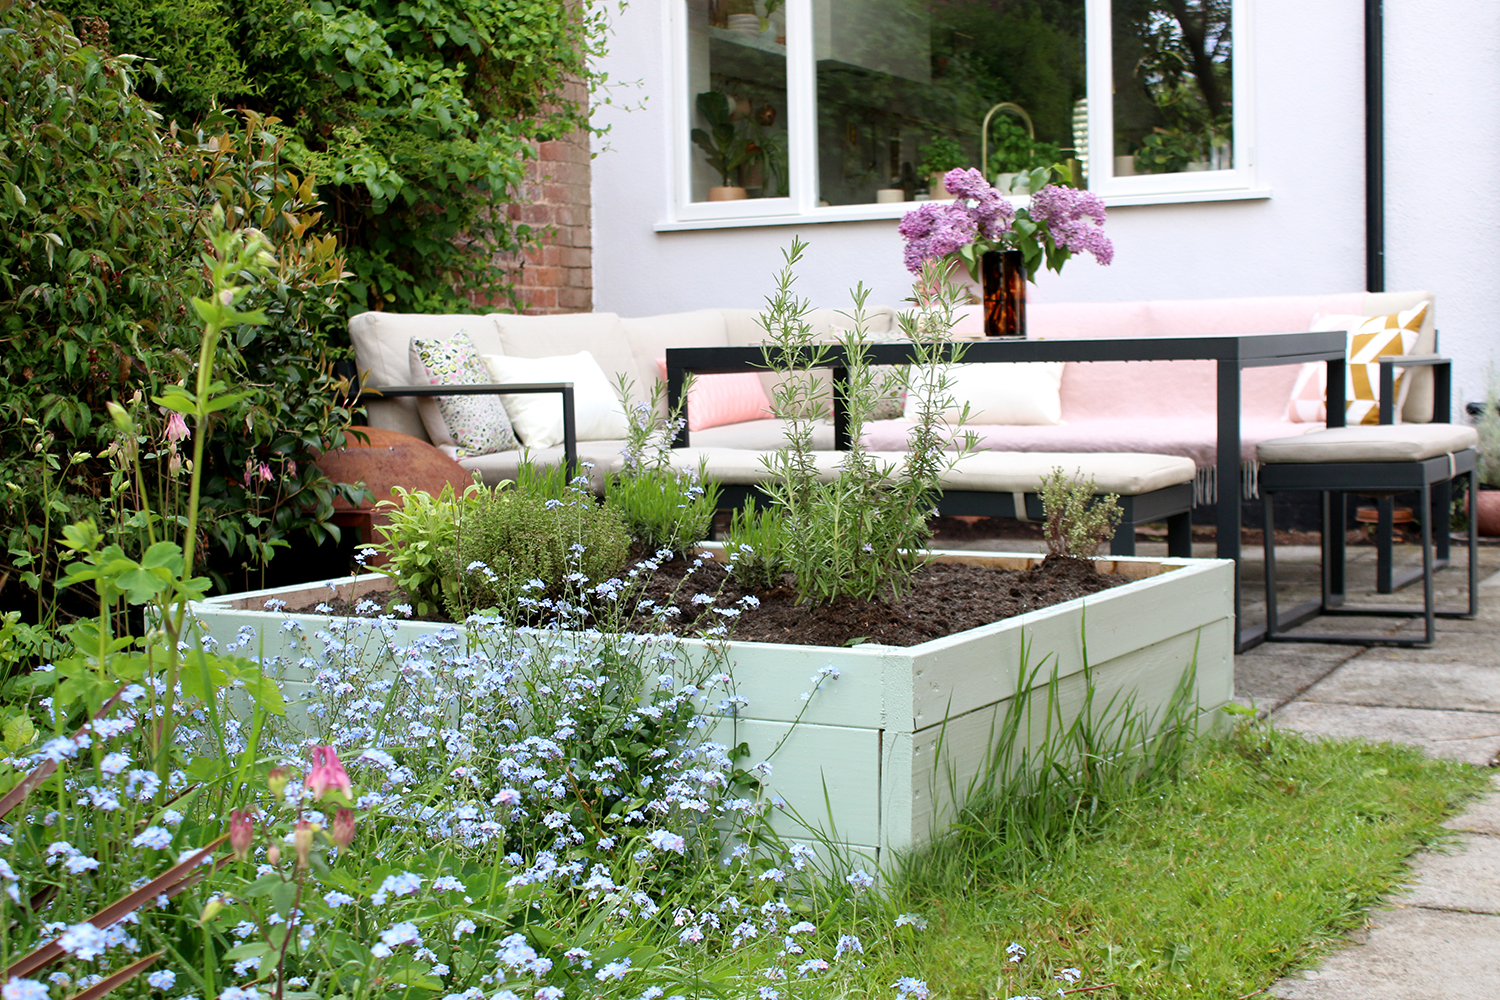
So… this is where we just left it last year – literally with the plants sat on top still in their pots as I wanted to get another bag of compost before planting the herbs. We left it for such a long time, in fact, that the roots grew right through the bottom of the pots and they all embedded themselves into the compost!! I know it’s ridiculous! So anyway, this year, we ended up cutting the pots off the plants and then just filling it in with more soil. By some crazy magic, every single one survived from last year and are now a little more properly bedded although because of where I’d left the pots sitting (I hadn’t really arranged them properly), my layout is a bit haphazard. I might pull some and reposition them in the future.
Step 12: Paint your bed whatever colour you wish. I decided to leave the inside natural wood and only painted the outside but of course, you can paint or stain it before filling it with soil and plants if you wish.
And that’s it. Our crazy story and instructions of how we created a raised bed planter that took us 9 months to actually finish. Like I said, it actually worked really well, all our herbs are currently thriving and so we’re going to create two more of them for under the kitchen window, either side of our fancy new pink hose (which you can just about see above). These ones will be much higher with longer legs so if you would like me to share how to make those when we do, I certainly can do that. And I promise it won’t take me nearly a year to share it next time.


Thank you for the tips in making the raised bed planter. I just found out that it is not that hard to make after reading your post.
Thank you very much for this post. The raised planter looks lovely. I really like the colour you painted it in on the outside, which colour paint and brand did you use?
Hi
thank you so mutch for sharing
looks lovely. I really like the colour you painted it in on the outside,
Hi
thank you so mutch for sharing Great information
Good artical
great your artical thank you so much for good information
I will try it on my garden :) Good idea. But I definitely need help :D You can check our garden collection in Zedhouses.