The following is a paid advertising feature for Green & Black’s and affiliate links may be used.
I think every single year I tell myself I’m going to make my own advent calendar. The countdown to Christmas is always an enjoyable one and what better way to count down than with the promise of a tiny treat or gift on each day in the lead up to the main event? But I will admit that checking out Pinterest and the myriads of ideas for DIY advent calendars left me feeling slightly uninspired. Many I saw were incredibly traditional or very rustic in appearance and well, that’s just not me. I needed to create one that was just that bit more glam and fit the style of my Christmas decor which rarely falls into the traditional ‘red and green’ theme.

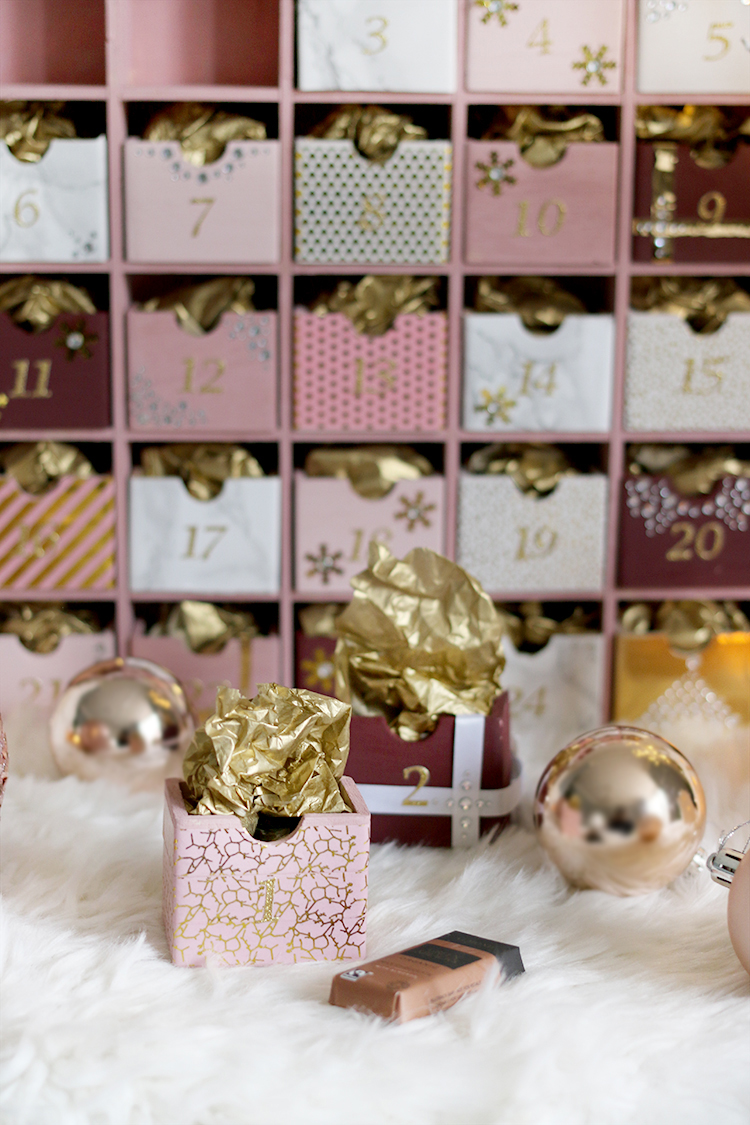
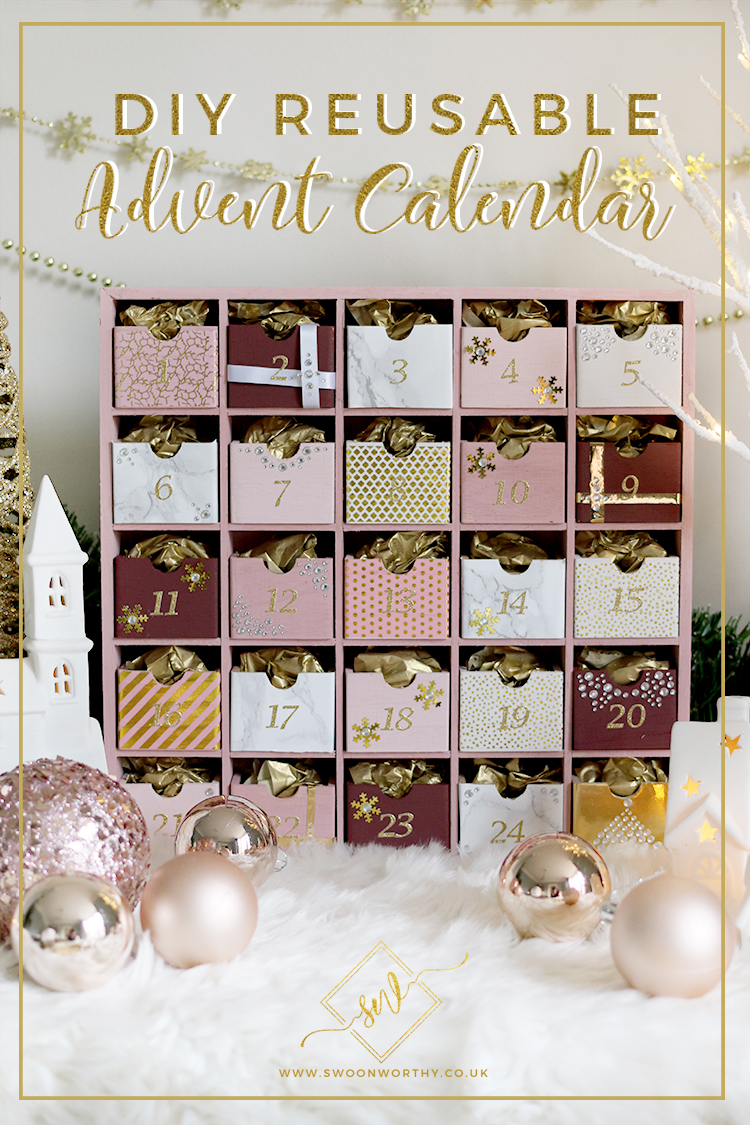
So when I was challenged by one of my favourite chocolate brands, Green & Black’s, to create my own advent calendar, I knew it was the perfect opportunity to finally create a DIY version that I could use every year. The result? A very glam, very pink, very ME advent calendar filled with the decadent and delightfully indulgent range of Green & Black’s Christmas collection.
Christmas is a once a year celebration so using a premium chocolate just feels so much more indulgent and so it was the perfect fit (literally and figuratively!) for my advent calendar. Green & Black’s is synonymous with rich, smooth and totally delicious chocolate. It’s also a brand who’s committed to ethically-sourced cocoa and sustainable sourcing for all it’s ingredients so you can feel a lot happier when you indulge.
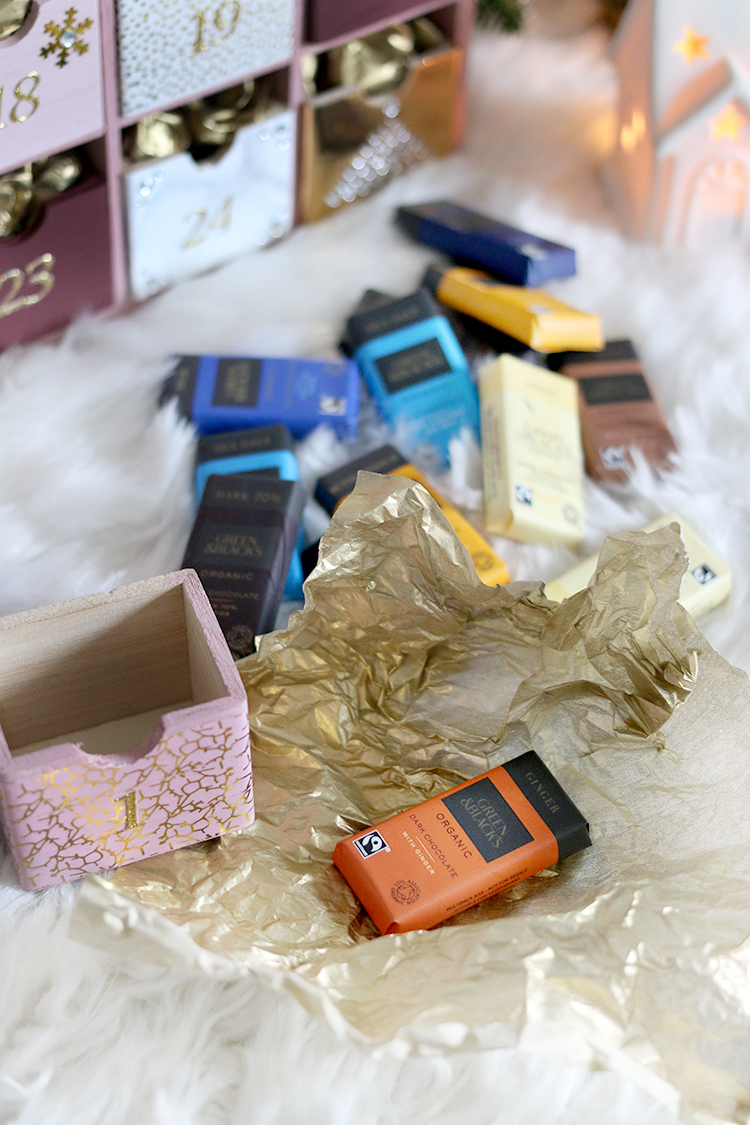
Green & Black’s Organic Classic Miniature Bar Gift Collection contains a wide variety of all their gorgeous flavours, from the balanced bittersweet dark chocolate (so nice with a cup of coffee!) to firey ginger to the crunchy satisfaction of almond. I also used Green & Black’s Organic Milk Miniature Bar Collection which includes milk and white chocolate, as well as sea salt and butterscotch – all certified Fairtrade. So every day there’s a new and exciting flavour to enjoy! The G&B’s Organic Tasting collection also makes a perfect stocking stuffer for the chocolate lover on your Christmas list (which, let’s be honest, is nearly everyone)!
Now, I’ve never considered myself particularly crafty. I’m not too bad with DIY and I’m a dab hand by now at making candles but crafts, for me anyway, are a different story. So I decided to keep things simple with mine and simply painted and decorated a little wood box storage unit I found. It really did make everything so easy and I really enjoyed the process of decorating all the boxes!
I’m going to take you through all the steps now but do definitely pin this for later if it’s something you want to tackle yourself!
DIY Reusable Advent Calendar
These are all the exact items I used for my advent calendar:
- 1 Wood 25 Drawer cabinet
- A selection of paint sample pots (I used: Little Greene Hellebore / Little Greene Confetti / Earthborn Rosie Posie / Earthborn Wood Smoke / Farrow & Ball Preference Red)
- A selection of gold washi tape
- A selection of pink washi tape
- Pack of adhesive diamontes
- 3 packs of gold glitter numbers
- 1 pack of gold snowflake sequins (affix with glue)
- Marble sticky back plastic self-adhesive vinyl
- Gold sticky back plastic self-adhesive vinyl
- Gold tissue packing paper
How to Create Your Own Glam DIY Advent Calendar:

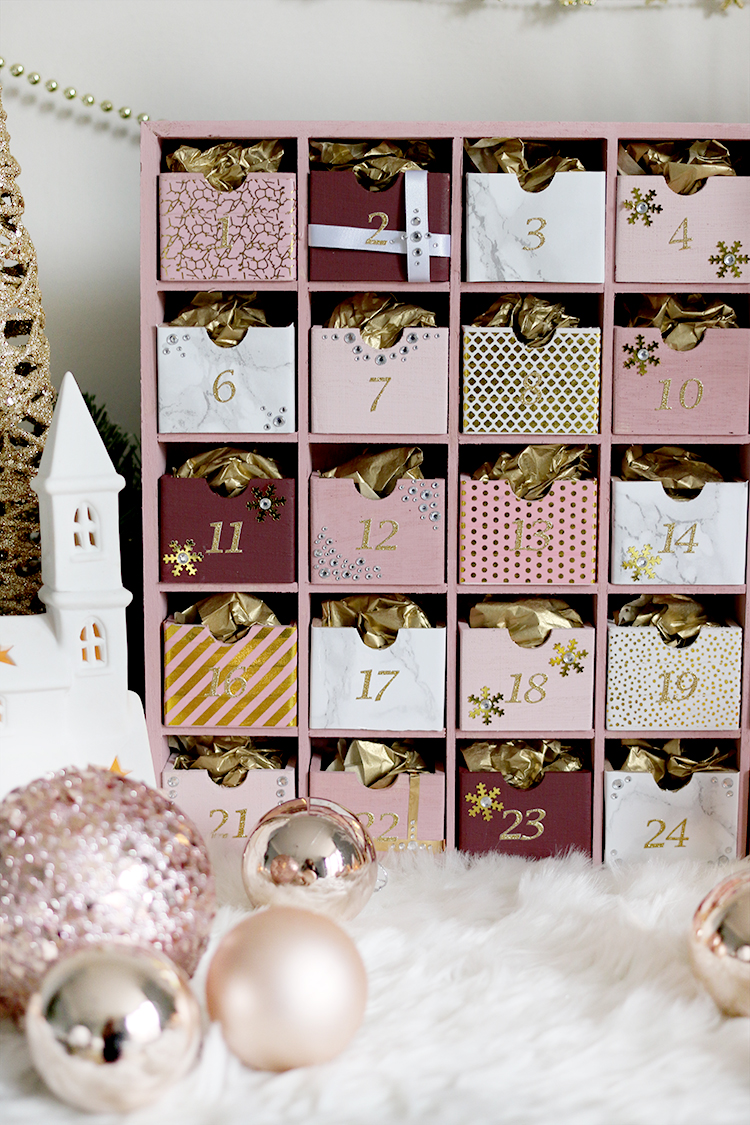
1. The box comes unfinished so I started off by painting it with leftover paint I had from my recent vanity room remodel (Little Green’s Hellebore). You can, of course, use any colours you wish for this project.
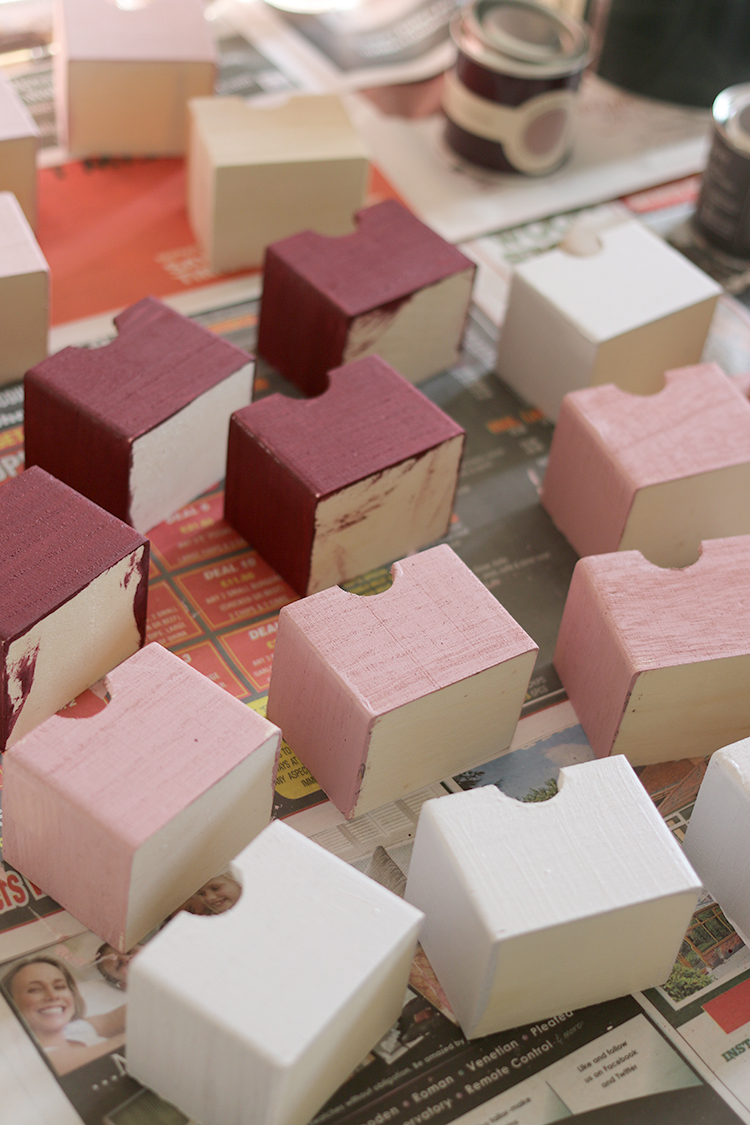
2. Now gather a nice selection of other paint pot samples in various colours (I’d been testing pink paints so that’s what I had to hand!) and paint a few in each colour. You can leave the ones you’ll cover in contact paper plain.

3. For the plain boxes, cut contact paper large enough to wrap around the entire face of the box. Wrap a few other boxes in washi tape. Using a sharp craft knife, cut around the dip for the pull and any excess tape or paper with a sharp craft knife.
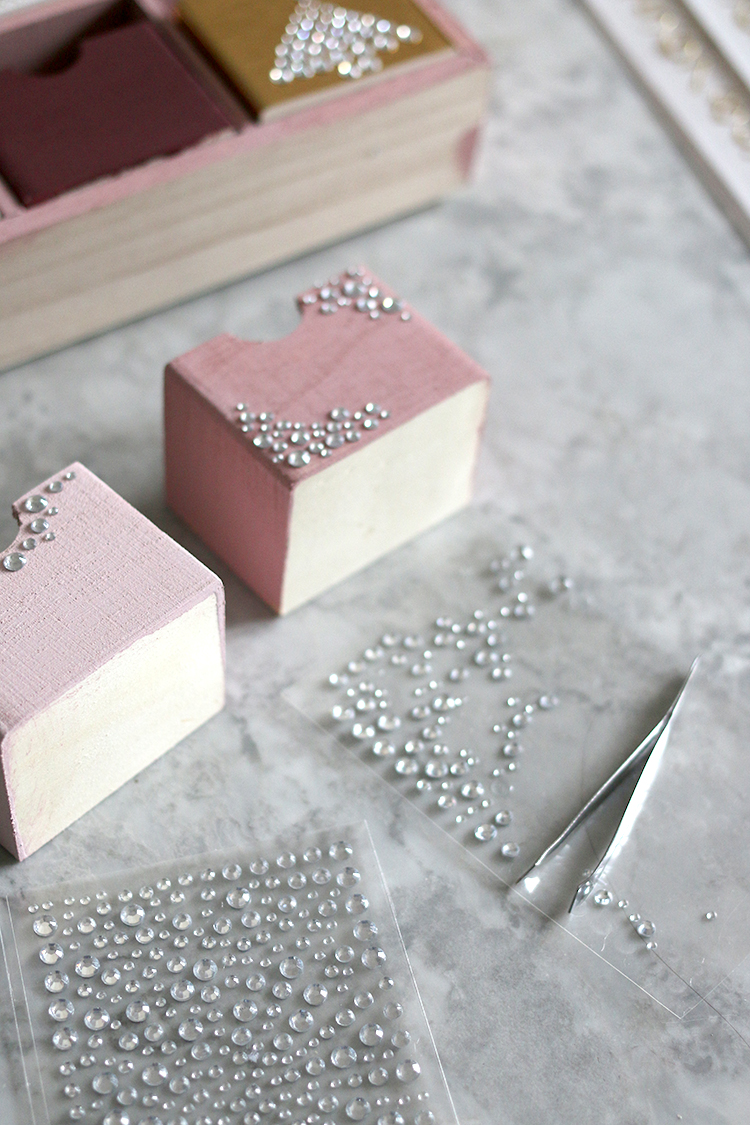
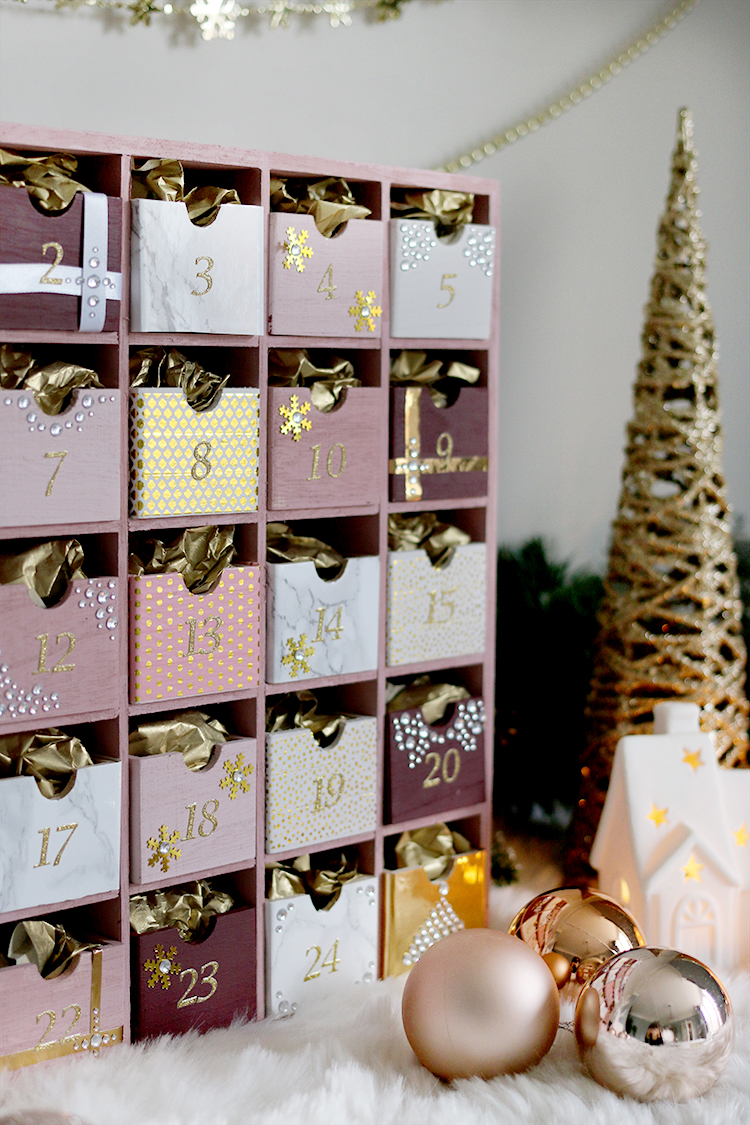
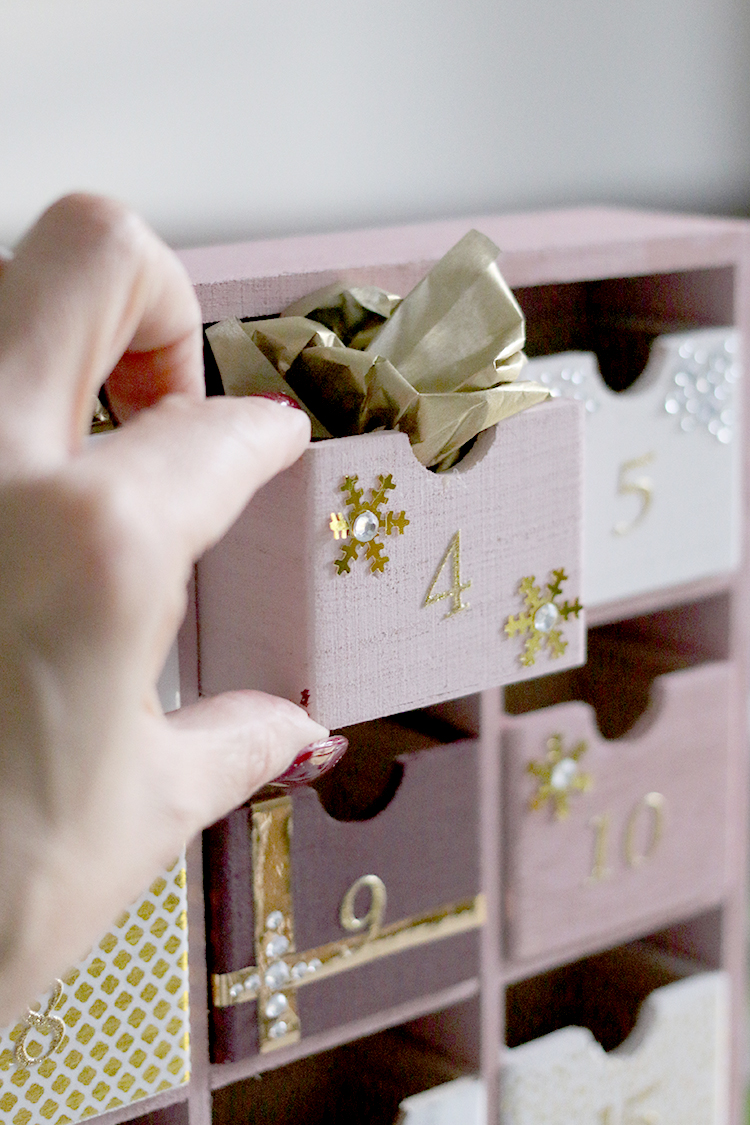
4. When all your boxes are dry, you can start to decorate! I tried to make each box slightly different and for a bit of Christmas glitz, used adhesive diamontes which are easiest to apply when you use a tweezers.
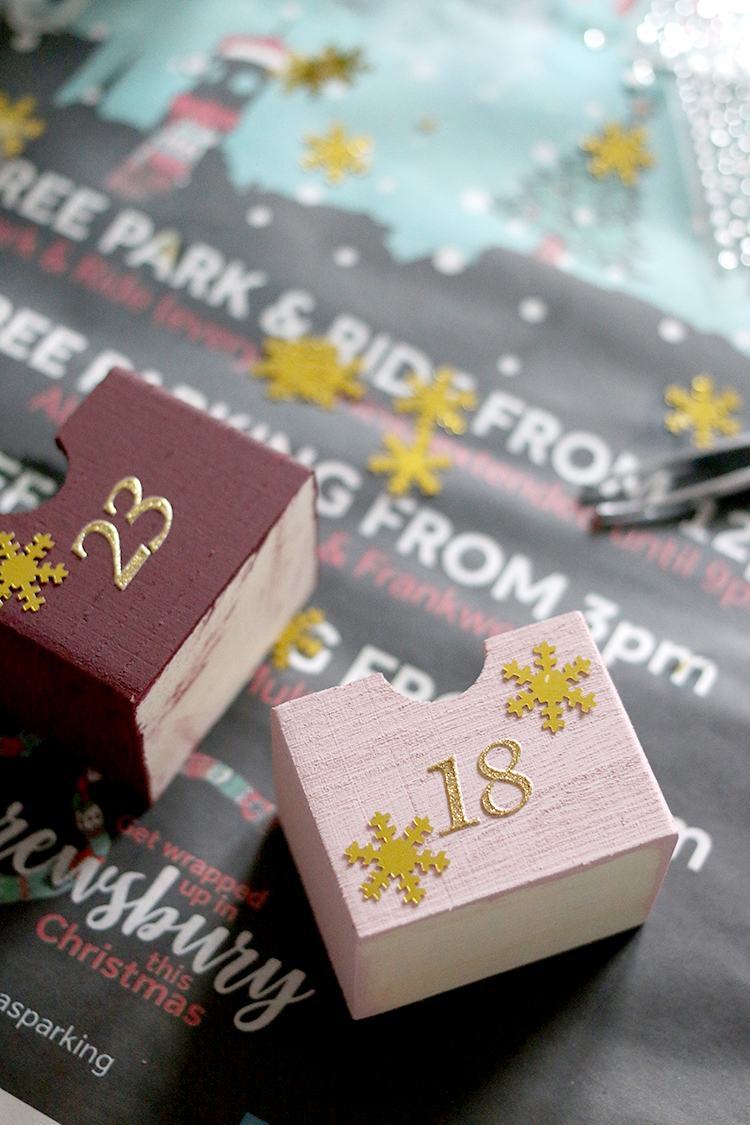
5. Add any other embellishments you wish – from bits of ribbon to snowflake sequins and add your adhesive numbers to the middle of the box (again, the numbers are best applied with a set of tweezers).
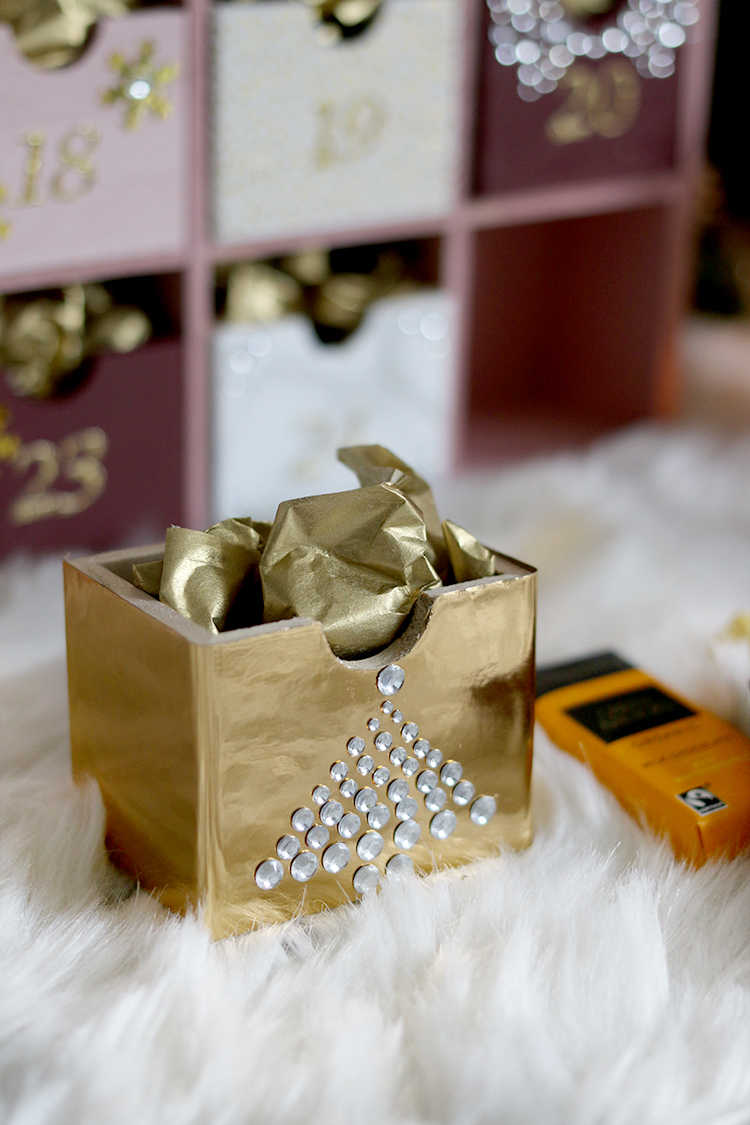
6. The last box (for the 25th December) was the only one I decorated with gold contact paper to make it stand out from the others and I created a little Christmas tree out of diamontes.

7. Once all your boxes are decorated, it’s time to pack them! I cut gold tissue wrapping into smaller squares.
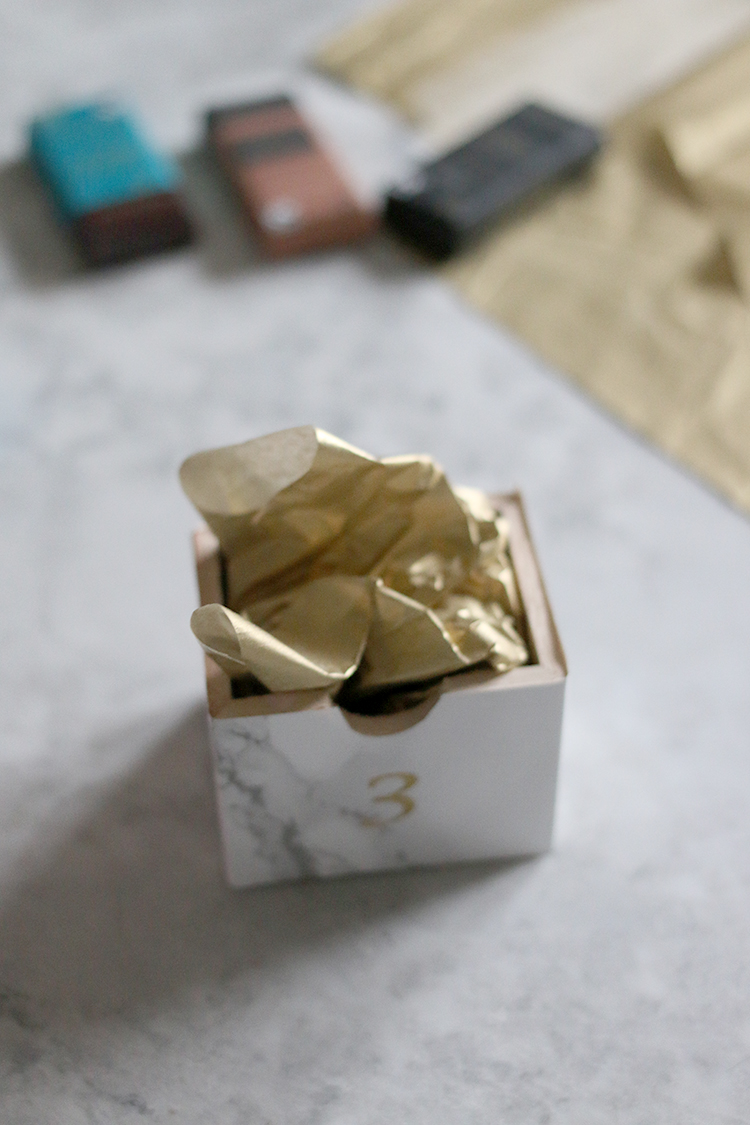
7. Tuck your Green & Black Organic Miniature chocolate bar into the tissue and cover completely, allowing a bit of the paper to show at the very top of the box.
8. Repeat for each box until your calendar is full!
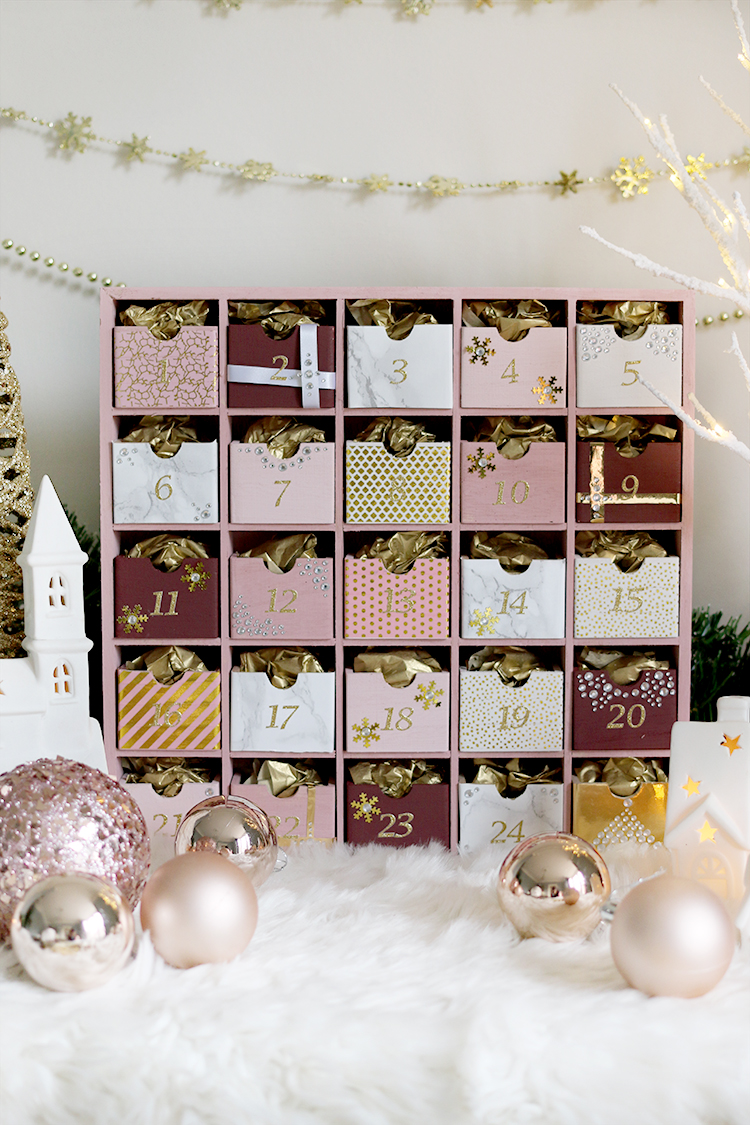
So that’s the easy and SO satisfying way to create your own totally glam DIY Advent Calendar that you can continue to use every year. I really enjoyed creating this and I’m counting down the days now until I can enjoy my Green & Black’s chocolate as a little indulgent sweet treat every single day. I hope you liked this little crafty project but do let me know if it’s something you’re tempted to create yourself and which Green & Black’s chocolate flavour is your favourite? (FYI, mine is the Hazelnut and Currant – YUM)
Disclaimer: This is a paid advertisement for Green & Black’s but as always, I only feature brands I really like and think you’ll love too! Thanks for supporting the brands that support Swoon Worthy.


What a fab idea hun. It’s very you! And easily adaptable to whatever ‘look’ you favour. xx
Fantastic job Kimberly, very creative and a beautiful result! We also love Green and Black’s chocolates. I’m actually going to do this for my husband, who will love having a tiny treat every morning before work. Thank you for the idea and instructions.
I love this and its so unique you can tailor it to how ever you want. Its fab. My favourite is the ginger flavour or the plain chocolate. Xxx🎅
Wow, what a great DIY! You are so clever :) The little wooden unit is such a good buy too, it’s perfect for this isn’t it and looks so pretty decorated the way you have done it. I was going to make an advent calendar myself this year, but fear I may be running out of time! We’ll see… Also, I love those little bars of Green & Blacks at Xmas, mmmm xxxx
This is simply beautiful, and easily the best Advent Calendar I’ve ever seen – a brilliant idea Kimberly!
So cute! And ! also love G&B chocs (Almond!) , so maybe I’ll make this for myself :0)
I love this so much! It has come out absolutely beautifully, and your styling in the photos is stunning with the white fur and those pinky baubles – it all looks so Christmassy and so glam. I could look at these pictures all day! I have got to do this at some point. Seeing as I made Rob that big fabric advent calendar – maybe I should make myself a wooden one like this and get Rob to put chocolates in it every year for me! Amazing crafty DIY Kimberly – I adore it! xxx
Oh my god I absolutely love this! Like you, every year I say to myself that I should create a new advent calendar but it always seems like too much effort. I would really love to make something unique and personal that the girls and I can get out every year and this would be perfect so I might totally copy you!! Plus how lovely to treat yourself to great quality chocolate each day! Ours would probably be shades of green with copper accents to match our living room decor and Christmas theme. I’m actually so excited about trying this, but not sure I have time to get it done before December so might be one for next year!! Brilliant post though, thank you clever lady!!
This is such a wonderful idea Kimberly and a fab way to use all of those gorgeous paint colour tester pots I have stashed away! I’m always frustrated that there are no good dairy-free advent calendars and the best solution? Make my own! Thanks for the inspo x