Shit’s just got REAL, y’all.
I don’t know why I went all gangsta just then but this weekend, I said goodbye to my peacock blue bathroom… and there’s really no turning back now!!
And I do realise that that post title isn’t gonna get your finger hovered over the ‘Pin It’ button but this is the reality of DIY and y’all know I like to keep it real here around Swoon Worthy – even when it’s not particularly… erm… swoon worthy.
 |
| *sniff* Goodbye old friend… it was good while it lasted. |
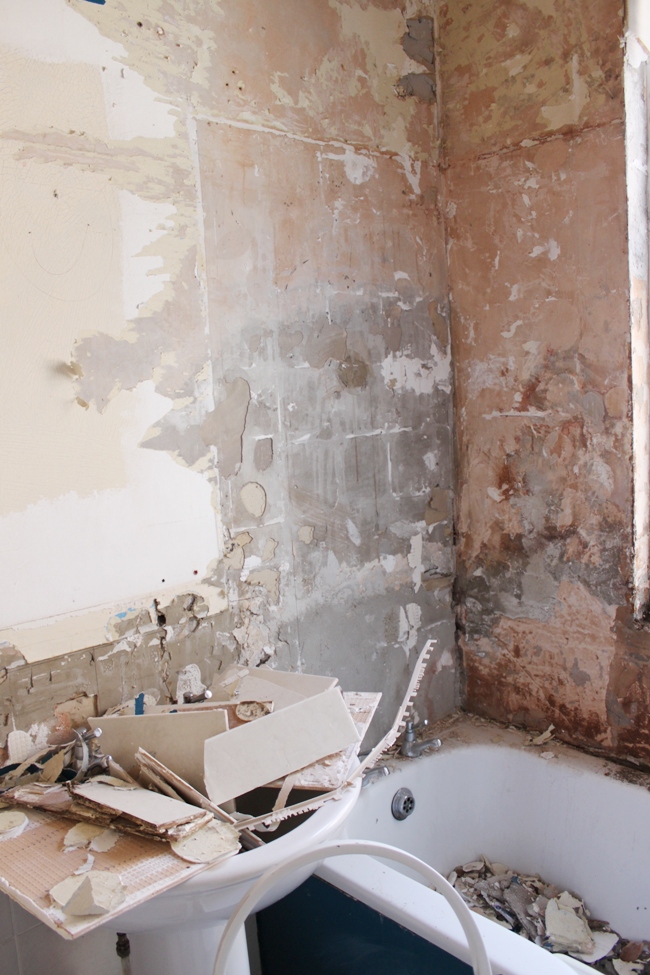
All the walls were stripped (or nearly, there’s still some stubborn bits that need scraping) and the tiles around the tub and window were removed…

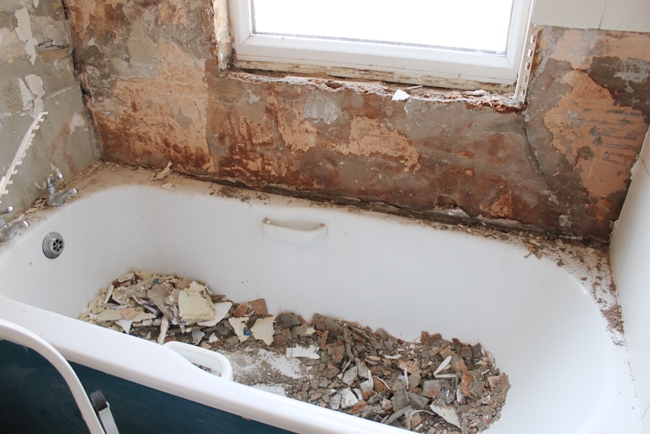
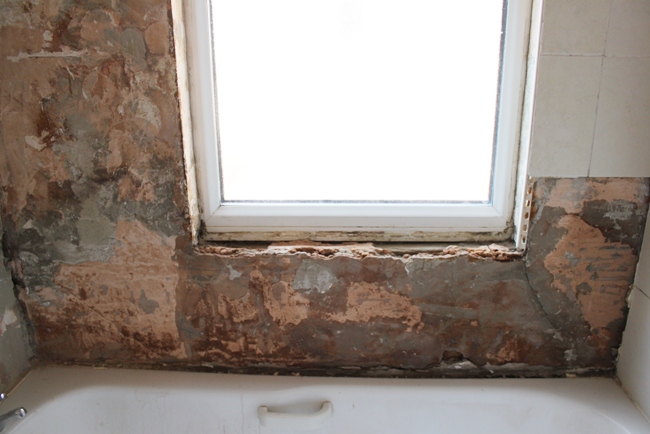
Yes, more mess. Check out that manky window action (and this is AFTER it was cleaned up!)…
Right, some DIY talk now for those of you like me who have a window RIGHT ABOVE your bathtub…
We noticed wet patches forming in the kitchen ceiling a while ago which sits directly below the bathroom and realised that this wall under the window was likely the problem (we also had some guttering changed earlier this year which might have added to the issue). It appears that what had been used on this wall is a ready mixed plaster (rather than the kind you mix with water to activate it). The ready-mix kind of plaster is fine for most of the bathroom but right under the window where it’s getting the brunt of water, it’s too porous and will absorb water. The plaster got wet, lost it’s adhesion and the tiles started to come away from the wall. What you end up with when you take the tiles off, is a big mouldy mess (as seen above!). So we’ll be using cement based plaster just around this area to ensure that this issue doesn’t reoccur.
One of the things that has confounded us since we moved in is why the shower controls are on one side and the taps on the bath are on the other. Also, there was a false wall created to hold the pipework which meant that the bathtub had to be a smaller size.
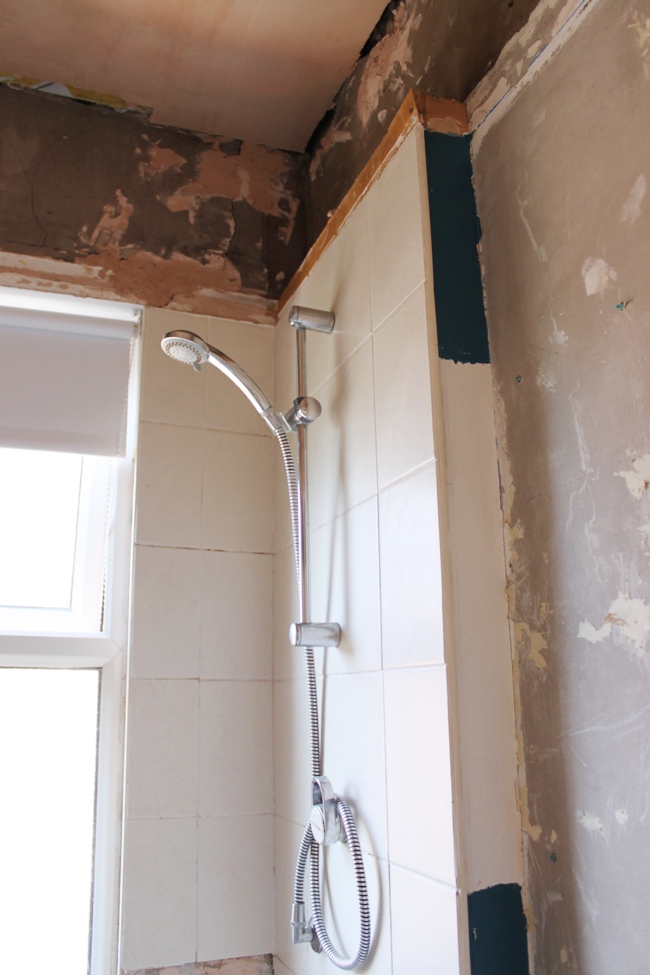
Needless to say, that’s getting ripped out and we’re getting a slightly larger bathtub (from a teeny 1500mm to a just-about-reasonable 1600mm). We’re also going to move the pipework over to the other wall so that all the controls are on the same side. I’ll be sharing some of the new fixtures and fittings in an upcoming post!
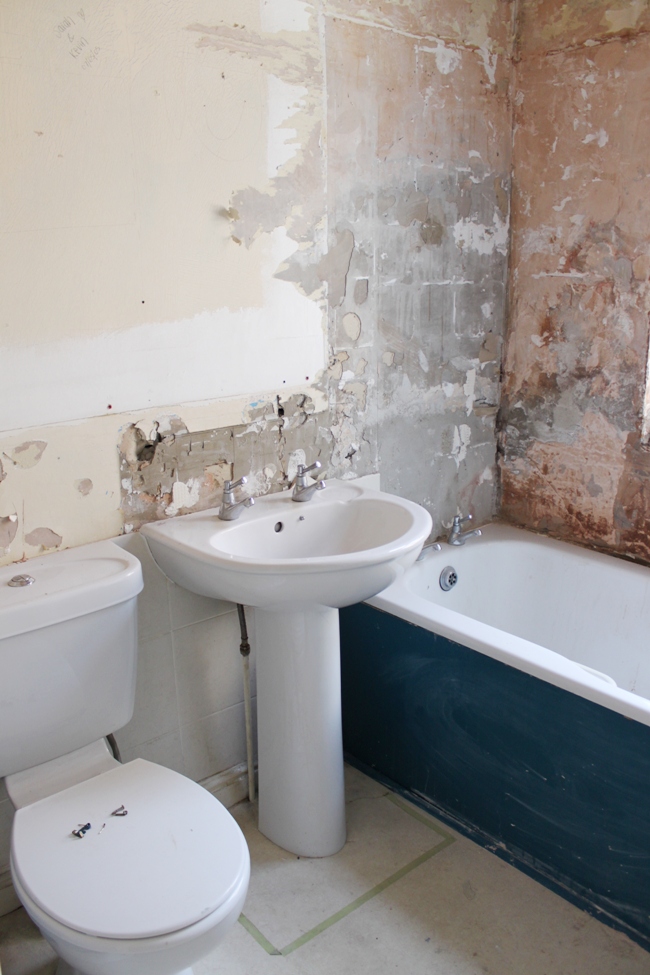
As you can see, we also removed the huge mirror above the toilet and sink and found this… Awww….
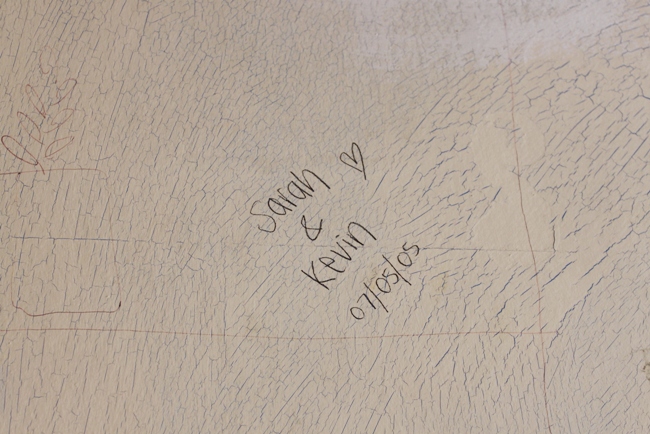
Hi Sarah and Kevin (who we bought the house from)! Sorry we’re ripping your bathroom to bits but it really needed it. Hope you understand!
Wayne has the week off to get the majority of the work done – so there will be plastering, painting, some of the tiling done, electrics and the whole bathroom suite ripped out and replaced!! Bear in mind that I’m working all week so shall we see how I get on with still being able to shower in the mornings? Hmmm. Keep your fingers crossed for me that the disruption won’t be too bad, ok?
In better news, by next week, I should be able to show you some REAL progress. Stay tuned…


At least it can't get much worse now, it'll slowly get better and better.<br />I thought of you yesterday – I went to a large antiques fair and there were quite a lot of brass bits and bobs!
Eeek! You are so brave to take this reno on! I'm good for painting and that's about it ;) I'm super excite for you though!
I love that little message you uncovered – good luck with all the work, I'm sure it'll be worth it.
I hate bathroom remodels but it is definitely worth it in the end!! <br /><br />Ashley xo
Ah, this brings back fond memories of our DIY bathroom remodel in our old house. We also only had one bathroom, and it was teeny, so we had to actually remove the bath from the room every day to work behind/under it to do pipe work and tiling, and then plumb it back in again to take showers. Yikes! You guys have made great progress – looking forward to seeing more.
You are on the upswing now girlfriend!
Yay for progress! It has to get ugly so it can get pretty, right? Work it!
We're renovating at the minute and have been signing all our walls and things it's nice to think someone may uncover them in years to come like you did here. <br />Good luck with the work I really do feel your pain on this one