One day last week, I began the process of cleaning my kitchen (like proper cleaning where you take things off the sides, not just wipe around them) and realised I’d not really had a re-style of my shelves since the kitchen was installed back in September of last year. For me to go more than 6 months without a re-shuffle is pretty rare so I figured while I was removing things from the surfaces, I might as well do it there and then.
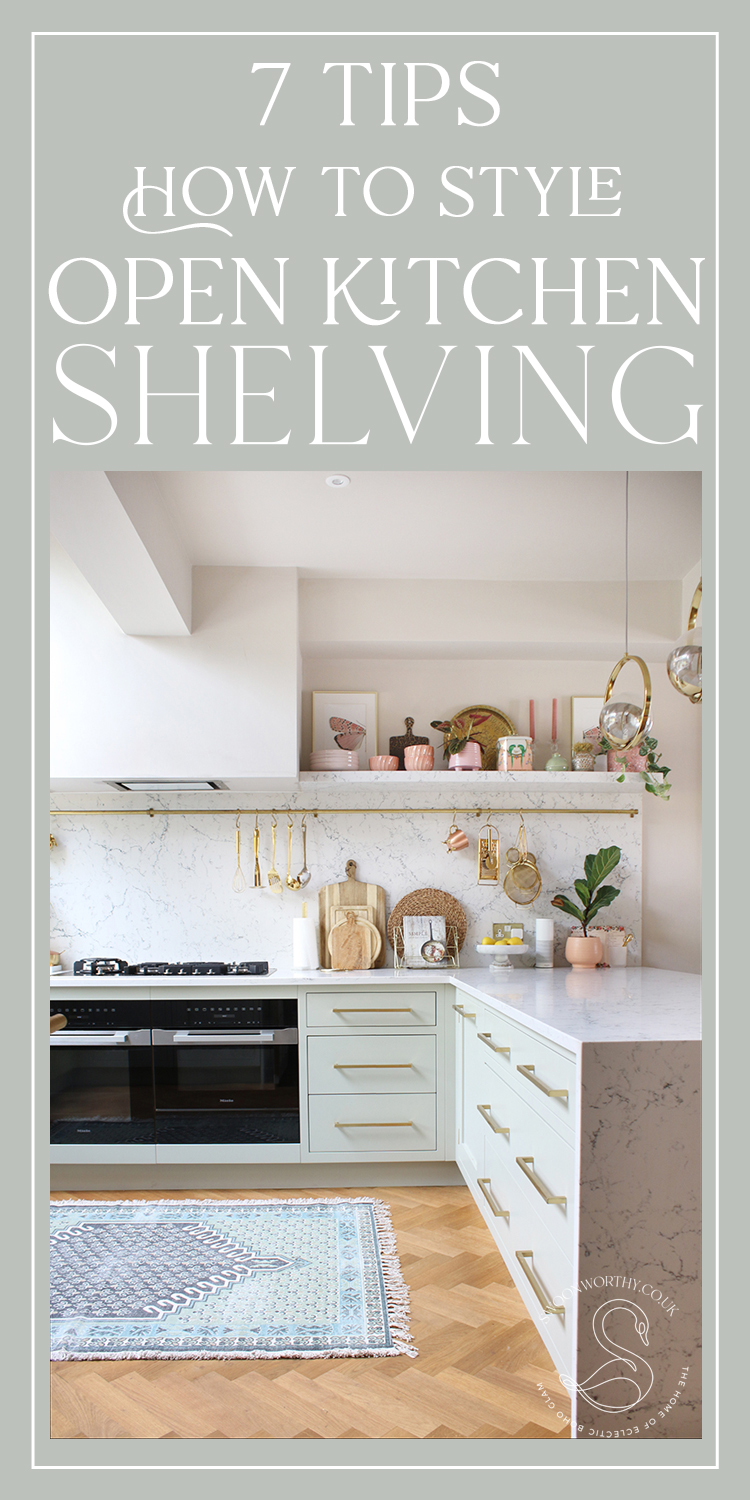
I shared the process over on my Instagram Stories but figured it would be good to have some tips on my blog as well in case you have open shelves in your own kitchen and would like some tips on styling them so they not only look good but they are totally practical as well.
Tip 1 – Display what you use every day
I wanted to address a concern that I hear over and over again. Every time I talk about my kitchen shelves I get someone (or lots of people rather) that ask some form of, ‘Yeah but don’t they get all dusty and greasy? Ewww.’ Now, I’ve had open shelving in my kitchen not just in this home but in my previous one as well and so I’m going to address this straight away.
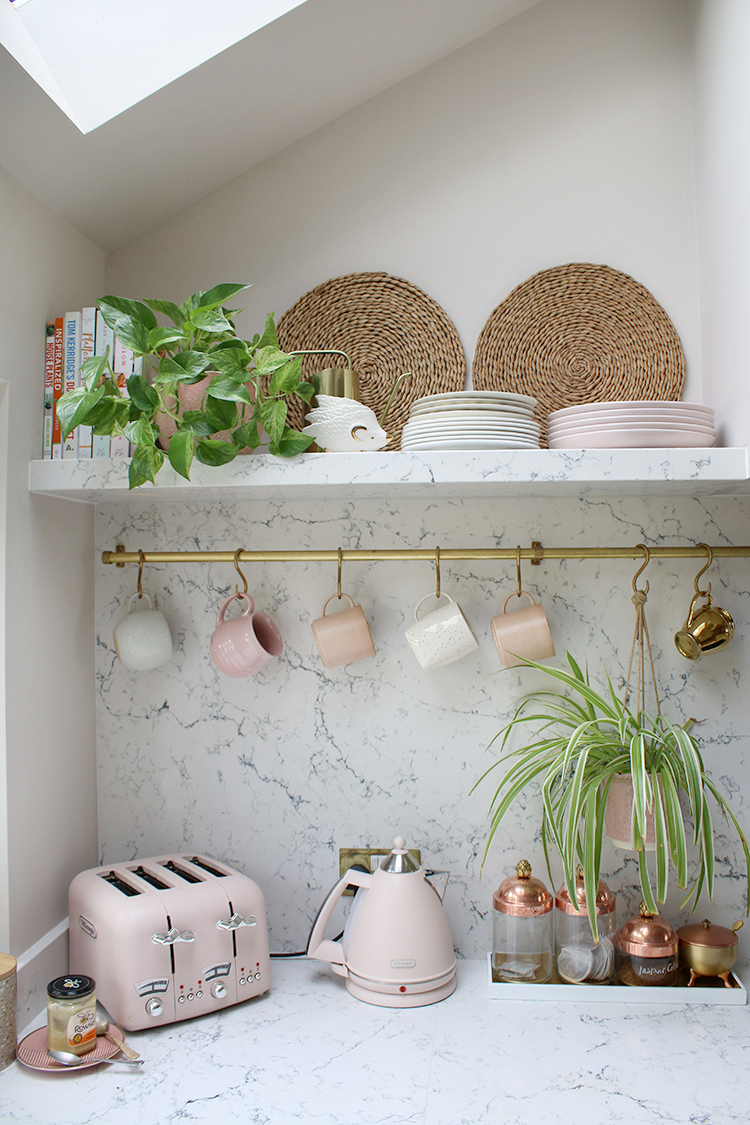
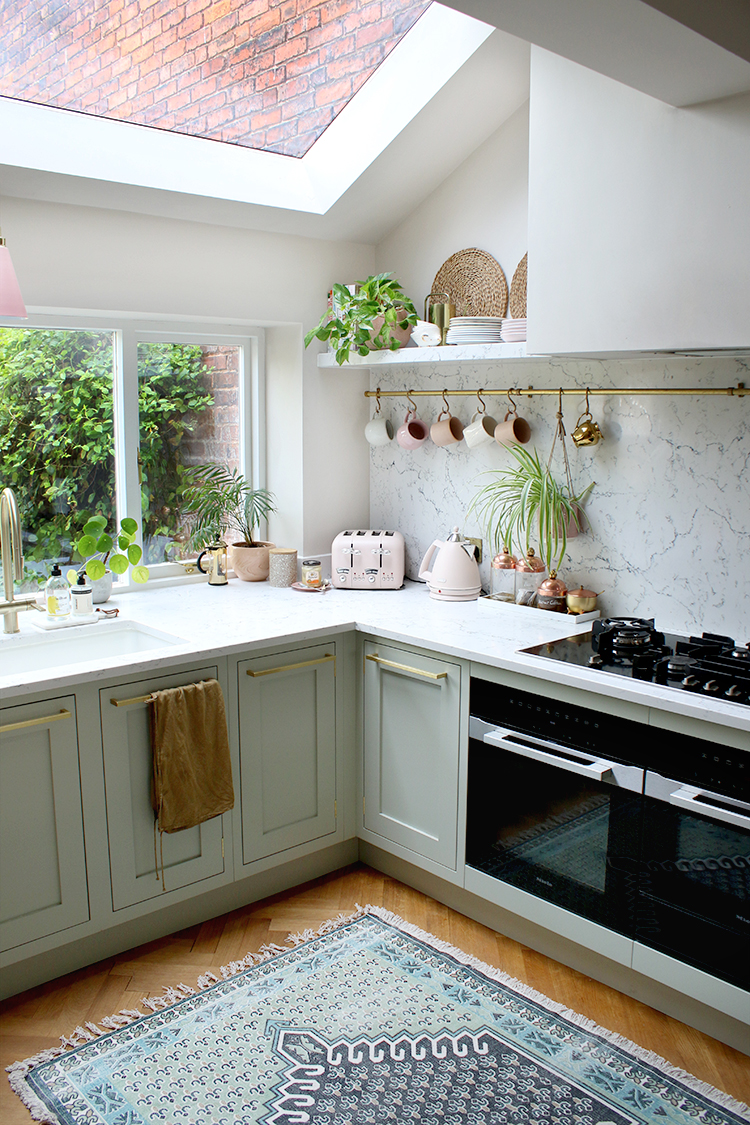
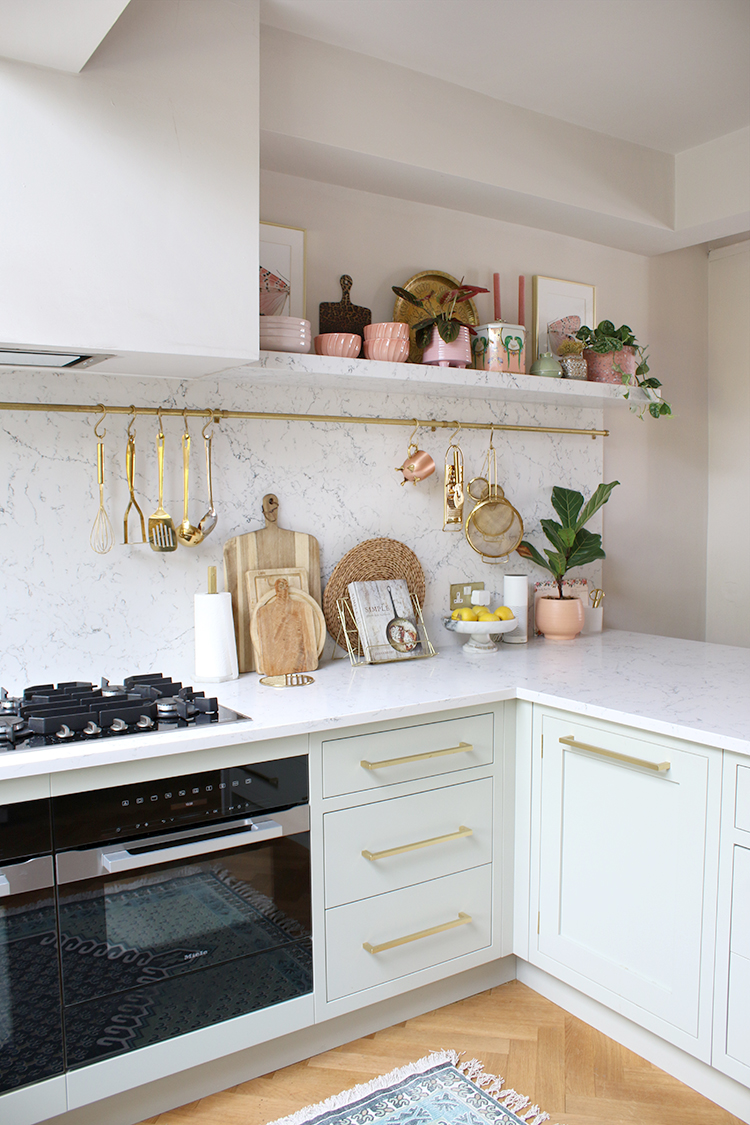
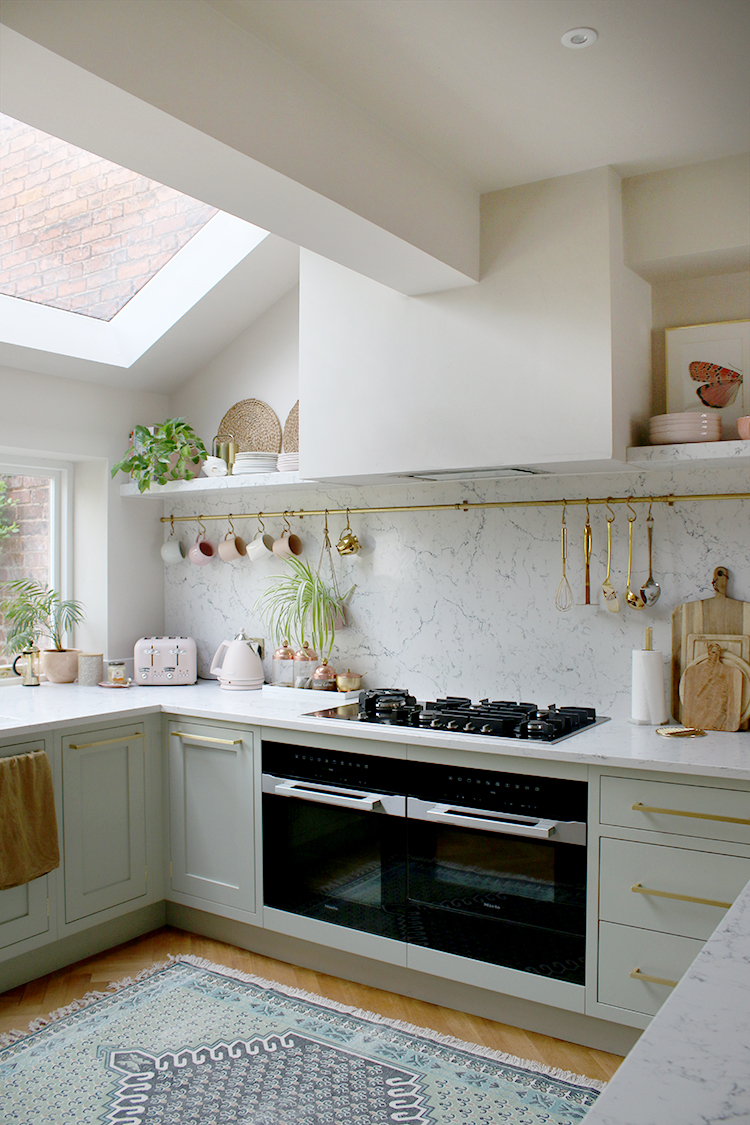
In my current kitchen, we have a single shelf on each side of the extractor. In our previous kitchen, we had 3 on each side. So here’s what I learned about keeping them clean. If you display your everyday dishes, plates, mugs, glassware, etc and you are constantly reaching for these, they won’t get dirty or dusty – because you are constantly using them, constantly washing them.
If you only have pretty display things showing that you aren’t using all the time – like that favourite dinner set that only gets used on special occasions – then yes, they are going to get dusty (just the same as if you had them anywhere in your home) and yes, you will have to clean them (again, just as you would any other area of your house). So my advice is to get the everyday stuff out of the cupboards and get them on display OR start using that pretty dinner set and enjoy them rather than just looking at them. Life is too short not to use pretty dishes.
I would also advise getting a decent extractor. We have a Meile extractor fan in our kitchen and it works amazingly well to extract any grease out of the air (and we cook a lot). So no, nothing ever feels greasy up there, it’s fine.
The other thing I realised in our old kitchen is that the stuff on the very top shelf fared the worst simply because I only put stuff up on the top shelf that I rarely used (because I’m a shortarse and couldn’t reach it). And so, of course, over time that stuff would get a bit dusty so I made it part of my regular cleaning routine so they didn’t get too manky. I often wonder if people think I’m so gross that I never clean my kitchen?! Of course, I clean it just like I would any other shelving in my home. If you keep on top of it, it will be fine, I promise.
Tip 2 – Use Layers to Create Depth
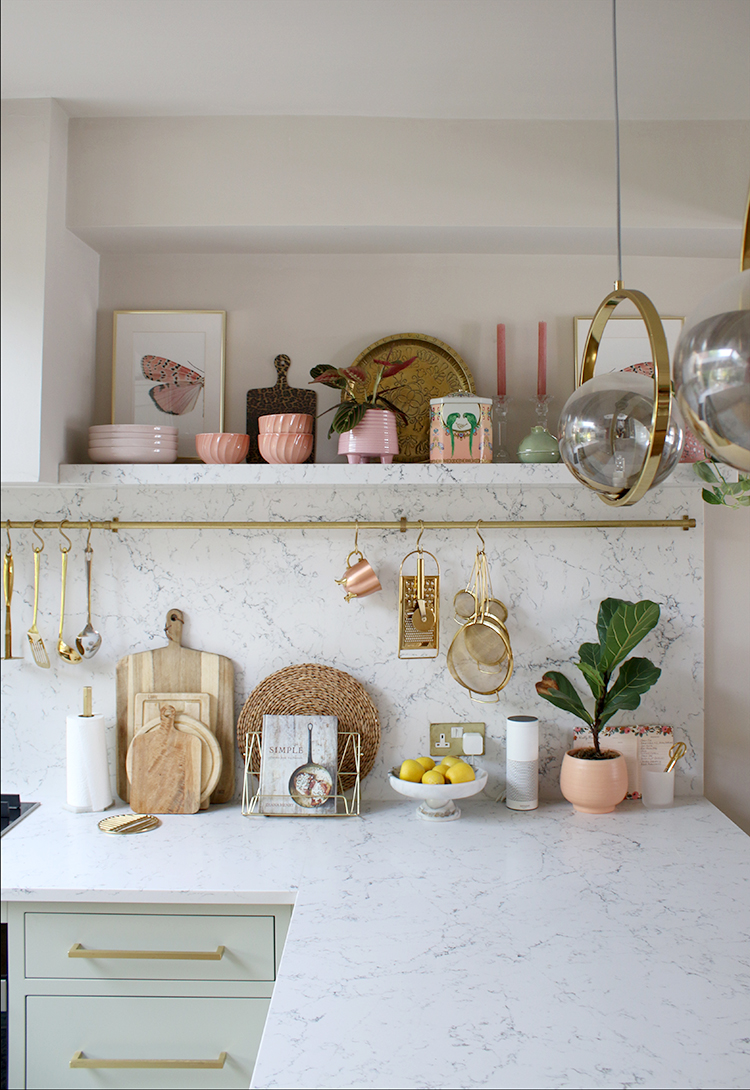
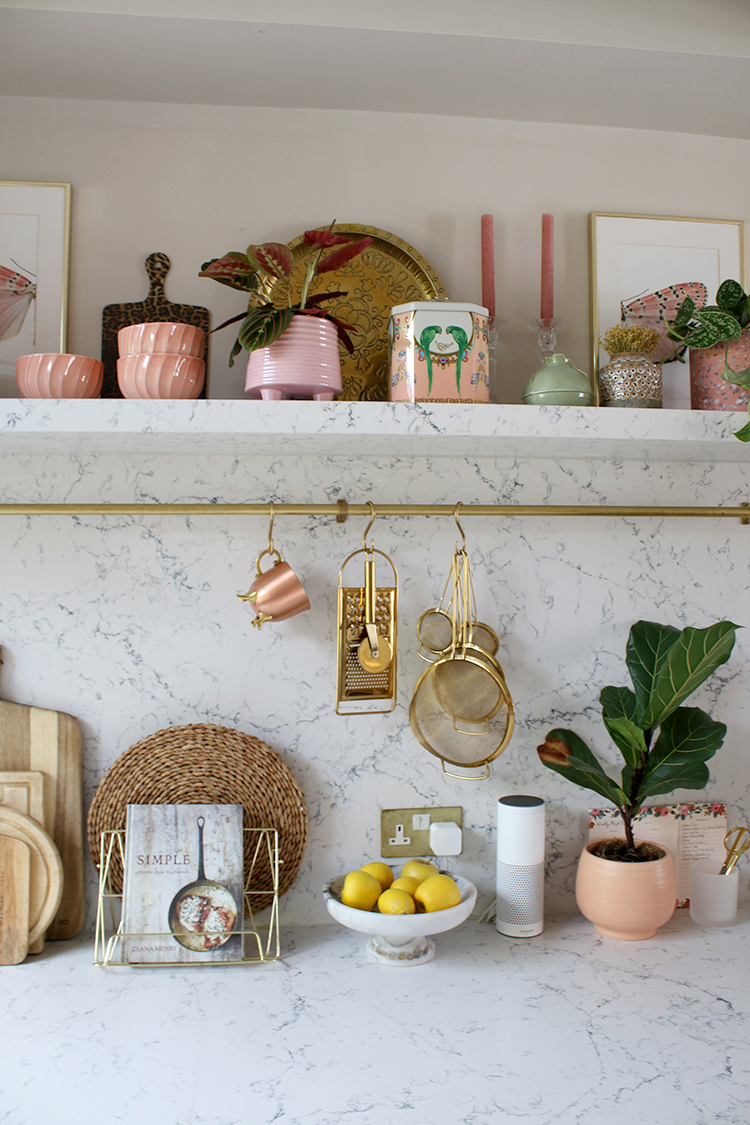
Now, most shelving by its nature tends to be of limited depth which means there’s not a lot of space for layering as there would be perhaps on a chest of drawers. But it doesn’t mean that you can’t use this styling trick to give your shelves some interest. I tend to start at the very back layer first, choosing items with additional height to frame out whatever is in front of it.
On my current kitchen shelf, I have a couple of picture frames, some slim tall candlesticks and a tray on one side and on the other, I used some textured rattan woven placemats. I use a bit of white tack on the back of them just to keep them in place so they don’t topple over when I’m grabbing the items in front of them.
I’d highly recommend using a little bit of art in your kitchen as well. It’s just a great way to share some of your personality and tie it into the rest of your home or pull in your colour theme so smaller pieces like you see above are a good way of creating that height you want without taking up too much space.
Once you have that back layer sorted, you can move on to the layer in front of that to add depth.
Tip 3 – Use Different Textures to Create Interest
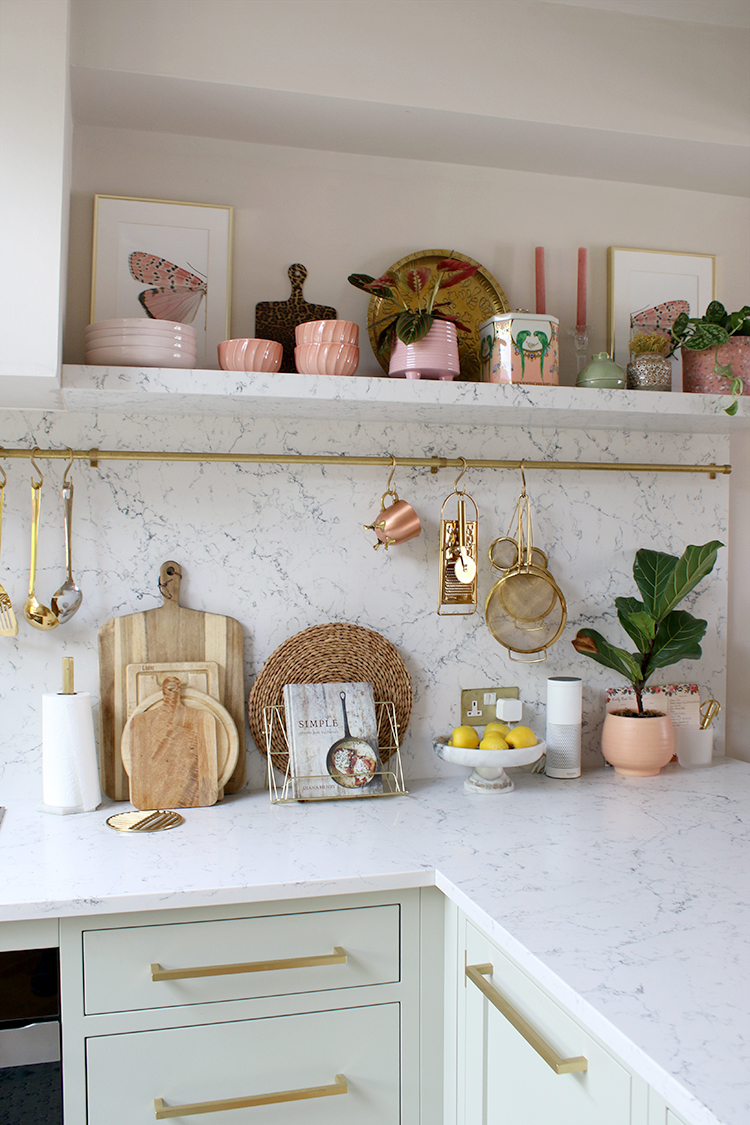
My next tip would be to ensure you have some contrasting textures on your shelves. So while your everyday stuff might be glass or smooth ceramic or porcelain, you’ll want to find other items to choose to display alongside these. The rough texture of a clay pot or the warmth of a wood bowl or cutting boards will add a lovely element to your shelves. You may want to choose some rattan placemats as I did. Unglazed ceramics add another texture or pull in some smooth marble or metallic elements.
Tip 4 – Add Some Life
Another way of bringing in an additional texture as well as some organic form is through greenery. I love plant-filled shelves – they add so much colour and life to any room and the kitchen is no different. I especially like trailing plants in the kitchen, allowing the leaves to drape down – it breaks up the hard line of the shelf.
I try to add at least a few plants along the entire line of the shelving in my own kitchen, ensuring there’s a nice balance of greenery throughout.
Tip 5 – Use the Rule of Threes
Most stylists will know and love this one but try grouping items in threes (although one large item on its own is fine too or 5 smaller ones). For some reason, our eye is drawn to odd numbers so you might want to stack 5 cookbooks together on one shelf or a set of three pitchers of varying heights together. Of course, most of us have sets of plates or glasses in even numbers (4 or 6) so you might want to have 4 glasses on a small tray (the tray would be the 5th item). A stack of plates could be considered one item as they are grouped together. Don’t get too hung up on this one in a kitchen (I think its more important on something like living room shelving where it’s more display than practical) but adding a few nice decorative pieces to your shelves does bring in some personality.
Tip 6 – Use Contrasting Sizes and Shapes
Similar to the texture tip above, different sizes of items also will add some additional interest to your shelving. Naturally, in a kitchen, you will have this to hand anyway – glasses, stacks of plates, bowls etc all serve different functions and so you’ll naturally have different sizes and shapes to everything.
Tip 7 – Creating an Interesting Line
Your eye will naturally stagnate on a straight line so when everything is all lined up and everything is the same height, it ends up looking a bit flat and boring. So when you are styling, those sizes and shapes come into play. You want to create an interesting line for your eye to follow. So you may want to include a large low bowl on your shelves then a tall pitcher then a shorter stack of plates then a grouping of some tall glasses. Try not to put too many things that are the same height right next to each other. You can see on my own shelves that I have stacks of plates on one side and the bowls on the other but they are all different heights so they don’t look too static and flat.
So those are the basic things I like to think about when I’m styling my kitchen shelves. Of course, everyone’s shelves will be slightly different which is why I wanted to talk in generalities rather than giving you a step-by-step but hopefully, you’ve gleaned some new tips. A little bonus tip? Every once in a while as you are placing objects on the shelves, stand back and assess the shelves as a whole. If what you placed looks balanced and ‘right’ to your eye, continue on but if not, then just keep moving bits around until it does (it’s subjective so if you like it, then it probably works).
Have you tried styling your kitchen shelves lately – is it something you’ve struggled with? Is there anything you’d add to my tips? Do let me know in the comments below!


I still can’t get over the beauty of your kitchen!! Your open shelves look gorgeous and add such personality. If I “style” any shelves (when I do it, the term “style” is used in it’s loosest possible sense!) I just leave them like that forever! I never change them up like you do – the first time is enough effort! I need your skillzzz!
Beautiful styling!
Hi Kimberly, can I ask about your actual marble shelves – how are they supported, are there discreet brackets?
Agree that open shelves are not scary. I have a mix of open & closed storage, with the neater stuff on display, and always amazed it’s not immediately sticky. Best tip is the strong extractor (and cooking with lids on), I’m sure that makes a real difference.
Thank you for this blog it really helps to the decoration of the kitchen. I always follow these blogs it helps me for the decoration of myy kitchen