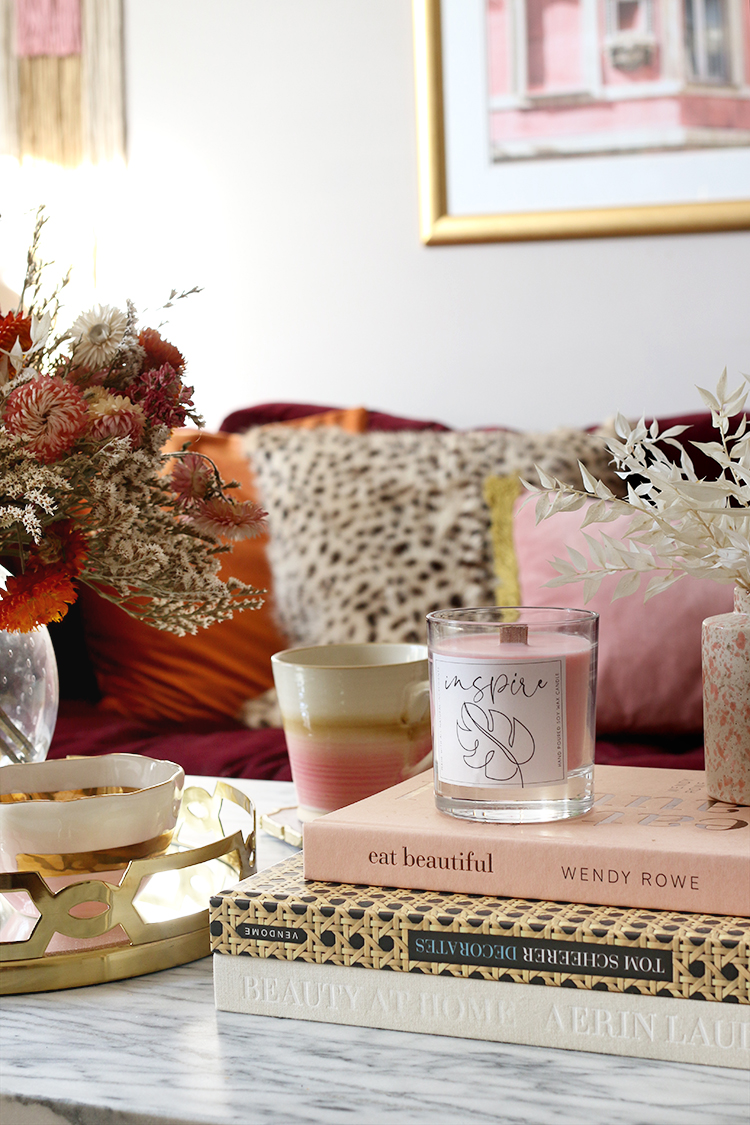
If you follow me on Instagram Stories, you may know that about a month ago, I decided I wanted to try my hand at making coloured candles using dye. I started off with mica powder but quickly learned that the powder gets absorbed into the wicks, making them nearly impossible to light. So I moved on to something else – candle dye flakes specifically made for colouring candles which don’t impede on how well it burns. Happy days.
Since then, I’ve been spending an awful lot of time behind the scenes perfecting my craft in a lot of different ways. I’ve made my own DIY candles for years now as a hobby but learning the true art and science behind creating perfect candles with a view to selling them (and yes, this is my plan although given the current climate, is quite a way off right now)* has been eye-opening and thoroughly enjoyable.

Update! My luxury range of candles is now available here.
Now, as I know most of you reading this will only be hoping to make them as one-offs, either for yourself or as a gift, I’m going to keep this tutorial as simple as possible. There’s absolutely no need to invest in a lot of fancy thermometers, scales and tools of the trade or testing various kinds of wicks to achieve a perfect melt pool when you are doing this for fun.
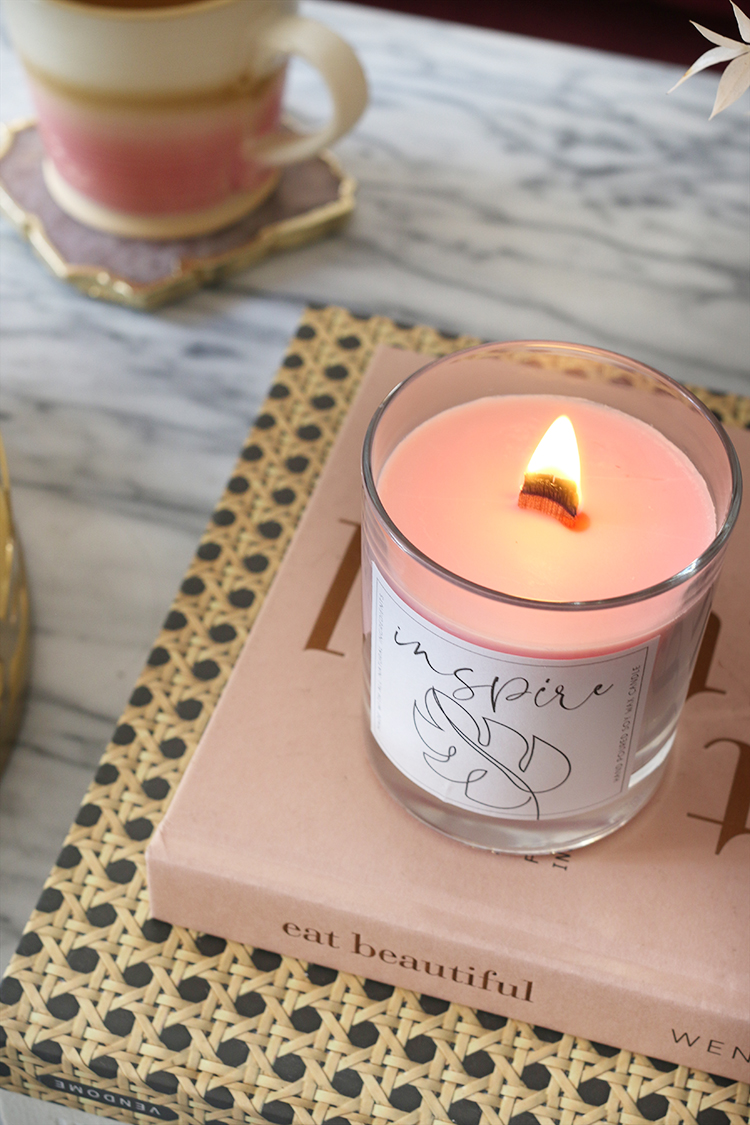
So today, I wanted to share with you how to make your own coloured candles. For this tutorial, I chose a pink shade but there are so many different colours on the market so if you’re not into pink, you can simply choose a different shade to play with – or multiple ones which can be mixed to achieve your perfect colour (I’ve been having fun doing this too with varying levels of success!).
I decided to use a wood wick for these as this is something I’ve tried before and feel as though I’ve cracked how best to use them in candles so I’ll share my tips on those too. I have also decided to use essential oils which I’ve played with for years. Something to bear in mind when it comes to essential oils: you will not get a very highly scented candle with essential oils especially if you are using soy wax. So it’s a small sacrifice to make if you want to keep things fully natural which I’m doing here. But they will be pretty, they will add a subtle scent and they’ll add to the ambience of your room.
Affiliate links may be used in this post which means if you purchase via my link, I may earn a small commission. You’ll never pay more for clicking on these links.
Wood Wick Candles with Dye Flakes – Materials

So here’s what you’re going to need:
- A clear glass candle holder (I used something similar to these)
- Soy wax flakes
- 2 wood wicks with 1 stabiliser
- Carrier oil (sweet almond oil, coconut oil, argen oil or olive oil will be fine here)
- Candle Dye Flakes (I used light pink)
- Essential oil (I used around 15ml (about a tablespoon) of Lavender oil for mine)
- Downloadable Free Printables to print out (just click that link to open in a new window)
- Plain printer paper with double-sided tape OR
- Printer paper with an adhesive backing
A couple notes on the materials list: you can also use a ceramic vessel but I recommended glass so you can really appreciate the colour from all angles. Consider utilising an old candle container from a candle that you’ve already used as an upcycle. Make sure whatever you use is suitable to be used with heat which is why I wouldn’t recommend a glass tumbler as the glass may get too hot and shatter. Just use your common sense please – not everything can be made into a candle.
Wax flakes melt to roughly half the volume once melted. So to get the correct amount of wax you’ll need, fill up your vessel twice with wax flakes and put into a bowl. Once this melts, it will fill your vessel nicely.
You can use whatever essential oils you like.
I’ve included free printable labels to dress the outside of your candle, simply click the link and a pdf will open on another tab.
Wood Wick Candles with Dye Flakes – Instructions
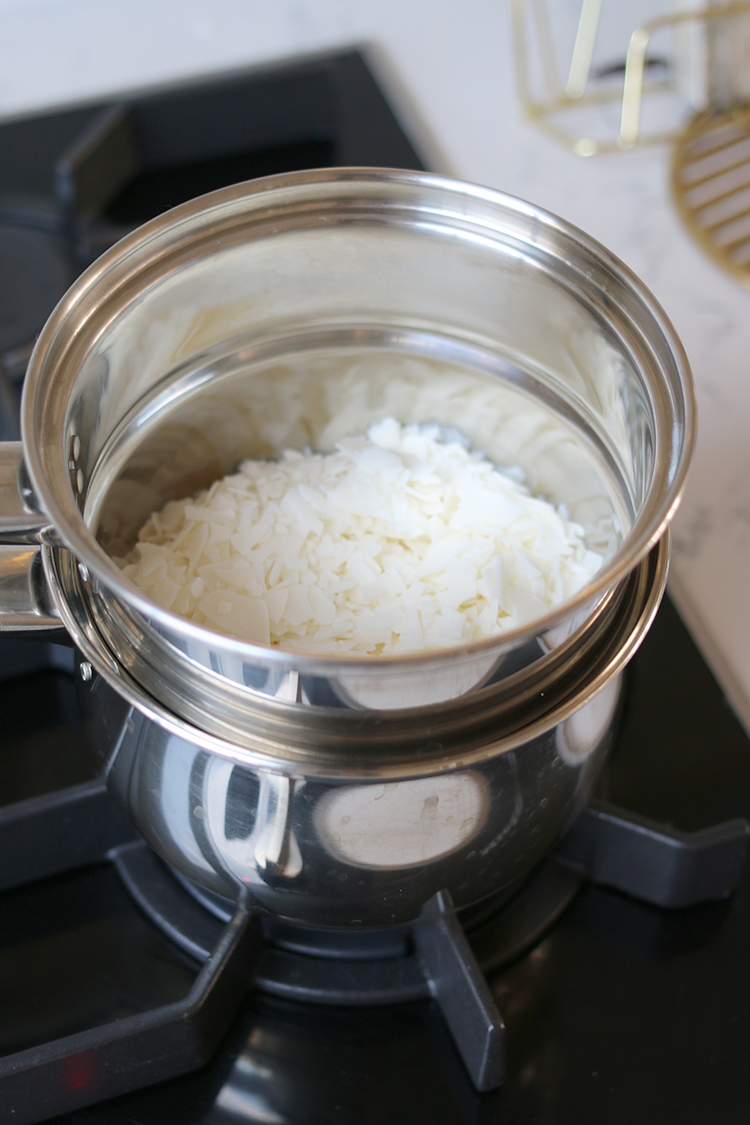
Step 1. Measure out your wax flakes as indicated above using twice the amount of wax flakes it takes to fill your vessel. Pour these into a bain-marie or if you do not have a bain-marie, simply create one using a glass bowl or smaller pot resting in a larger pot with about 1″ of water. Heat the water so that it is simmering gently (it doesn’t need to be boiling rapidly). Do not put the wax flakes directly on the heat.

Step 2. While the wax is melting, prepare your 2 wood wicks by using a shallow bowl and covering them with your carrier oil to soak. Doubling up your wood wicks and soaking them in oil provides a bit more fuel for the wood wicks to burn so that you get a nice flame and it won’t go out on you when the candle is burning.
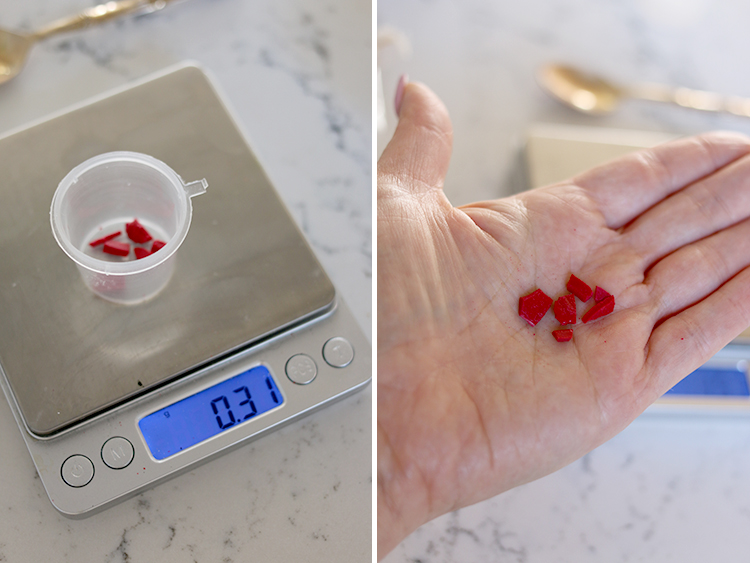
Step 3. Measure out your dye flakes. You really only need a very small amount to create colour in your candle. I used a 30cl candle vessel and only 0.31g of flakes. If you don’t have a scale, you’re looking for enough to roughly cover about 50p coin (see images above for a visual).
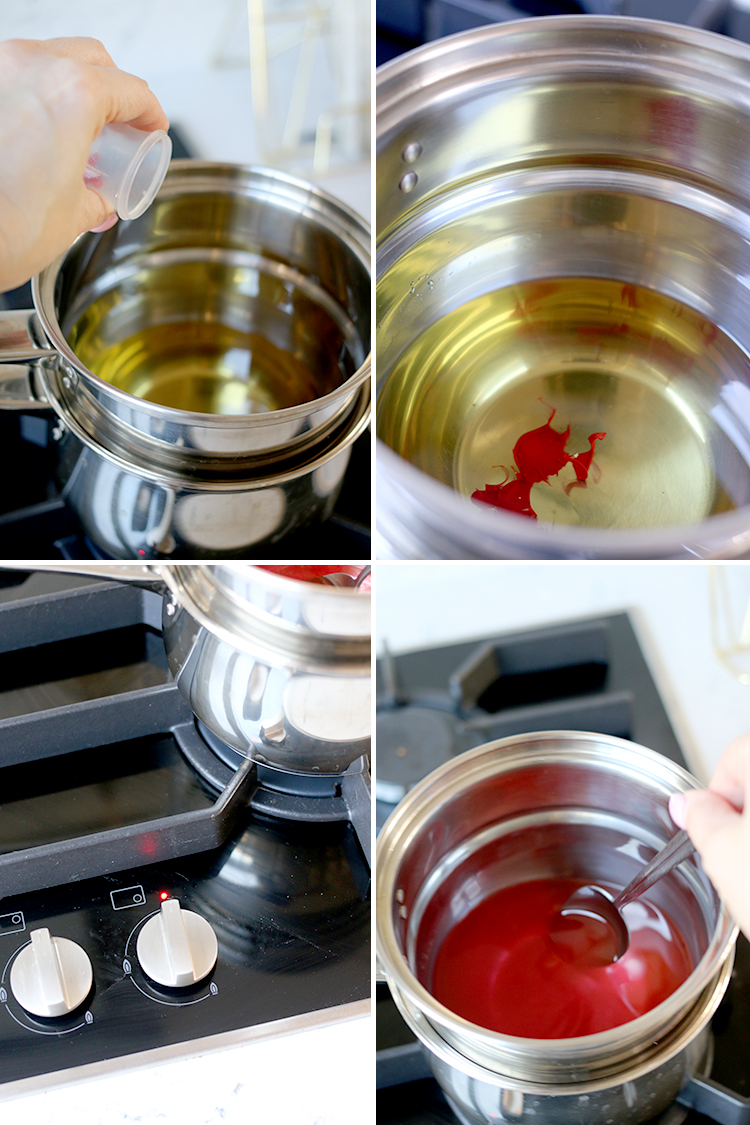
Step 4. Once your wax is fully melted, wait about 1 minute to allow the wax to get to temperature and then add your wax flakes and turn off the heat on your cooker. Stir continuously for around 2 minutes until it is fully dissolved. You can test the colour in the meantime if you’d like by using a piece of white paper or card – take a tiny bit from the spoon and pour out a bit on to the paper. This should dry rather quickly so you can see the colour you’ll get. If you want a stronger colour, add a tiny flake at a time until you achieve the colour you would like. Again, you only need a small amount.
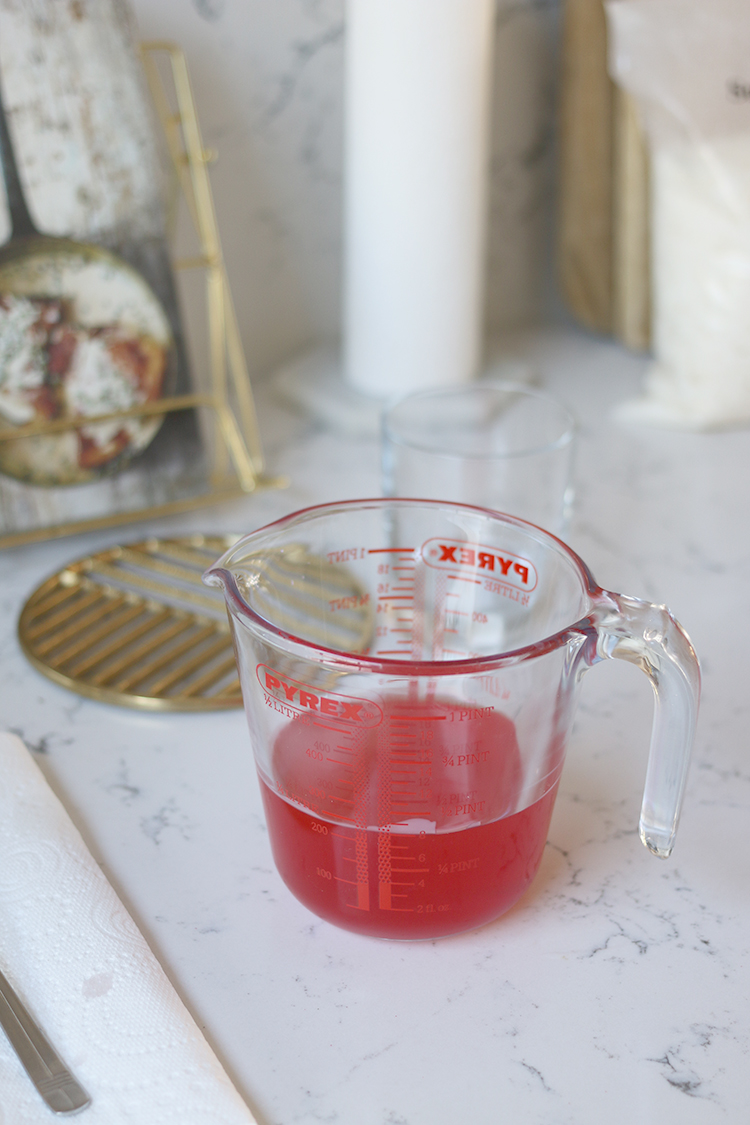
Step 5. Once you’ve thoroughly mixed the colour, pour the wax into a waiting Pyrex jar. We’re going to allow it to come down in temperature slightly.

Step 6. While the wax is cooling, remove the wicks from the oil and attach them to the stabiliser (this can get a bit messy so I used a paper towel here).
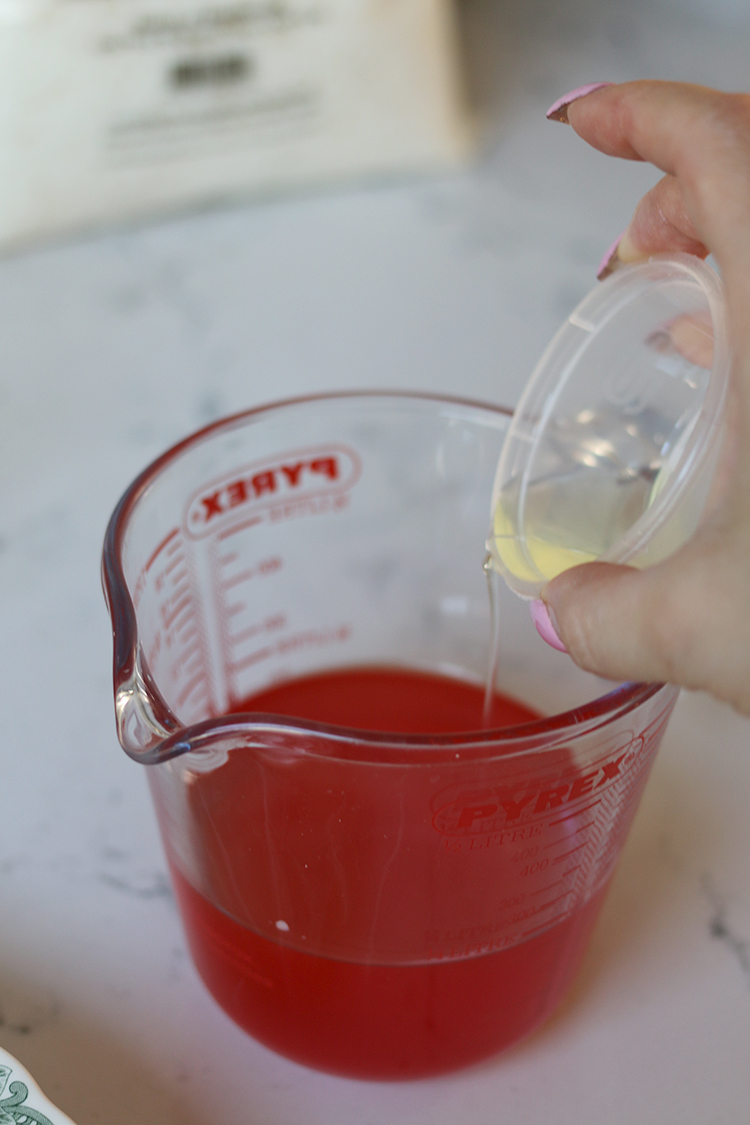
Step 7. Add the essential oil to the pyrex jar and thoroughly mix for around 1-2 minutes. It’s okay if the mix starts to go slightly cloudy, just don’t let it set and keep stirring.
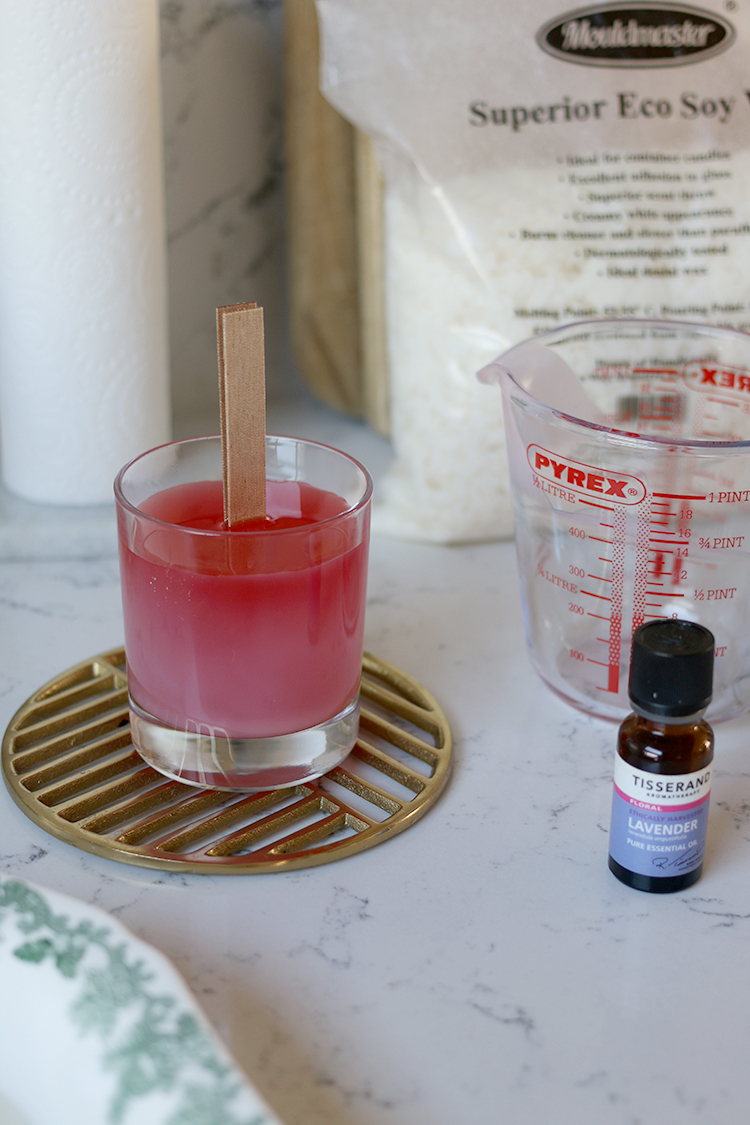
Step 8. Pour the wax into the candle jar and stand the wick carefully in the centre of the jar – make sure you set it somewhere that it can just be left for an hour or so as you don’t want to move it around once it’s been poured. Leave the candle to cure for 24 hours before lighting it. I know this will be difficult as it will look like you can use it straight away but trust me, you need to allow it to fully harden!
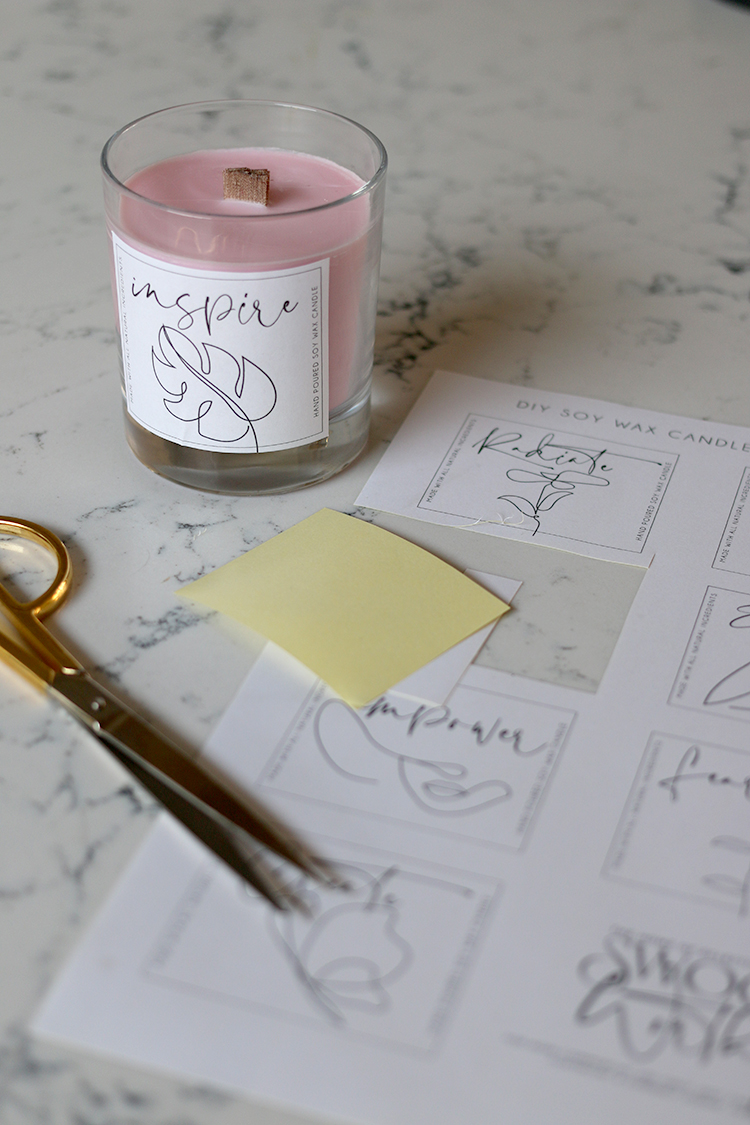
Step 9. The following day, trim your wick with some heavy-duty scissors or wick trimmers, print out your labels and apply using double-sided tape or if you used adhesive paper, simply remove the backing and apply.
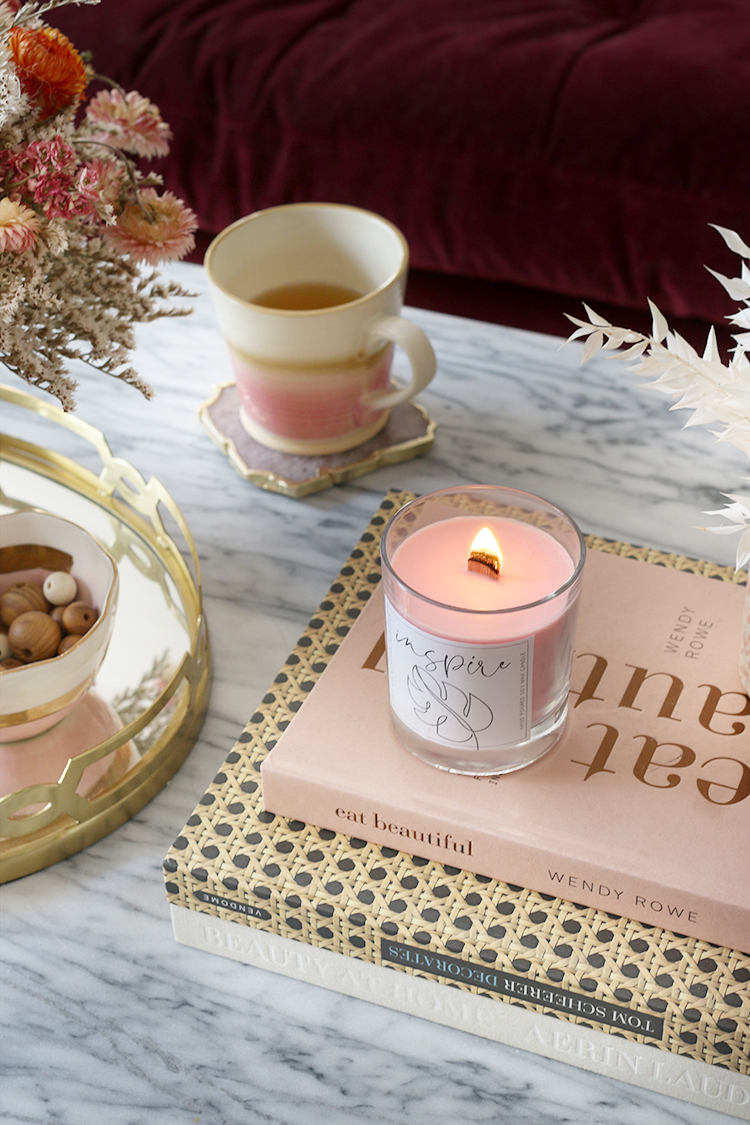
And that’s it! You’ve got a gorgeous coloured candle that you can enjoy in your home or give as gifts.
I hope you enjoyed my little tutorial! Have you made your own candles before or is this a craft you might try? Do let me know in the comments!
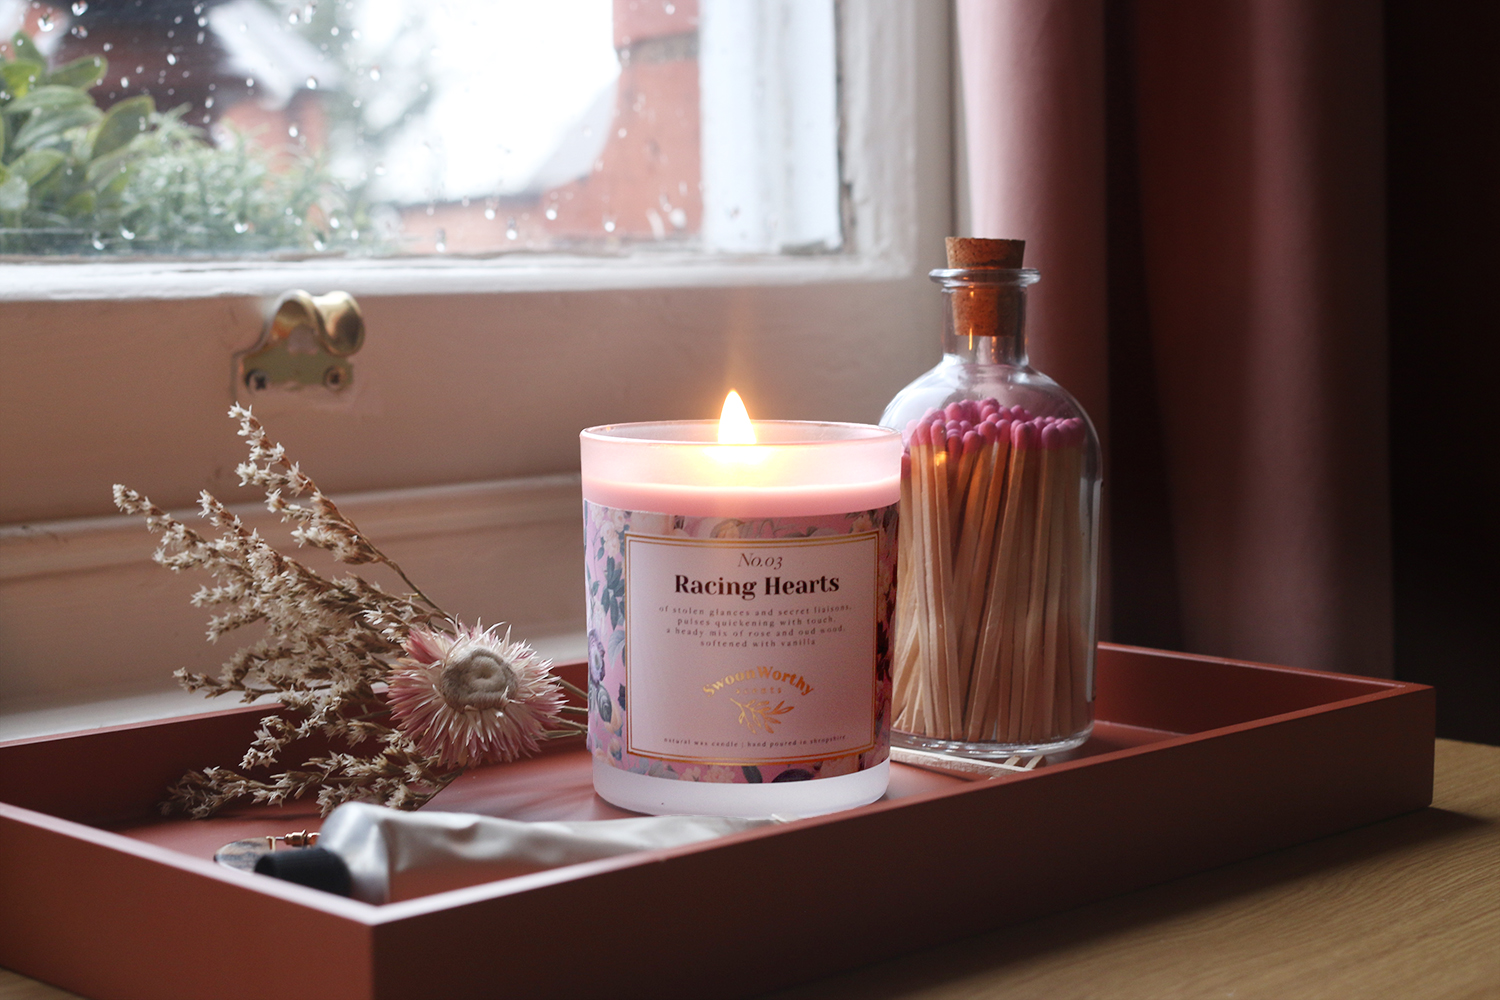
Did you know I now sell my own range of luxury candles? Check out Swoon Worthy Scents here.


Love the shade of colour you’ve used Kimberly, it looks really pretty. I’ve always wanted to have a go at making candles, and this looks to be an easy to follow tutorial, its well written and beautiful photo’s too. They would make gorgeous presents as you said or a bit of self indulgence. Xxx
It’s such a lovely relaxing thing to do and it’s so simple too! Let me know if you give it a go ;) xx
This looks simple but really effective. Going to have a go with the children
as running out of crafty ideas now they are off school. I need to order all the components, but hopefully they can all be delivered. Thank you Kimberley x
Oh excellent! It’s definitely something you can do with kids (supervised of course) – I’ve had fun making candles with my nieces and they love it! Also, if you order everything in, you’ll have enough to make quite a few candles so just double up the amounts to make them in multiples :) xx
Thank you Kimberley, I’ve managed to order everything but there is a wait for delivery until may on amazon. Something for them to look forward to however. We can collect suitable jars in the mean time! Take care x
Hi Kimberly! I recently discovered you on Pinterest and a big fan of your work. I am new at candle making, and I am surprised that you use a carrier oil along with essential oils in your candle. What are the advantages of using a carrier oil? I’ve only used essential oils in my candles. Thank you for sharing. Appreciate it very much.
Hi Ana, aww thank you! So the carrier oil is only for soaking the wood wick (ie if I was using a normal cotton wick, this wouldn’t be necessary). Basically, it helps the wood wick stay alight while the candle is in use and prevents it from burning out before the wax begins to melt. It’s basically a little extra insurance and fuel for the wick :) x
This is a craft I want to try! I have a lot of candle cups I will be cleaning out but theyre too beautiful to throw away! This looks like a cute craft! Now that I have a lot of free time I want to try this!