So I think it’s been something like 8 months since I’ve done anything in the dressing room.
The truth is, I have been itching for a new project. W’s time has all been taken up with the cellar remodel (something he’s pretty much doing on his own) and it’s a room that I use every single day that I’m really not happy with.

So yesterday, I decided I could take no more of the horrible thick textured wallpaper that was on the walls. I’ve hated it since we moved in. It’s white, so it’s not that offensive really but it was dirty in areas and there were nail hole patches everywhere and it was starting to peel in places.
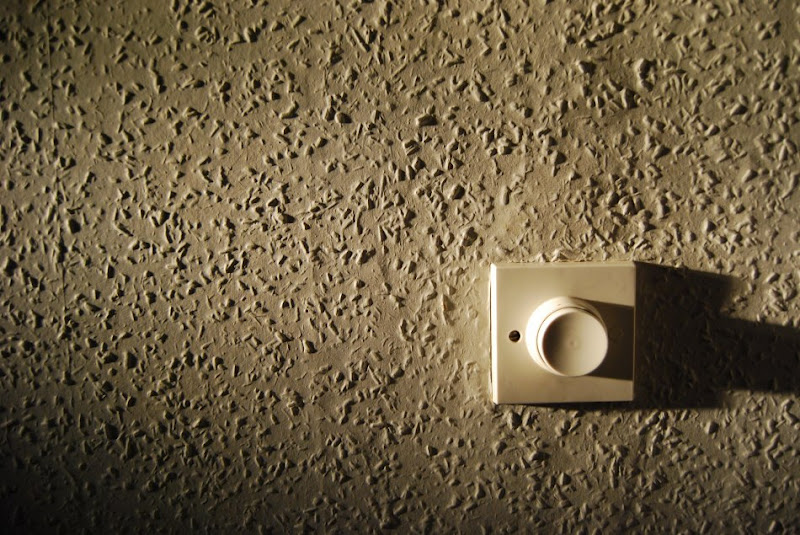
Here you can see how it was actually a bit of a mess when you looked at it close up. Note the patched nail hole on the right hand side and how scratched up it was (behind the bangles). This sort of crumminess was evident all over the room.

I had a feeling that the thick paper was covering a whole lot of fugly. People don’t generally use wallpaper that thick unless they are covering up some seriously nasty walls so I had a feeling that this was never going to be an easy job (part of the reason why it’s taken me nearly 2 years to deal with it). With W having plans to plaster the cellar, I figured it was now or never.
Ya see, I know as well as he does that he was never going to suggest making a move with this room – it’s mine after all – so I figured I was going to have to force his hand a bit.
The fact is, he has been preparing the cellar to be plastered and I figured, when he was ready to plaster there, this room was going to be ready to get in the queue behind it. I mean, if he’s plastering one room, he might as well plaster the other, right? (That’s some seriously sneaky woman thinking, right there.)
So, I started pulling wallpaper and did a bit of scraping. My intention was just to start the prep work so I haven’t completely cleared the room.
But a bit of scraping ended up being a whole lot of scraping.
 |
| That’s just one wall’s worth. Times that by four and you’ll get a better idea of the mess. |
I wasn’t intending to actually do that much in the room but ya know when you start something, you just have to keep going? Well I was sort of on a roll. So I moved most of what was in the room to the guest bedroom. Which now looks a bit like a bomb went off in it.
 |
| Swoon Worthy: Keepin’ it real since 2011. |
And now, the room is mostly cleared except for the last of the necessities for my working week (yes, accessories are required for my working week) and the walls have been relieved of that first thick layer of wallpaper.


Let me tell you, these photos paint a much better picture because what you can’t really see is that underneath that first layer of thick striped paper and a layer of pasting paper, the walls have been completely covered in woodchip wallpaper.
 |
| There is woodchip above the picture rail as well which I haven’t yet started on. |
This is where there is a collective gasp by those who have had to deal with this horrible stuff and a bit of a ‘WTF?’ look from those unfamiliar with what is often called ‘The Devil’s Wallpaper’. There is a reason for that name.
Back in the 70’s people thought was a great idea to have textured walls. So they created a cheap wallpaper that had little wood chips in it – it looks a bit like this:
 |
| image source: Copyright © 2008 Gary Allman |
The problem with this stuff is that it’s an absolute BITCH to remove. Luckily, all over the interwebs, people have their own version of how to take this stuff off the walls.
So after doing a bit of googling, I decided I would need far more powerful tools than just a bit of hot water and a scraper. I was going to need a steamer and a scorer.
Enter Amazon.co.uk… Here are the babies that are winging their way to me.
 |
| Amazon.co.uk |
 |
| Amazon.co.uk |
Let me tell ya, boys aren’t the only ones excited by their toys!
Where I have been able to remove the woodchip in places so far with just my trusty scraper, more ugly lies beneath in the way of broken plaster and cracks. So I think there will definitely be instances where we will at least have to plaster in places, if not the whole room.
Eeek! It’s the kind of fun you get with old houses, I suppose!

In better news, I’ve got an entire week off work next week (weeeeee!) and I’ve decided this is going to be my little big project while I’m off. I know it sounds weird but despite how ugly it looks now, I feel really excited that I’ve got a project to sink my teeth into and that I’m finally going to make some headway on this space!
I’m also trying to console myself by telling myself that it looks a bit like a Castle Gibson setting.

Ok, maybe not. Promise, it’ll be better soon.


That mirror makes it all better!! Love it. I have plaster walls and some left over wallpaper, I can sympathize!
I totally sympathise!! Can't believe the previous owners hid woodchip with another horrid textured wallpaper. Glad you're doing it properly and getting rid of all the awful stuff! You'll make the walls smooth and beautiful again! :)<br /><br />Meera xx
Yikes!I heard wallpaper is the worst thing to remove. Good thing no one was hurt in the process ;) I spy a mirror and dresser that I love!
oh girl that wallpaper sux. but you know i be likin that raw peely look in these photos! can't imagine the texture in real life!<br /><br />looking forward to the pretty that's coming!<br /><br />smiles.<br /><br />michele<br /><br />p.s.<br />that's a lot of exclamation marks even for me, and i am shamed.
Would you be too hurt if I say I kinda like it that way!?
Oh my! But the room like that looks a kind of grungy. Would make for a great urban photoshoot next to your great dresser haha.
I have wallpaper in two rooms that I need to strip…and dreading the job! I actually agree with the others that the last pic looks kinda cool with your beautiful mirror and blue dresser…I am sure I have seen pics on pinterest that go for that look on purpose! <br />Love your blog…and sense of humor! Stopping over from The Little Black Door after reading your hilarious comment on Elizabeths