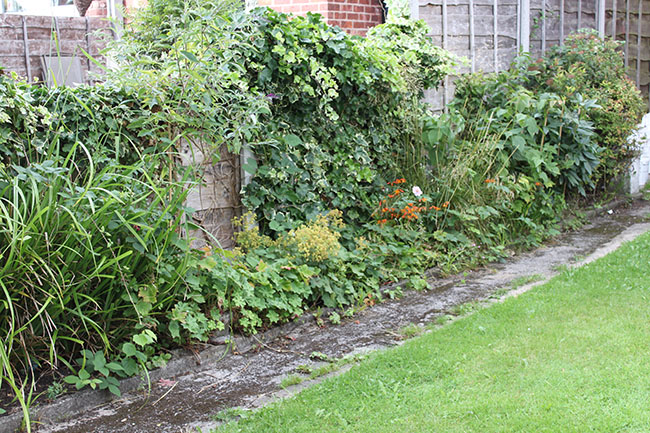
Well, if you have been following along our end-of-summer garden makeover, you’ll know that where we last we left off – thanks to the lovely folks at Homebase – we turned our side border from an overgrown wasteland of ivy and ground cover and a fence barely held together by anything except vines to a brand new fence and a nice clean slate.
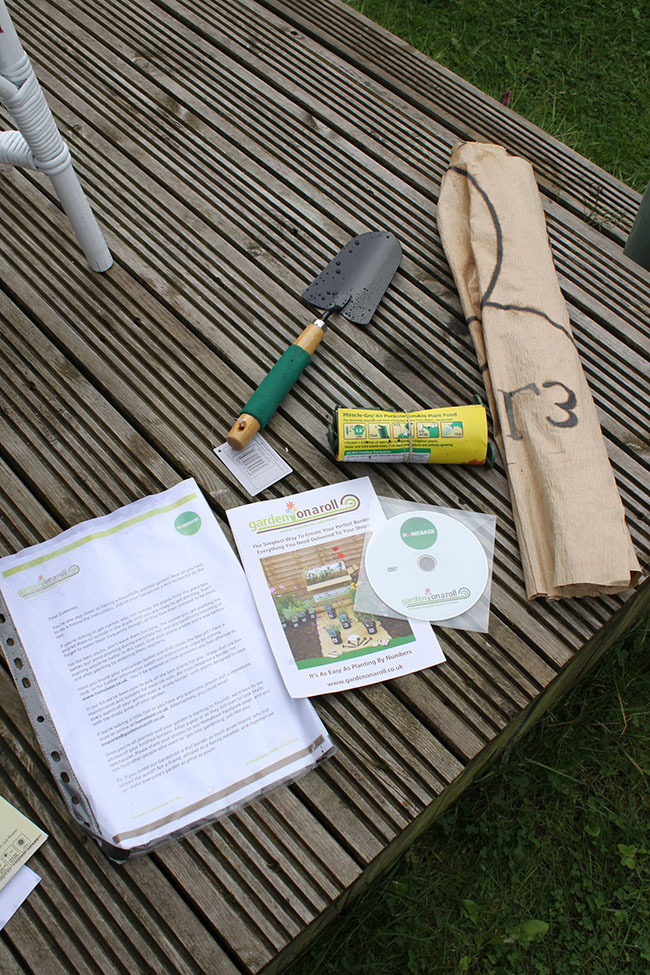
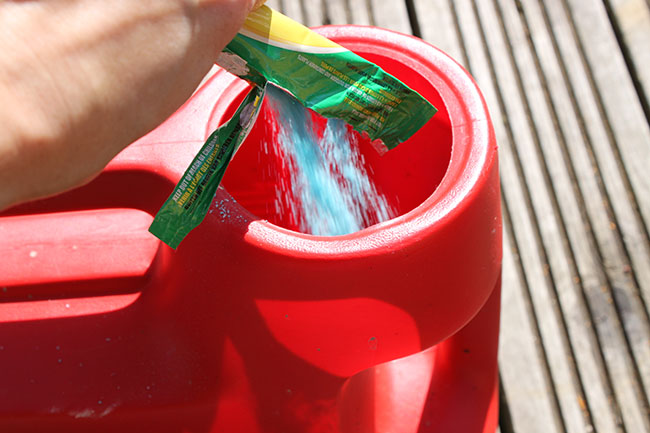
After all that hard graft, we were finally able to get to the fun part of the makeover – the planting! They supplied a fantastic product called Garden on a Roll which essentially takes ALL the guesswork out of planting a border. You measure the area you need to fill and choose a border from their wide range of options. They then take into account the month you order (ours was labelled ‘August’) and send you everything you need including fertiliser, a spade, a biodegradable template, some seeds, an instructional DVD and a load of plants to create an RHS approved garden. It’s genius.
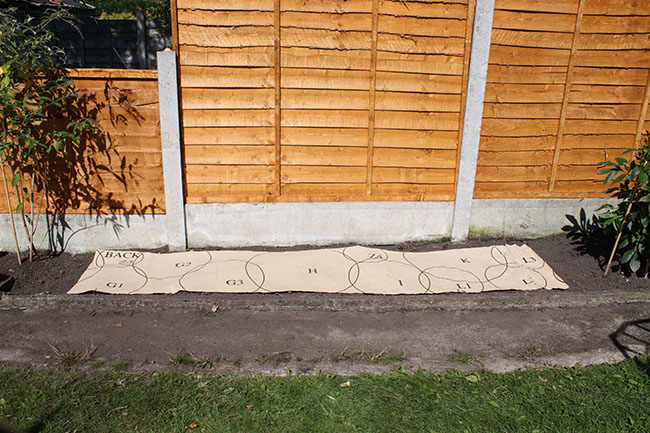
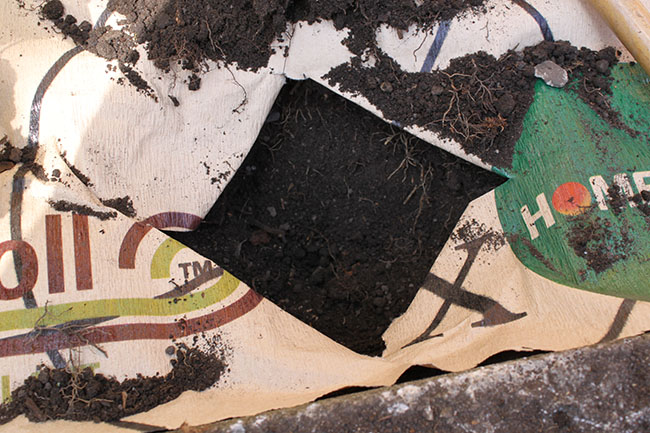
So we started with laying out the biodegradable template over the area we’d cleared.
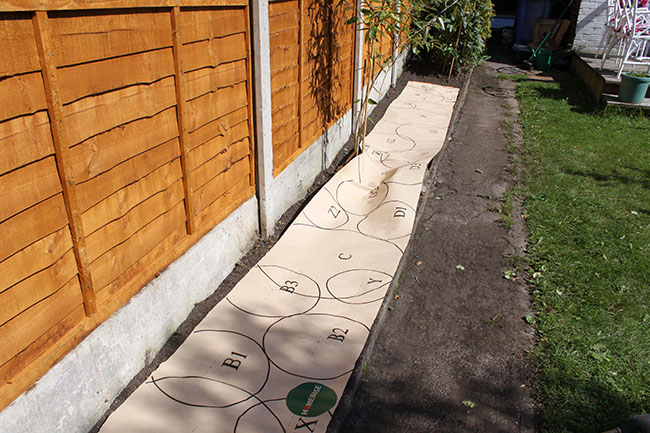
As we had a butterfly tree that we wanted to keep smack in the middle of our 6 metre border, I simply cut along one of the guidelines and laid 3 metre of the roll on either side.
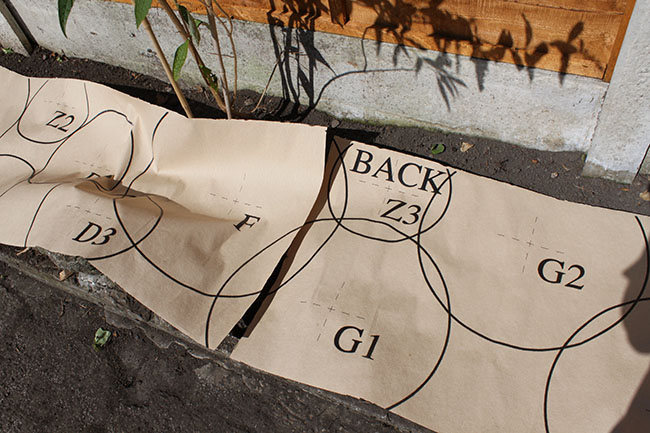
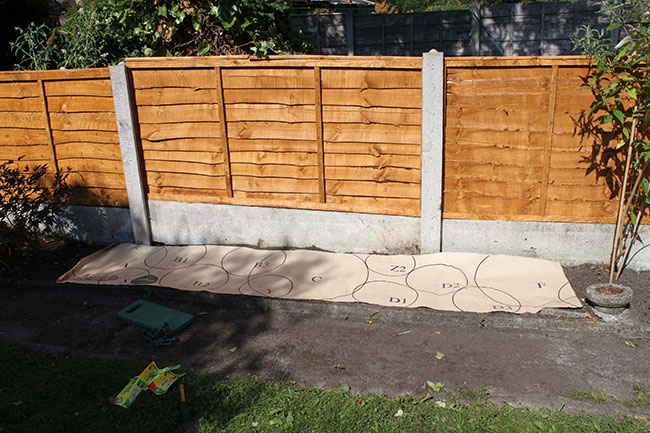
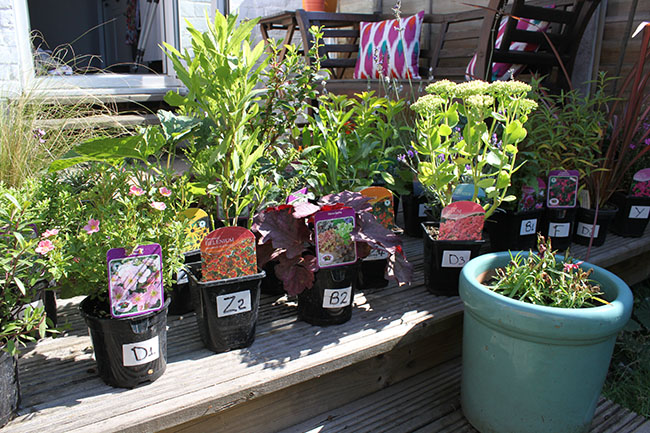
The plants are all labelled with the corresponding numbers and letters on the template so you know exactly where they need to go, how big to dig the hole and how big they’ll get once they are mature.
Next up was laying all the plants on top of their corresponding spots and putting in the little stakes that come with the kit to hold your paper in place.
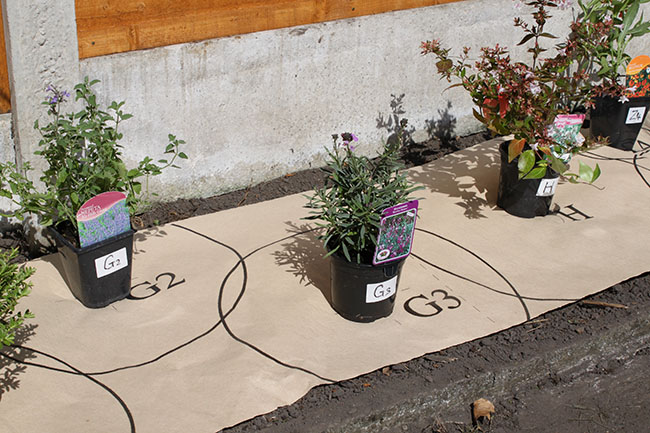
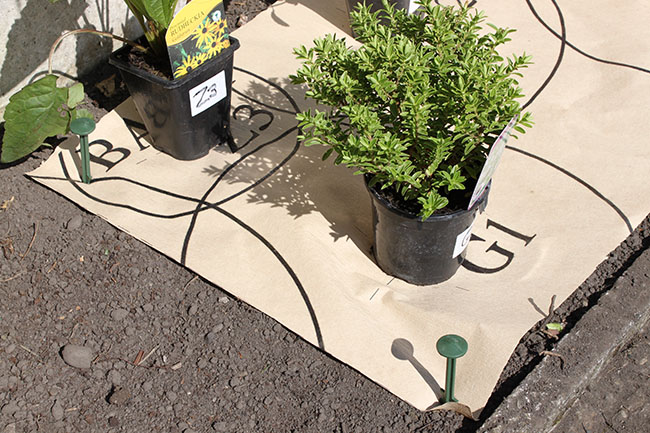
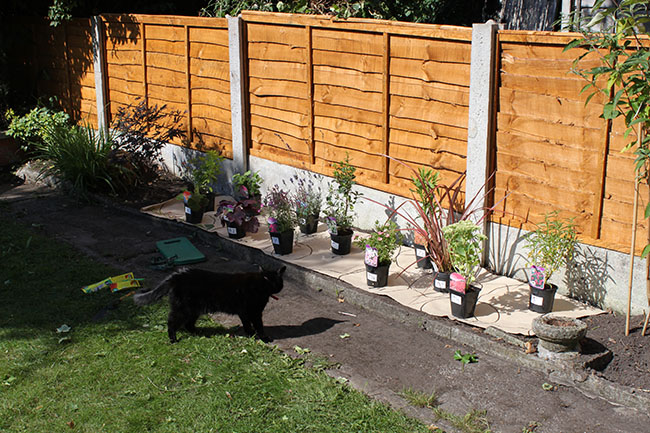
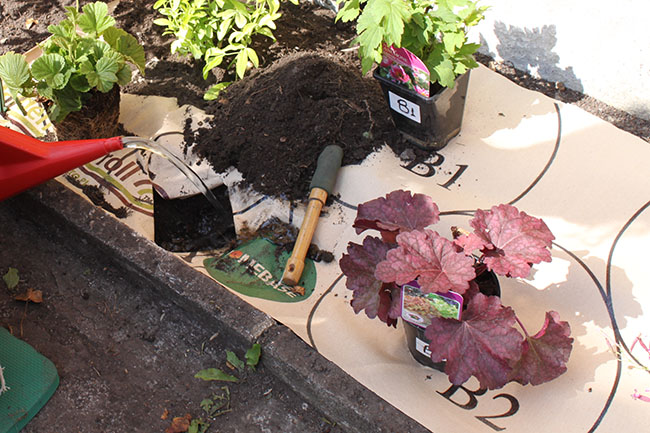
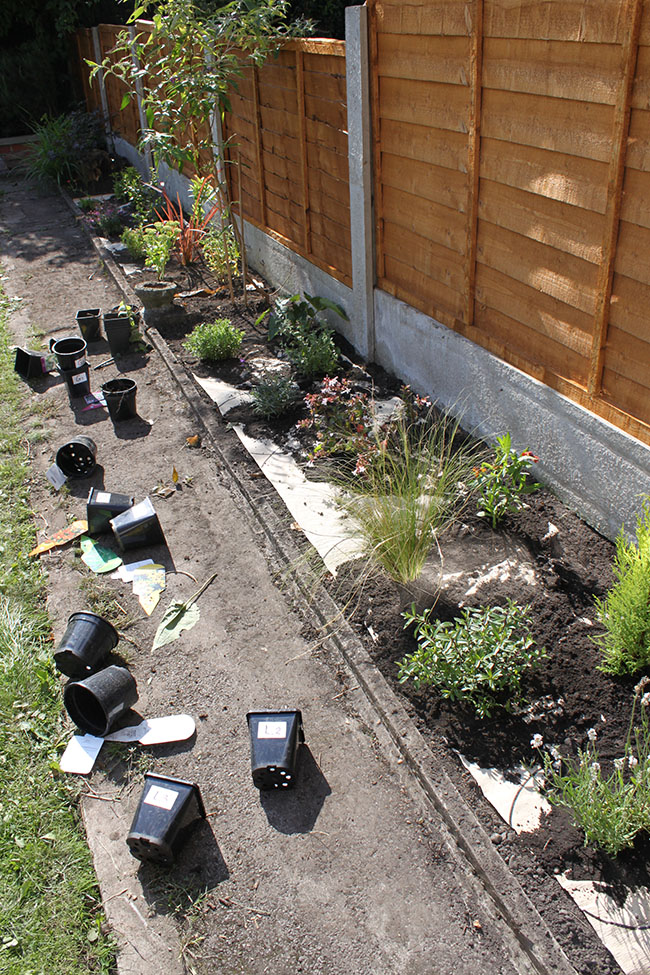


The variety of plants that came with my kit were rather lovely… here’s a selection of some of them.
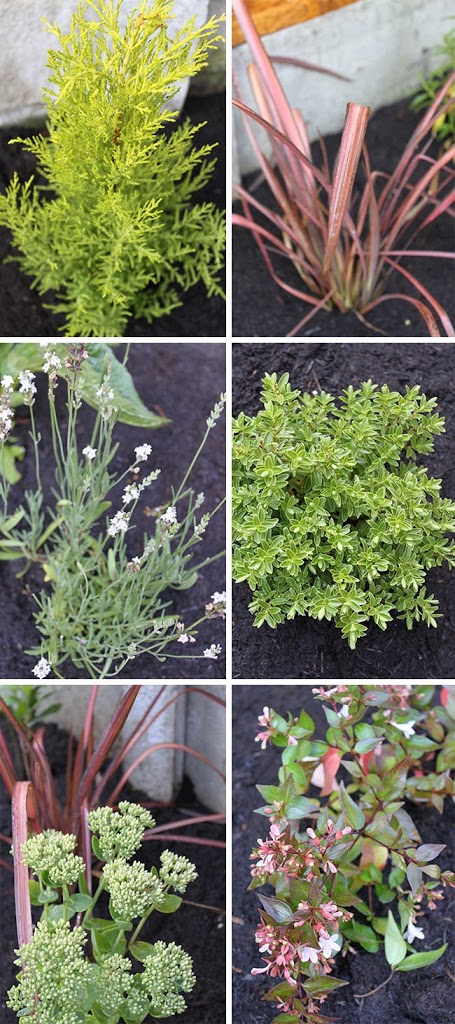
Lovely, no?
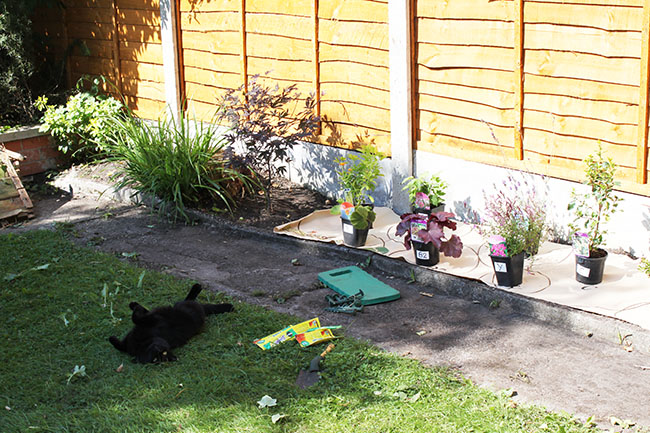
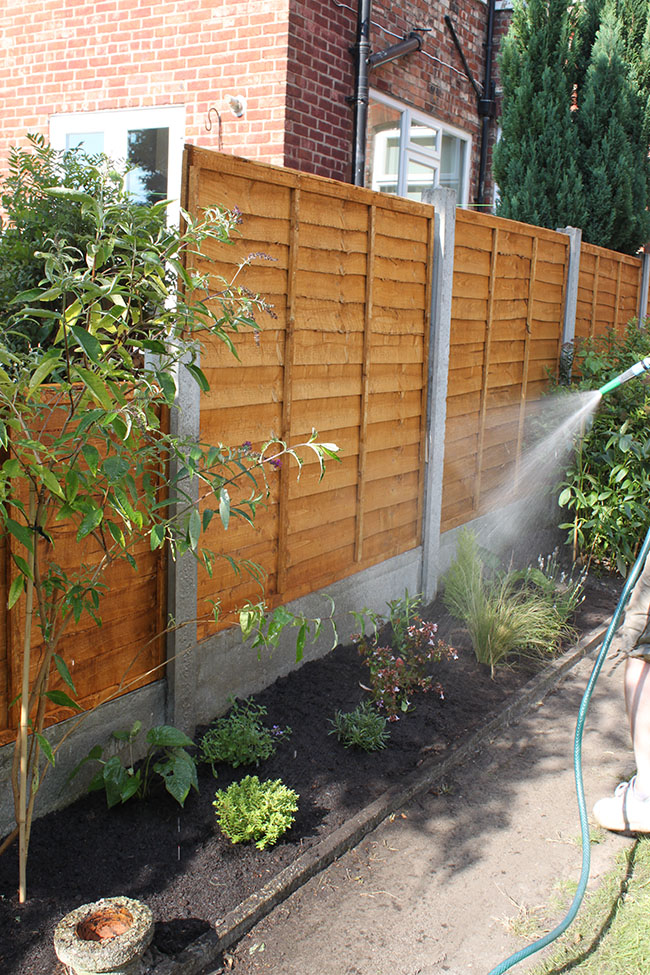
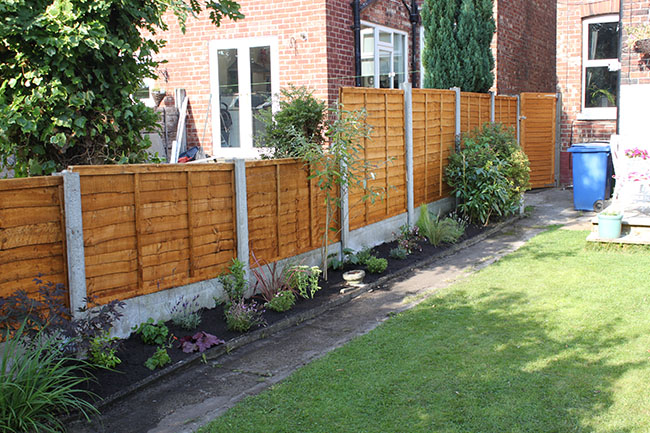
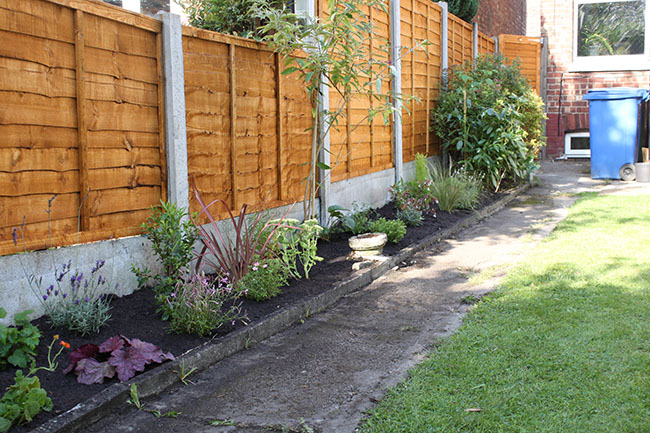
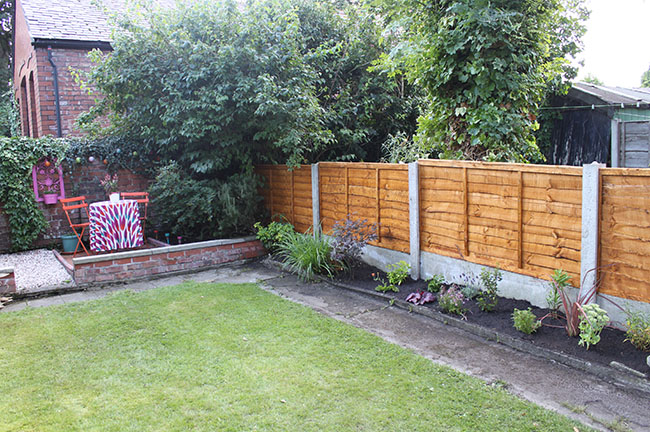
Here are a couple more shots of the finished garden border and fence…
I have to say as a final verdict, I couldn’t say more good things about Garden on a Roll. I think for people like ourselves who are pretty clueless when it comes to gardening, it’s absolutely perfect. If you love your gardening and researching what plants go where and when to plant and what to plant, then perhaps this isn’t quite for you. But if you just want an instantly nice looking border and you don’t want the hassle of all the research that goes into it, this is fantastic.
I’m going to be doing another post next year to see how the garden is getting on and I’m hoping you’ll see a lovely flourishing border with lots of plants and flowers. We’ve had it in place for 2 weeks now and everything is still doing great and looks just as good as it did when I took these pictures – in other words, we haven’t actually killed anything! And if we can do it, really anyone can.
A long weekend of some hard work was all it took to transform our space from this…
To this…

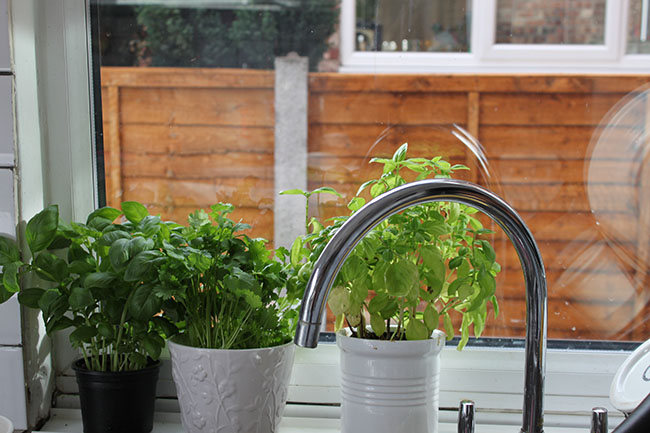
And I have to say, all the hard work was so worth it just to have this view out my kitchen window now :)
So what do you think of our weekend garden fence and border makeover? Is this something you’d consider trying yourself? Or do you prefer figuring out all the hard stuff yourself? Do tell…
This post and project is in association with Homebase and some of the items used in our makeover were provided to me free of charge for my review. All words and opinions expressed and images shown, however, are very much my own.


I adore this! I think it's such a good idea to get all your plants in order – something I'm sure I'll be disastrous at when I get around to tackling the jungle that is my back garden! Really love what you've done with it :)
Ha, idiot-proof gardening, just what I've been waiting for as I'm absolutely and completely clueless in that field :-) I have two small patches in my so-called garden and have decided to simply put lots of wildflower seeds down and hope for the best – that's as far as my skills go ;-) Your garden looks fab now xo
Wow what a cool transformation!! That is such a good idea.
this is sooooooo cool! never seen this method before and it makes so much sense!<br /><br />you grow, girl.<br /><br />michele
I'd not seen it before myself but it's such a simple idea, isn't it! Ta chick :) x
Good idea. You and yours did a great job!
Now that is my kind of gardening! I love a good template. :) Everything looks amazing. i know what hard work that is and it was worth it girlfriend!! What a lovely space – and that fence kills me. So good!
Nice!! I would grow some flowering vines on the fence..although shame to block such beauty :)<br /><br />P.S – thanks fo featuring my sunburst mirror diy! :)
After all the ivy vines we removed, I'm not sure I could bring myself to try vines again ;) And you're very welcome, I loved your DIY mirror, fabulous! xx
The Garden on a Roll is a great concept. Space planning and mixing the types of plants are both difficulties of planting landscaping. Our front landscaping is a hot mess right now. We had it professionally designed and installed the fall after we built our house, but plants are now running into each other and others have died. I spend so much time making the inside of my house pretty that I wish