So Wayne wanted to get started on the bathroom remodel as soon as possible and I wasn’t about to argue, so this weekend, the ceiling came down.
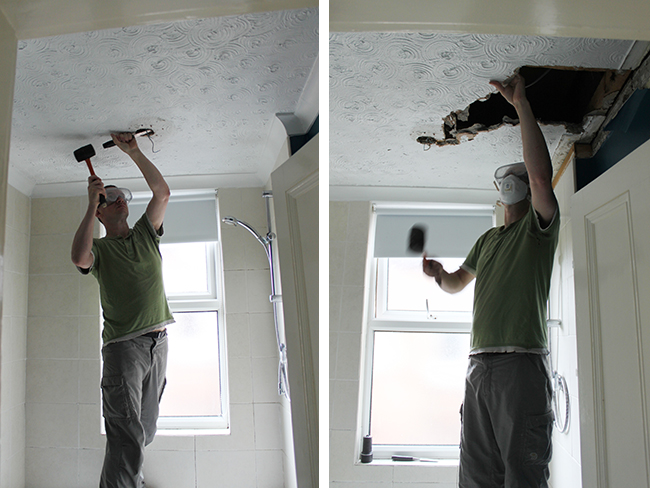
We knew the horrible swirly artex was hiding something above it but until you actually rip stuff off, you have no idea what you are going to be letting yourself in for. This is part of the pleasure of having an old home (ours was built in 1906). Why someone decided to lower the ceiling and cover it with horrible artex is anyone’s guess but we weren’t going to be having it for our new bathroom design.
 |
| Pay attention, kids. Goggles and facemasks are essential for this kind of dusty project – mmm sexy. |
The room is tiny and while we’ve considered different ways of expanding the space, the truth is without completely reconfiguring the entire upstairs, we weren’t going to be able to gain any more floor area. So, we decided that the next best thing was raising open the space above, much like we did in the kitchen remodel.
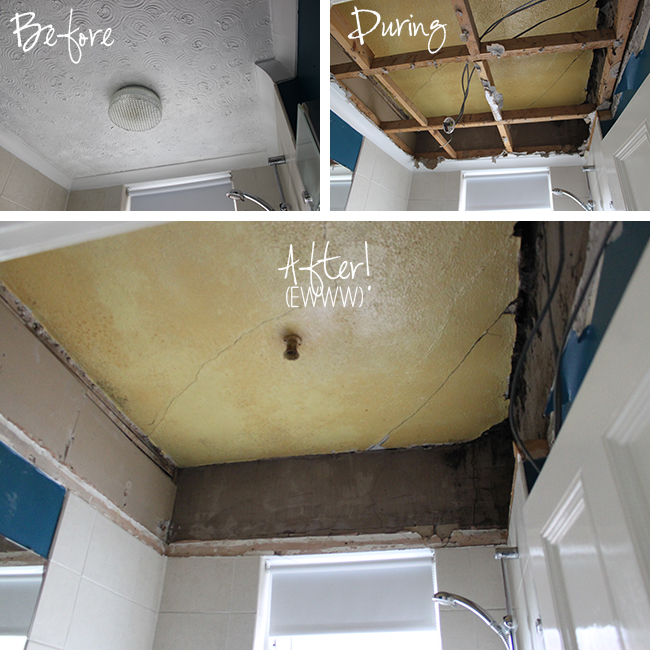
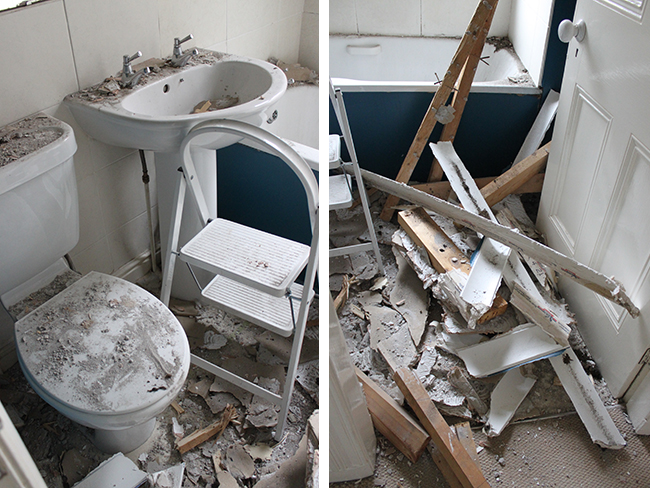
Removing a false ceiling is pretty straight forward and we knew what to expect thanks to our previous experience in the kitchen. The false ceiling is simply suspended by a wood frame so taking out the plaster and removing the frame is all it takes. What’s left behind in terms of the mess however, is another matter.
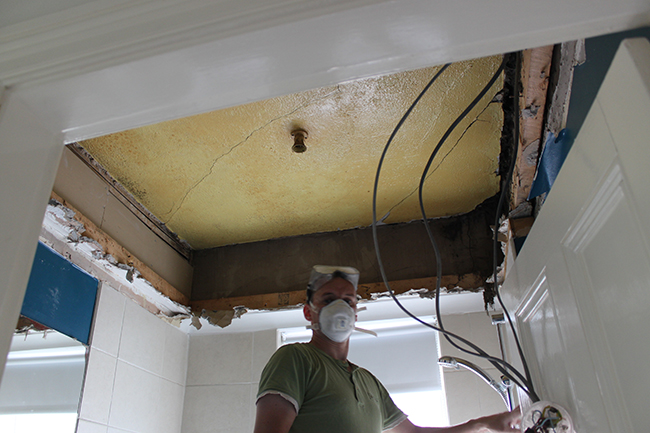
Once the mess on the floor (and in every nook and cranny) was cleaned up and we put the light fitting back in there (well, we do need light) we were left with over a foot and a half of ceiling height!
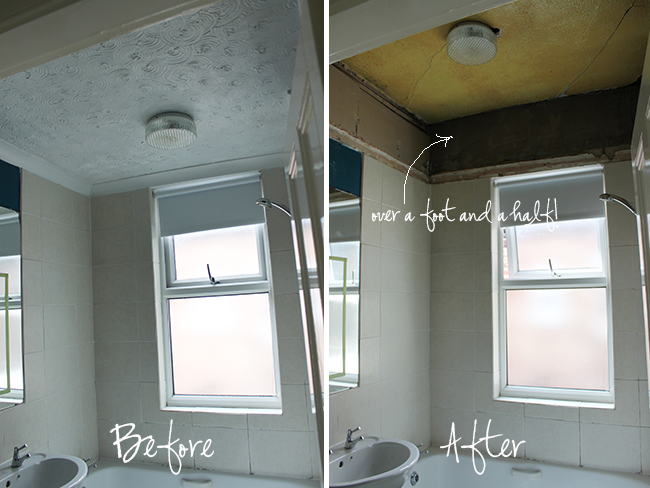
As you can see, the ceiling that was above the lowered ceiling is MORE F**KING ARTEX. PAINTED PUTRID YELLOW. But it doesn’t matter. Because we’ll be putting drywall on it and plastering over it (like in the kitchen). In the meantime, it’s a bit gross in there. Well, it was gross anyway because no matter what I tried to do I CAN NOT GET THAT GROUT CLEAN. It’s just disgusting and I can’t wait to rip all the tiles off and put new fresh tiles on there.
First things first, however. It’ll be a bit of a mess in there over the next few weeks and it’s just one of those things that you have to deal with when you do stuff like this. Bits of ceiling falling on you, settling dust… never feeling really truly clean. Then comes the plaster and the sanding which means more mess. Erghh. But at least I know there’s an end in sight despite this only being the very beginning.
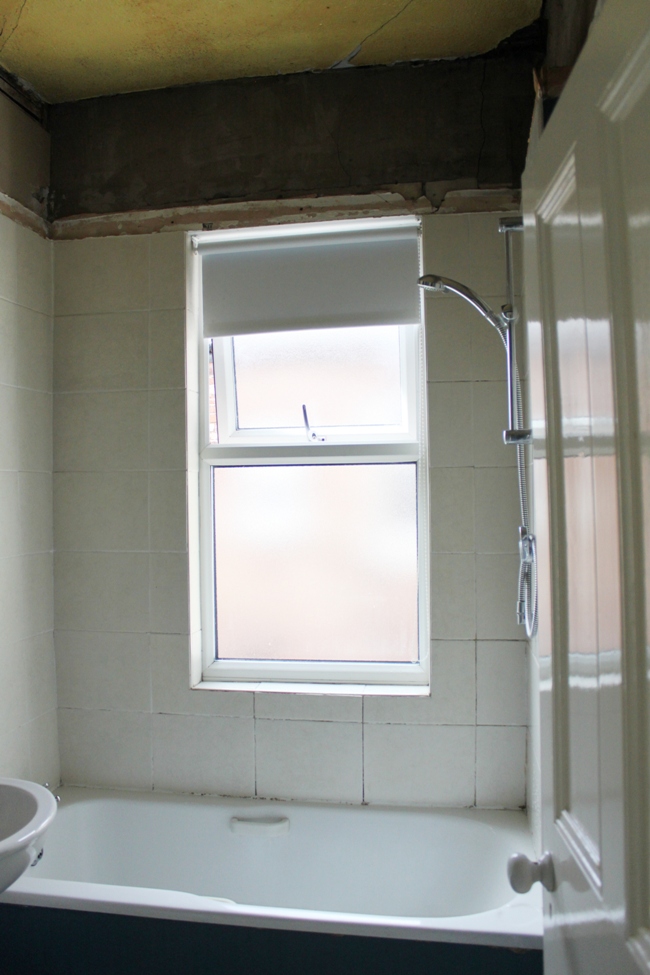
Already the space feels so much more open and bigger in there. It’s so difficult to show off in photographs how a space changes when you lift the height – perhaps a much better photographer than me could do it but alas, my own meagre skillset doesn’t extend that far so you’ll just have to take my word for it.
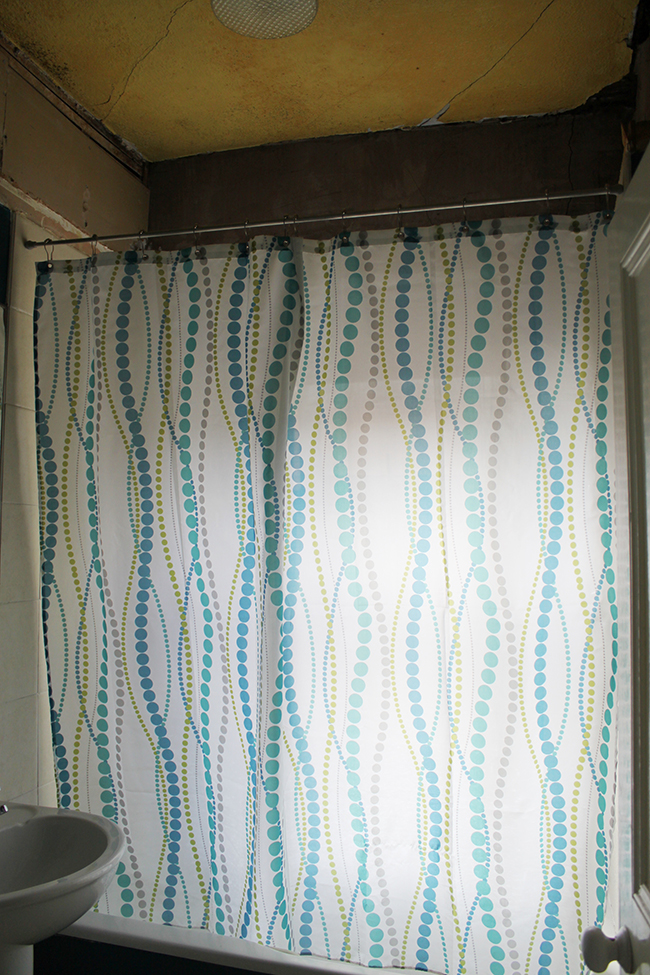
That shower curtain used to go nearly to the ceiling! (We had to put it back up because we were so filthy after all that mess that we desperately needed to use the shower after this!) I can’t wait to get started with the rest of it and there’s PLENTY more to come (obviously).
Stay tuned however, I have a pretty post lined up for you later this week where I introduce you to one of the companies I’m working with and there is gonna be lots of gorgeous in store after this ugly post! ;)


May the Force renovate with you! The end result will be worth all the filth and grime- meditate that when you feel like channeling profanities.<br />Our apt is + 15 cm´s higher ( that would be roughly six inches) than houses usually have in our quarters of the world. Every single person comments how so much more spacious and tall and lighter our home feels. It does make a tremendous difference.
how gratifying it must be to demo that ceiling and gain all that airy space! looking forward to seeing this space evolve and bloom.<br /><br />love to you.<br /><br />michele
Wow, this has made such a massive difference already, it's incredible what an extra bit of head room can do!! You must have felt brilliant smashing that uggers swirly one, good on you guys! Can't wait to see it finished.
I've seen a lot worse! It'll all be worth the continual dirt in the end.
WHYYYY would someone lower the ceilings like this?! And cause you to do all this unnecessary work?!! But at least you'll get a more dramatic before and after, right? right? :)
Wow? Sure you don't want to keep the putrid yellow artex? I still do not understand the fascination with Artex or pebble dash. I must have a thing against texture. who knows?! Can't wait to see what you do with it!
Good work Wayne! There is nothing I hate more than working on a ceiling. The room always works a million times better. Can't wait to see more progress on my bathroom…I mean your bathroom. :)
Yay, it's demo time! I love this ugly stage, it's so fascinating seeing how these old houses of ours are constructed. Why would anyone put in a false ceiling?! Btw we recently invested in an industrial strength Darth Vader style DeWalt goggles and mask set, and it makes an enormous different to comfort when demo-ing or working with paint fumes etc. Would recommend!
You are making me want to rip down my drop ceiling! I'm torn between doing a quick fix in my bathroom or doing major demo…
Superb Post,I have spent a lot of time to gain effective info,I liked it very much,Thanks for sharing this post.
Hmm, I assume your Artex ceiling didn't contain any asbestos?
The false ceiling was done in the mid-90's (as per the previous owners) so would not have contained asbestos. The one above that we weren't sure of the age so simply covered over it (if it did contain it, it was undisturbed so would not have caused any issue).