I’m sure it’ll be no surprise when I tell you how much I love a good candle. Over the summer months, I don’t burn them very often, simply because it’s bright for so much of the day but when the Autumn and Winter months come, then it’s basically no-holds-barred and they are on as soon as evening comes. I find nothing cosier than dimming any artificial light, lighting the candles and putting a log on the fire and snuggling down on the sofa. Pure Autumnal bliss!
As much as I’ve talked about candles here (I make my own as well so you can find just a selection of DIY candles here, here and here and – as of 2021 – I also sell my own range of luxury candles which you can shop here), I’ve learned over the years how to get the most from them so not only will they last longer and burn cleaner, but make the most of any scent as well. Of course, not all candles are created equal but if you’ve treated yourself to a lovely premium candle, the last thing you want is for it to not burn correctly and feel that you’ve wasted your money.
So, I’m going to share some of the tips and tools I use to make the most of my candles today, to ensure a nice even burn with plenty of scent thrown.
Affiliate links may be used.
The tools I use
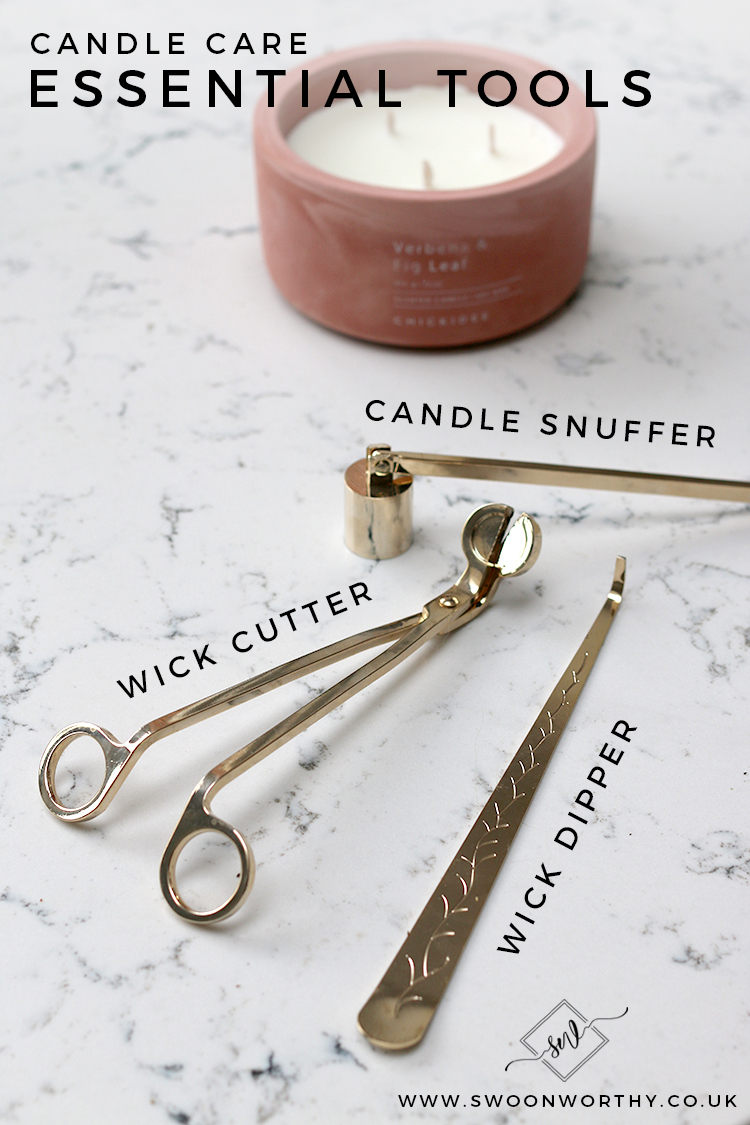
Yes, I have candle tools and they just make candle care so much easier! I bought these from Amazon and I now wonder how I managed without them! The set provides everything you need but I find myself using the little candle trimmer and the wick dipper more than anything else. I’ll talk more about how I use each of these tools as we go on.
I’m now selling wick trimmers over on my candle shop Swoon Worthy Scents. You can find them here.
Where to Place Candles
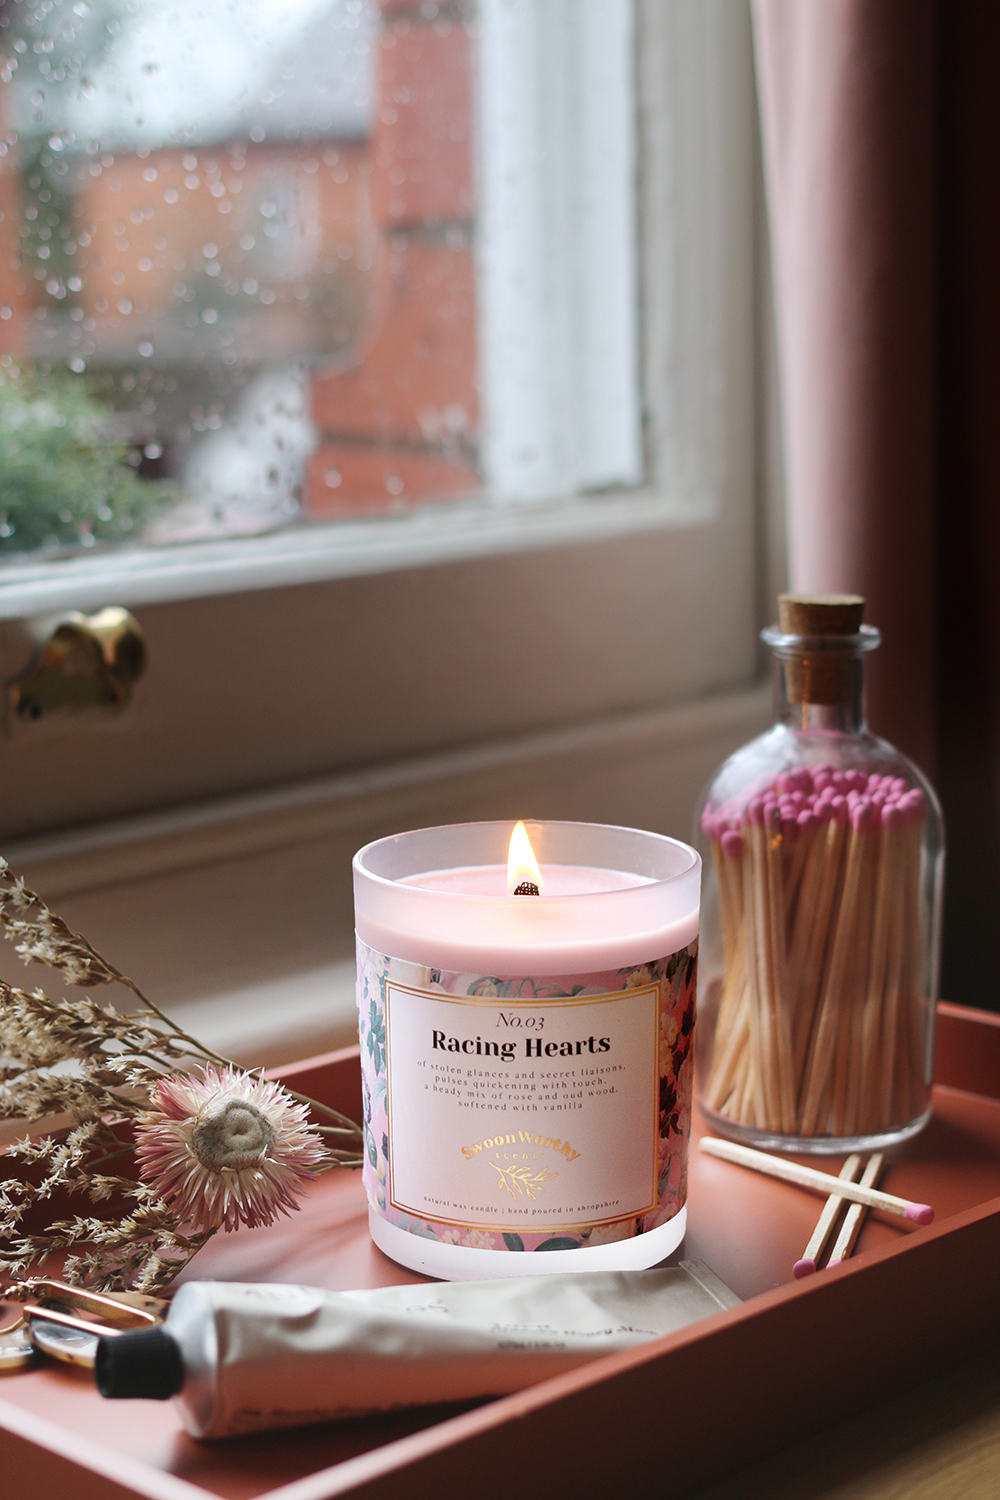
Racing Hearts candle from Swoon Worthy Scents
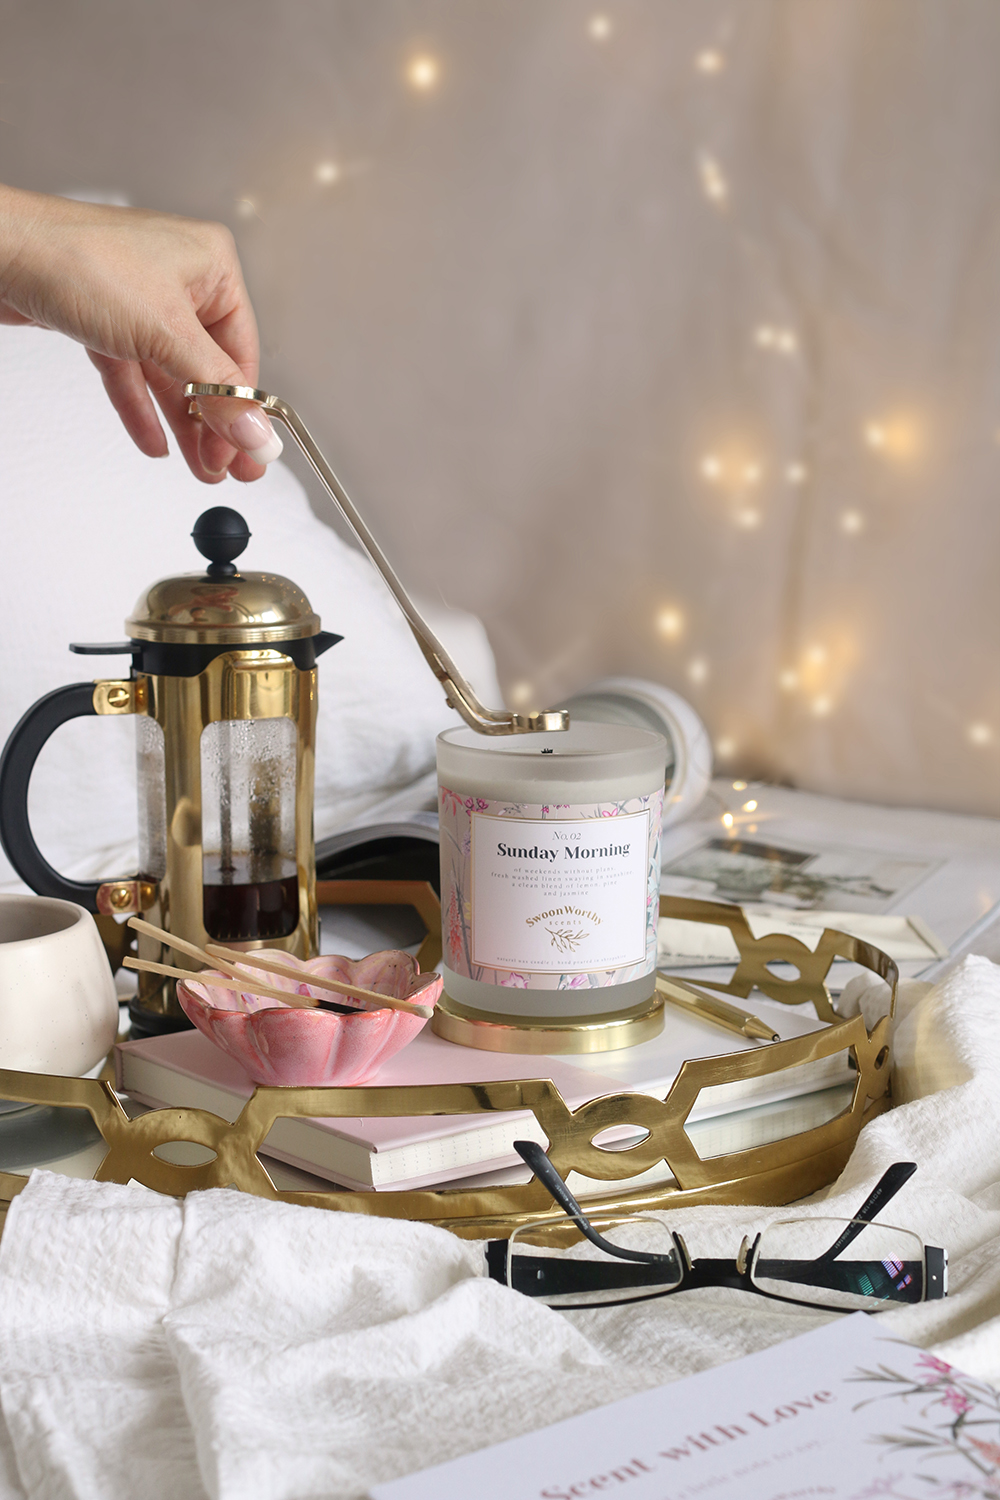
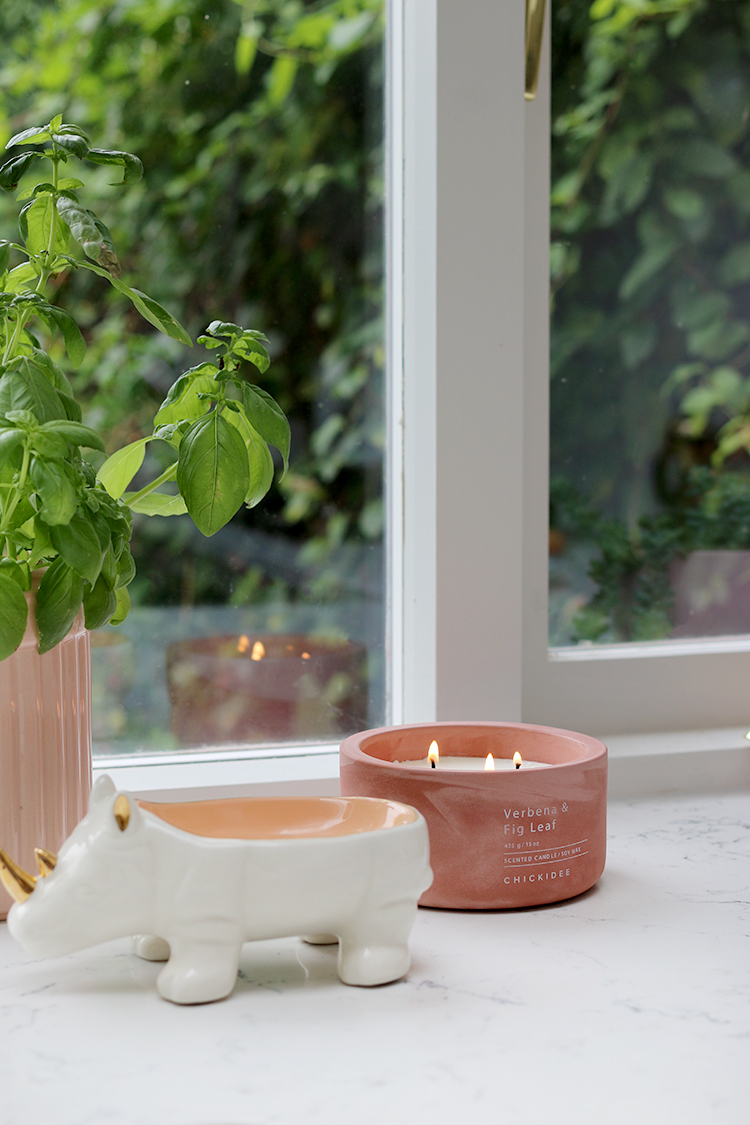
Be sure to place your candles away from any open windows, radiators or drafty areas. Excessive air around your candle will make your flame higher which will make your candle burn that much quicker. Plus, it could be dangerous. You’ll want to put it on a sturdy surface where there’s no chance of it being knocked over and you may want to protect the area under the vessel with a tray or plate.
Of course, use your common sense – don’t put a candle right next to a curtain or in the reach of children or pets. I tend to close over the doors where I’m burning candles as well to make the most of the scent but as always, you don’t want to leave your candle unattended at any time whilst it’s burning or move the candle around once it’s been lit for a while as it’ll get very hot. Safety first, kids!
The first cut
When you first unpackage your candle, the first thing you’ll want to do is cut down the wick to around 3-5mm if it is longer than this. The longer your wick, the more chance it has of burning too hot (meaning your wax will get used up more quickly), creating soot or smoking. If the wick is too long, it’ll also be more likely to bend or move as it burns which will mean you’ll get a more uneven burn. Use a candle trimmer to do this.
The first burn
The very first time you light your candle is the most important. Whatever you do, resist the urge to just light it for 30 minutes so you can see what it smells like. What this will do is create a ‘memory pool’ in the candle and every time you burn it after that, it will only melt the wax up to that point, creating a ‘tunnel’ in your candle and wasting precious wax.
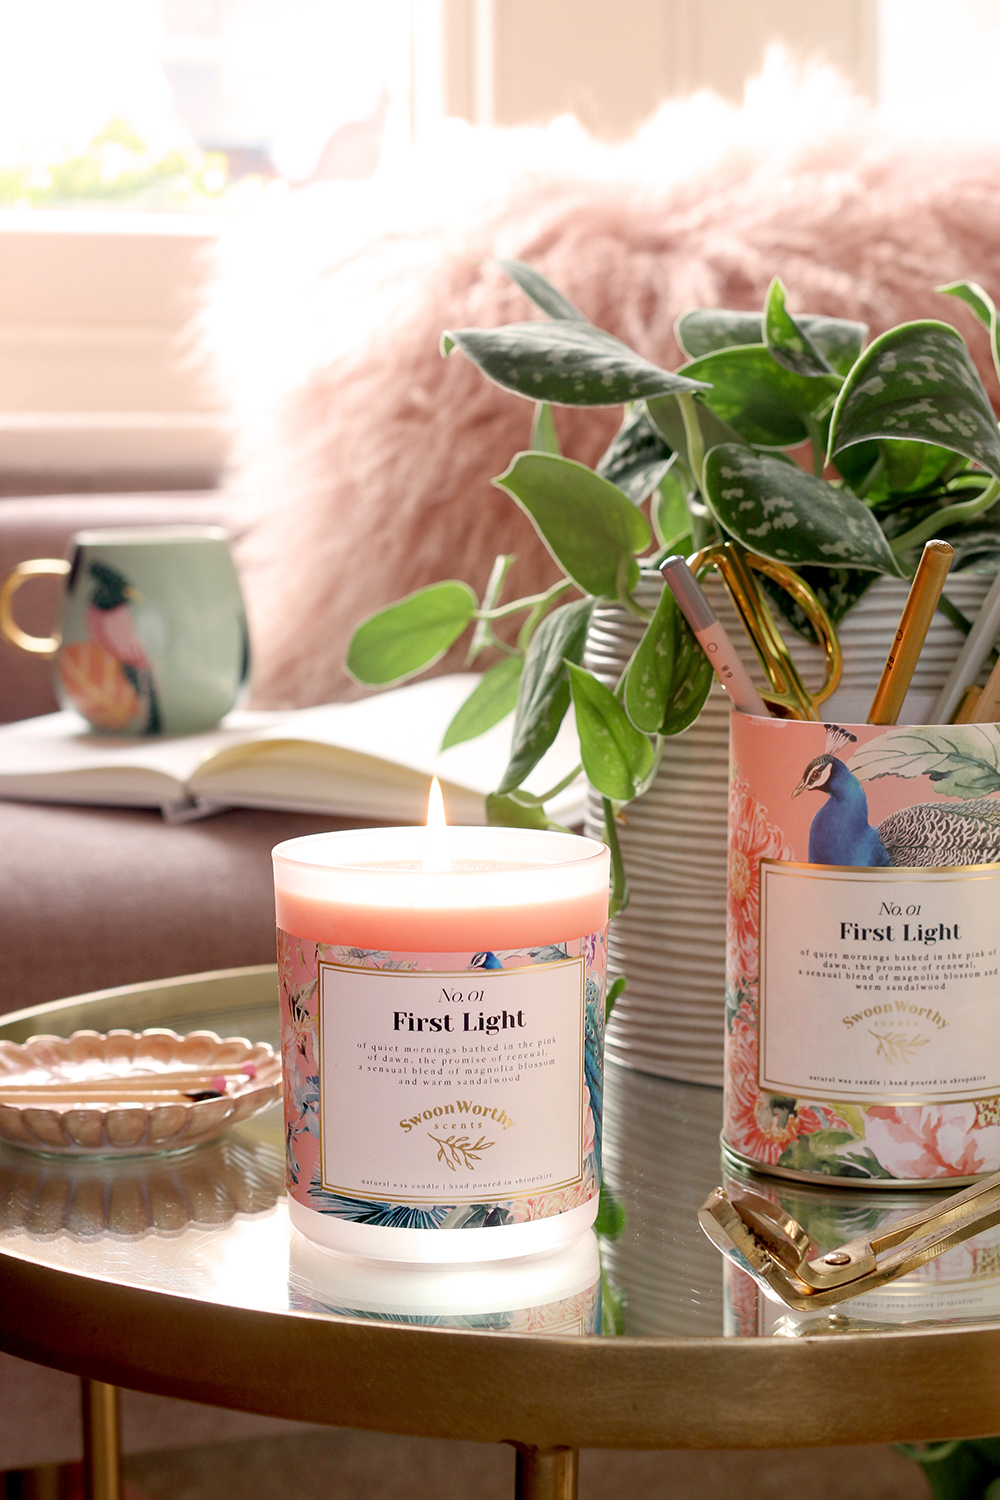
Swoon Worthy Scents First Light Candle
So when lighting your candle for the very first time, you want to ensure it’s burning for at least 2 hours for a smaller candle or 4 for a large multi-wick candle. The entire top layer of the candle should be liquid for this first burn – all the way to the edge of the vessel. This means every time you burn it after that, the entire top layer will continue to go liquid and you’ll get the longest-lasting candle possible.
You may find that for the first hour or so, you won’t get that much scent from the candle, This is pretty normal – you’ll be able to get a better scent throw with subsequent burns after this.
Subsequent lights
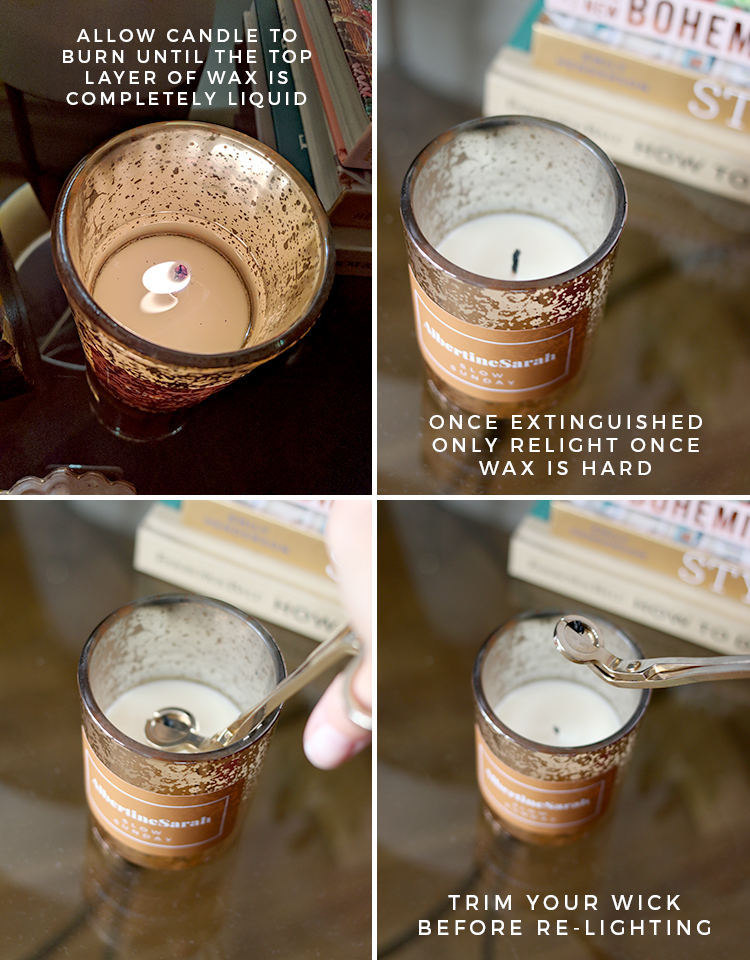
Albertine Sarah Slow Sunday candle
After this first burn but before you light it again, ensure the wick is trimmed and any larger blooms in the wick are completely removed and only extinguish the flame (with the candle snuffer) once the entire top layer of wax is liquid again. Don’t let your candle burn for more than 4 hours at a time either. This makes the wax too hot and you’ll lessen the throw of the scent. If you want to burn your wick throughout the day, for instance, burn it for 3-4 hour intervals then put it out, allow the wax to harden again for a couple of hours and then relight it (trimming the wick and removing any wick bloom if necessary).
Once you put the candle out (use either the wick dipper or the candle snuffer to do this), make sure the wick is straight (I use the dipper to just lift it up) so that it doesn’t dry with the wick crooked or leaning into the pool of wax. This means it’s ready to be trimmed the next time you use it. Only trim the wick when the candle wax is hardened again.
Storing your candles
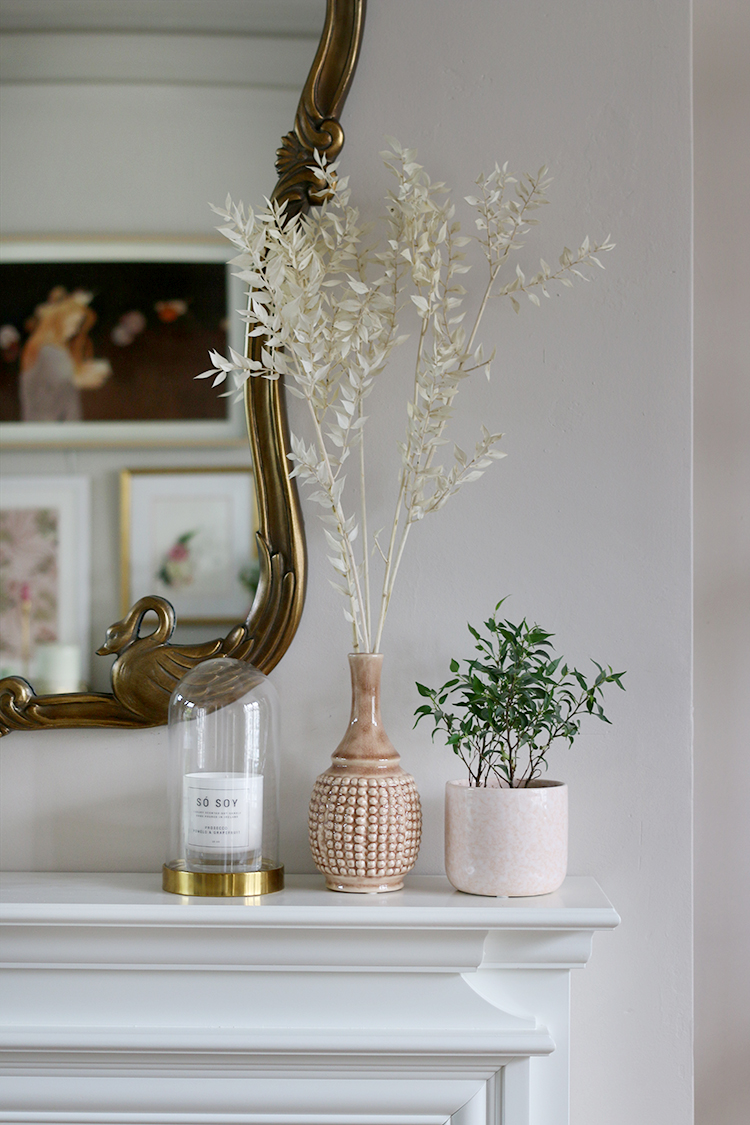
So Soy Pomelo & Pink Grapefruit Candle
If you aren’t planning on using your candle often, then consider buying a candle that has a lid or purchasing a lid for it. Or you can store it under a cloche (this one is from IKEA). This will help prevent dust from settling into the candle wax when it’s not in use which will dull the scent and could cause problems with burning the candle.
If any condensation has settled on the top of your candle or oil droplets appear, then remove these first before burning it by blotting with a paper towel, cotton wool pad or a soft cloth (being careful not to disturb the wick).
The last light

Diptyque Limited Edition Rosamundi Candle
Once your wax reaches about 5-10mm from the bottom of the vessel, it’s time to say goodbye to your candle. Resist the urge to continue burning it until there’s no wax left because the bottom of the vessel will get too hot and may cause damage to whatever you’ve set your candle on.
Swoon Worthy Scents Waterfall Candle
The good news is that you don’t have to throw away your beautiful vessels. I’ve shared ten different ways to upcycle candle containers in this blog post so you can continue to enjoy them long after the wax is gone.
I hope these tips have been helpful to you to get the most from your candles! Any really lovely candles you’ve purchased lately? Which are your favourites? Any tips you’d like to add? Let me know in the comments below!


Thanks for telling me about ‘memory pool’ – I never knew, and wondered why my candles always end up with a tunnel! So helpful. BTW I spied your red velvet sofa in the background – looks lovely. I’d love to see how you style your sitting room, as I also have a red velvet sofa and need some ideas – so it’s not too bold/dominating. Tx
Ahh so pleased it was helpful!! And yes, I’m going to be sharing the whole room in an upcoming post – just waiting for a couple bits to come in and then it’ll be all revealed soon :) xx
I’d never heard of a wick dipper until now. Is it for extinguishing the flame? I sometimes find that I get that tunnel with the first burn, even when it’s been going for about 3 or 4 hours. No idea what causes it then, although I was aware of the “memory” bit. It’s such a waste of wax when it does that.
Apparently the dipper is for extinguishing the flame – essentially moving it to the wax to put it out completely without a lot of smoke. I don’t generally use it for that, however, more to dig the wick out if it falls into the wax! ;) And sometimes, no matter what, you just have a dud candle. I find really inexpensive candles tend to tunnel more than the high-end ones do so they are a bit of a false economy – however even some combinations of high quality wax & fragrance will do this. I won’t buy a brand again if that happens, especially when I know I’ve done my part to make it burn as well as possible! xxx
Ah, I might have to get one then. I’ve found that my candle snuffer only really work on dinner or pillar candles, because the handle isn’t at an angle, so stops it being placed flat over the flame.
You can also put your candle that has barely any wax left on a candle warmer/cup warmer to still get any remaining fragrance from it, without lighting it.
Oh I love this tip Lisa! Thanks for that – I’m definitely going to have to try that one! xxx
Highly recommend candles by Charles Farris.
They have made Ecclesiastical candles for over a hundred years, but have a separate website for domestic/retail candles. I think John Lewis has started to stock them.
Fragrances are amazing, candle quality second to none, miles better than Diptyque et al.
Oooh I’ve not heard of them before but will definitely check them out! It’s funny because I wasn’t that impressed with Diptyque to be honest despite all the hype! I’ve definitely had better candles ;) Thanks for the tip! xx
Have you ever noticed that candles make everything better? Let’s access to Forage Candle, they will prove about this problem.
The scent is a powerful way to relieve stress and boost your mood, but shopping for scents can be scary. Perfumes and candles are full of dangerous toxic ingredients that are bad for you and the environment. So it’s time to shop good and eco-friendly candles for your health.
Just bought my first ever candle care kit offa Amazon thanks to you! Who knew there was something else to add to my list of adulting tasks. Now I have an excuse to buy better quality candles – they pool better…
Yay for adulting!! Haha!! And yes, in my experience, the higher quality candles do tend to burn cleaner (although there are always exceptions on both sides!) ;) xxx