So somehow in between packing, I decided I really wanted to do a little DIY. It’s been ages since I’ve done one and I’ve been absolutely itching to try out wood wicks for my candle-making. Now, if you follow me on Instagram or if you’ve read my blog for a while, you’ll know I enjoy making my own candles and have done so for years. But this is the first time I’ve made a wood wick candle so I wanted to share the whole process with you. And let me just assure you, it’s SUPER easy.
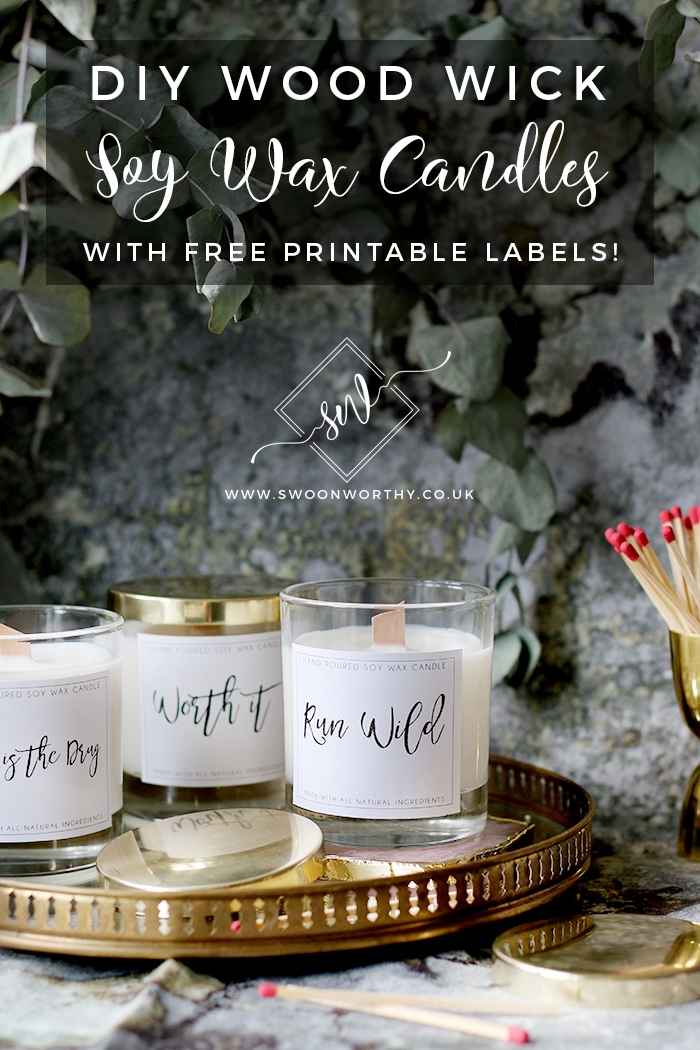
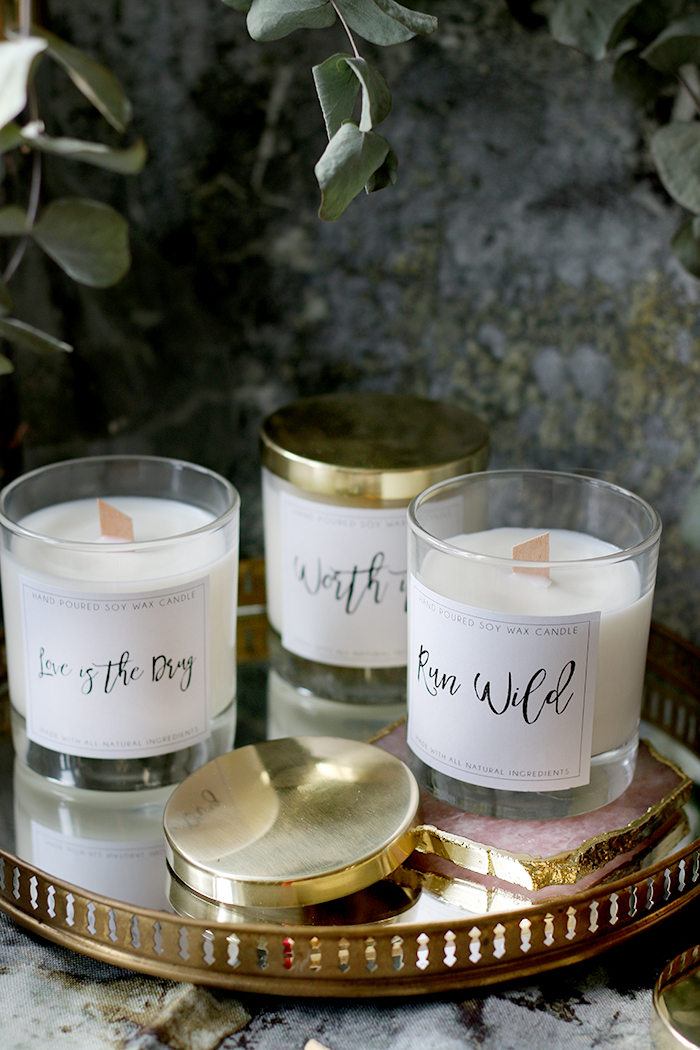
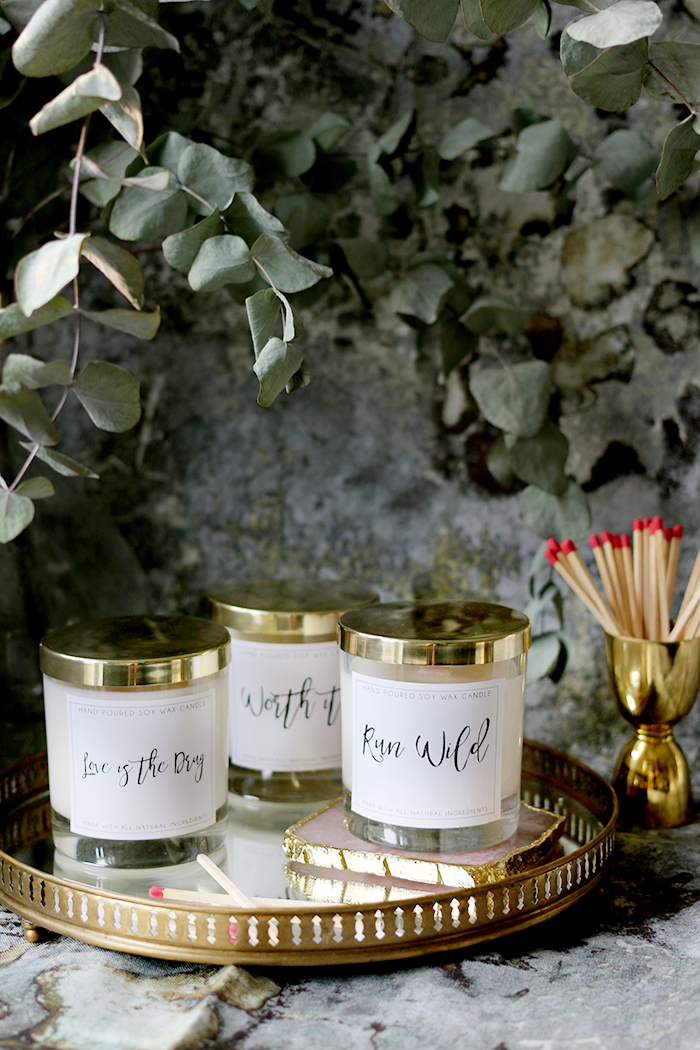
I also wanted to make these candles a little special – something you can easily give as gifts (Mother’s Day is coming up! Hint hint) or just to have displayed in your own home. The addition of the candle lid adds a touch of luxury to these candles as well as the inclusion of a wood wick which crackles when lit like a tiny little fireplace! I have to say, I’m genuinely thrilled with how they came out.
You’ll see that I decided to create two different options when it comes to the free printable labels I’ve included in this DIY. First, I decided to not bother with the names of specific scents – this leaves it entirely up to you what essential oils you love and which label you’d like to use. So you’ll see a big mix of different names (7 different ones!) you can use for your candles.
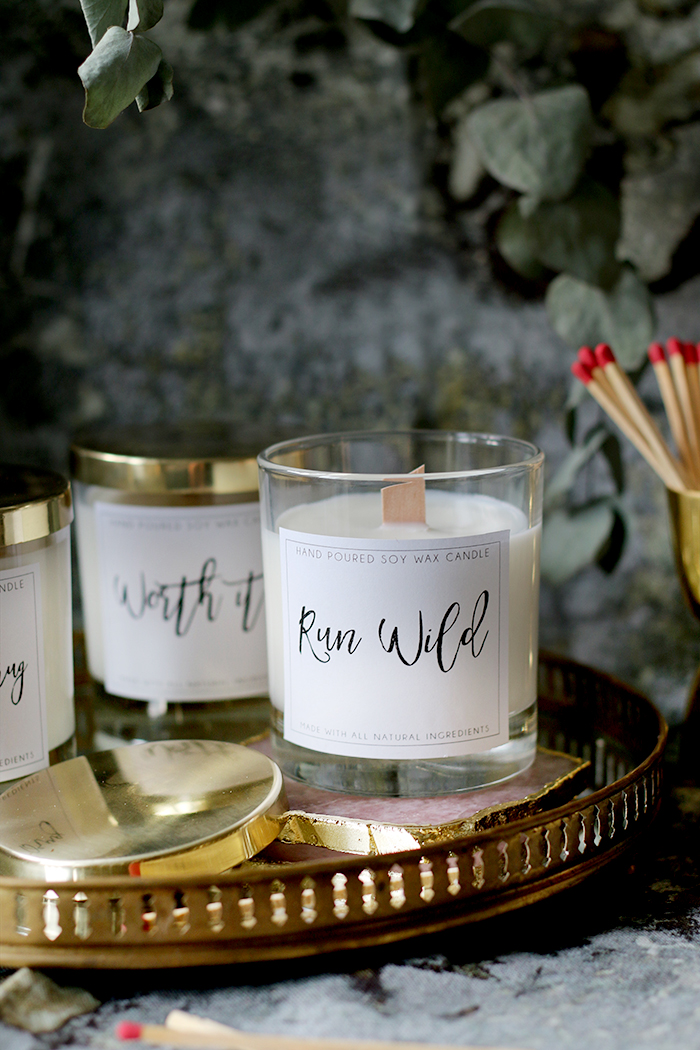
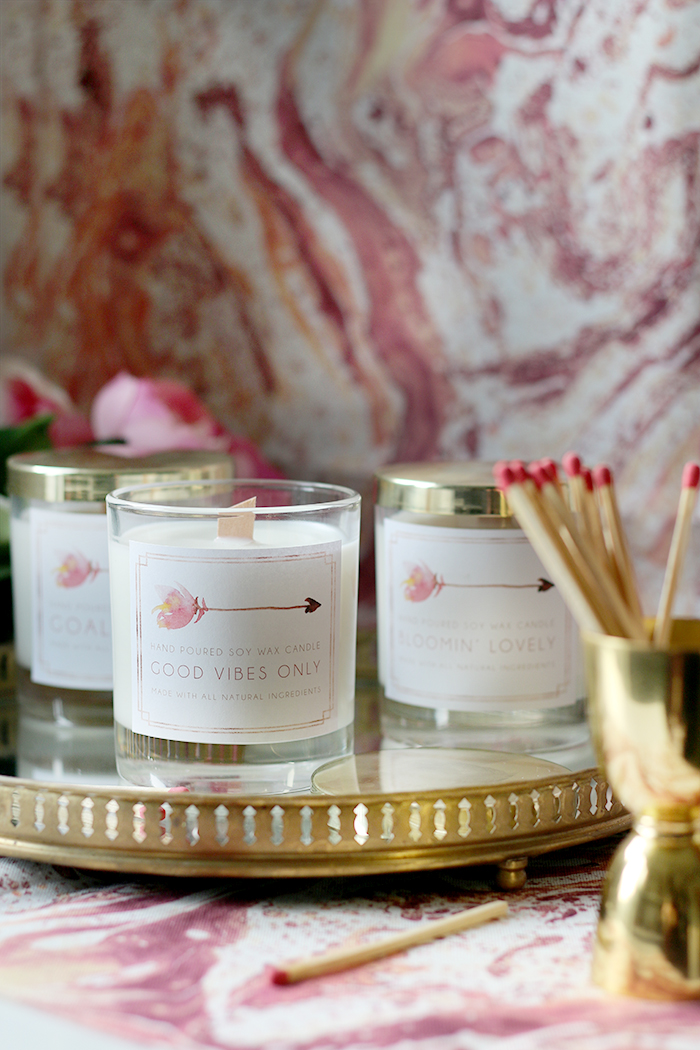
Secondly, I ended up creating two completely different styles of labels – one that’s more feminine and pretty with a lovely watercolour theme in pinks and one that’s a little edgier with a simple black and white design paired with a cool script font.
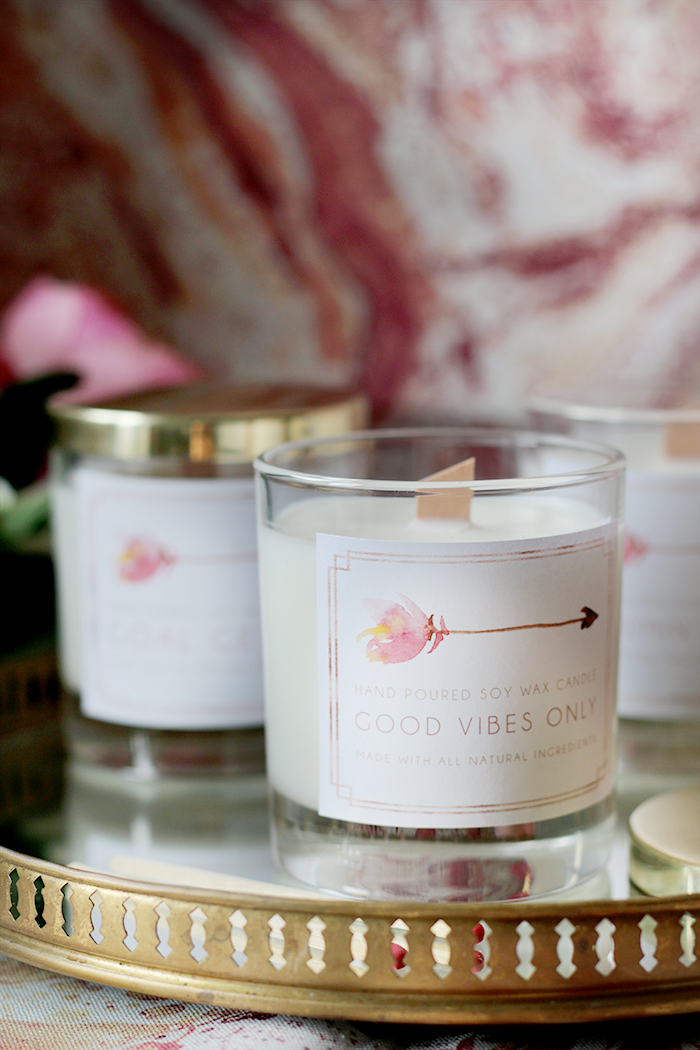
As I couldn’t decide which one I liked more, I figured I’d offer you guys the option of which one you feel suits your interior style best! All in, there are 14 different labels so hopefully, there will be something in there you love!
I’ve shared the full step-by-step below and you can download the labels for free as well. As I said, I really wanted a professional finish on these and so I used sticker printer paper which worked a charm. However, if you want to save yourself a few quid, you can use regular paper on these along with two-sided tape for a more budget-friendly option. Just remember to print on high quality on your printer!
I’ve linked to all the actual products I’ve used below in the materials list!
Please note, this post may contain some affiliate links which means I receive a small commission if you purchase a product through my link. You will never pay more when using affiliate links.
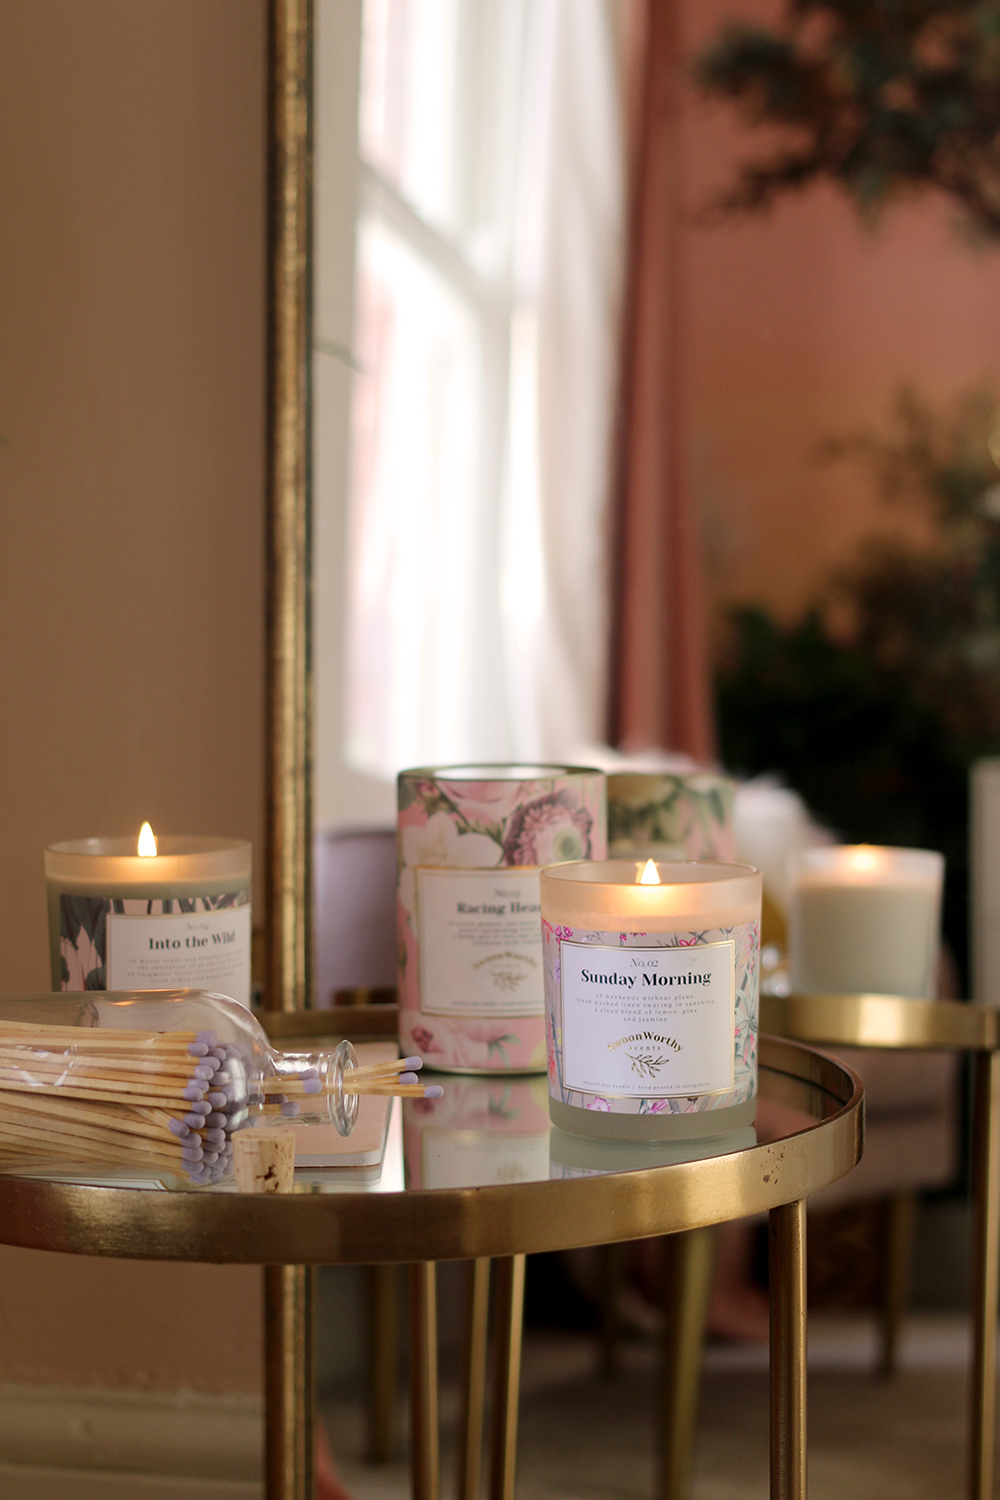
Did you know I now sell my own range of luxury candles? Shop Swoon Worthy Scents here.
Wood Wick Candle Materials
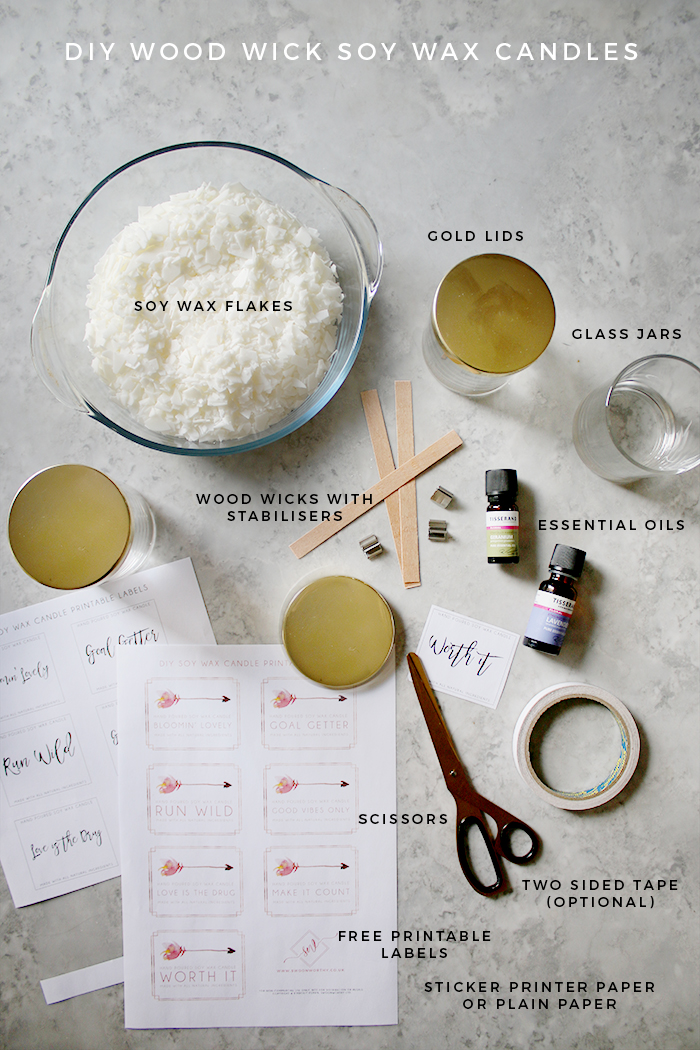
- Soy Wax Flakes (these are the flakes I always get – I have good results with them)
- Wood Wicks with Stabilisers
- Essential Oils (I like Tisserand – and no, I have no association with them, I’ve just used it a lot in my candles!)
- 30cl Clear Candle Jars
- 30cl Gold Candle Jar Lids
- Free Printable Labels (Download by clicking on the links – they’ll open in a new window): Watercolour Arrow Design | Script Design
- Scissors
- Matt Sticker Printer Paper (or Plain paper with Two-Sided Tape)
Wood Wick Candle Instructions
Step 1
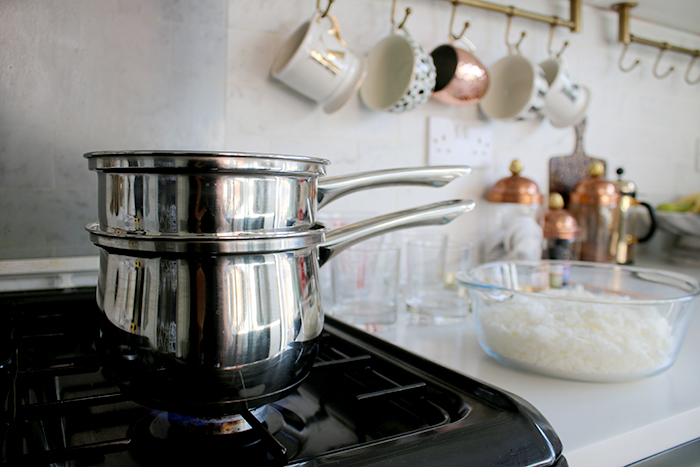
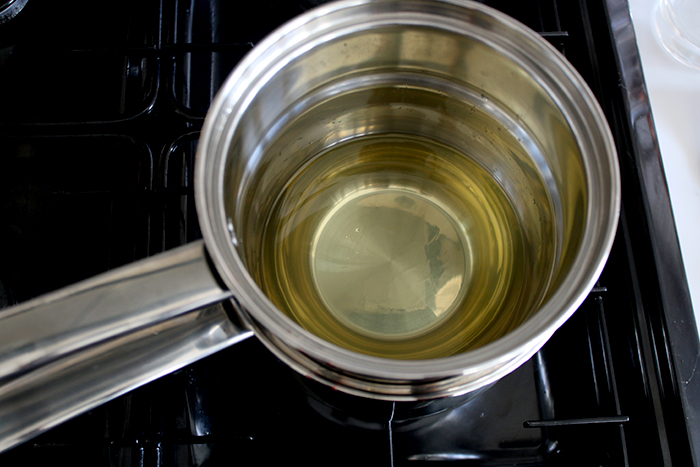
I use a bain marie to melt the wax normally. I know you can do it in the microwave but I wouldn’t necessarily recommend that method because your wax may get too hot and therefore it won’t set or burn very well. You can also use a bowl resting above a pot of simmering water. Set it to medium heat and ensure the water is simmering gently.
Step 2
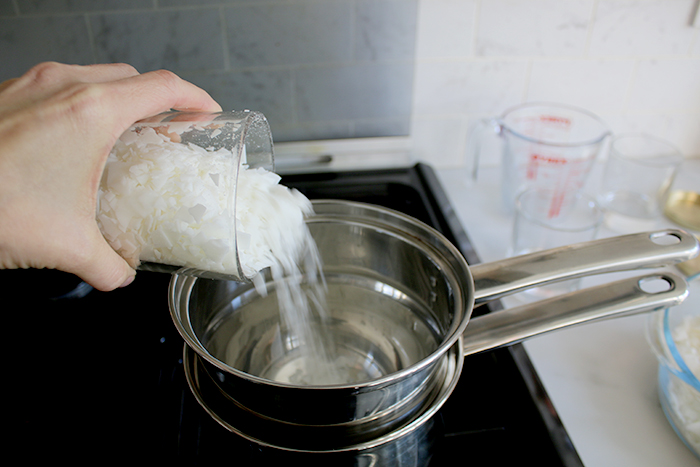
You are going to fill your glass jar with soy wax flakes, dump it into the pot and then do that again. Essentially, soy wax flakes melt to half the volume when liquified so this will ensure you have enough melted wax to fill your jar.
Step 3
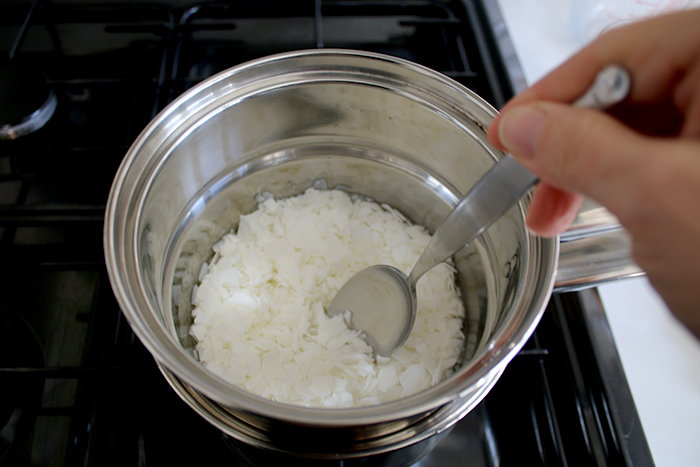
Your wax will start to melt almost immediately.
Use a metal spoon to gently move it around from time to time (but resist the urge to stir constantly) until all the flakes are melted. If your water is simmering gently, this should take around 5 minutes or so.
Step 4
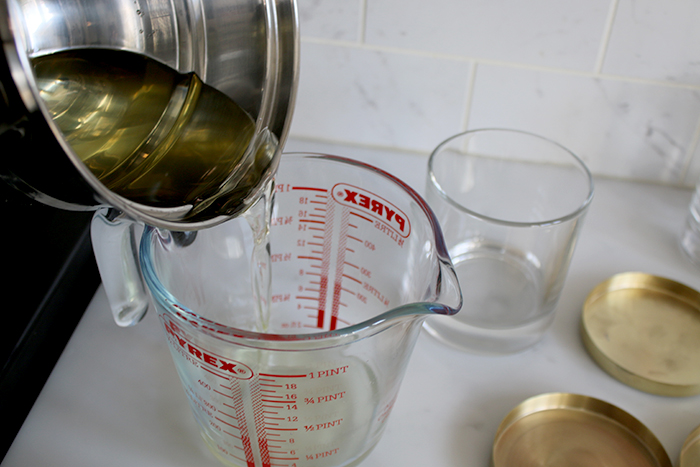
Pour the liquified wax into a heat-proof jug and leave to sit for around 1-2 minutes. This allows the temperature of the wax to cool enough to add the essential oils. If you add them before the wax cools slightly, you’ll get a less powerful smelling candle.
Step 5
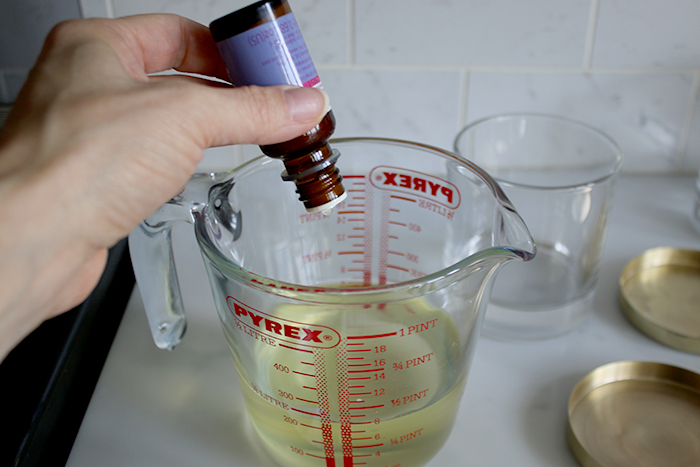
After waiting for the wax to slightly cool (but not harden!), add your essential oils. For a 30cl candle, I added approximately 100 drops of lavender oil for this. Once you’ve added your oil, mix well with a spoon.
A note about using essential oils: While I love that they are more natural, essential oils do not carry as much fragrance as commercial oils so bear this in mind. The finished scent of your candle will depend on a number of factors including the quality of the oil you use and the specific scent you use. It’s a bit of trial and error when it comes to scenting a candle with essential oils so don’t feel disheartened if you decide on a different fragrance and you find it’s not quite as smelly as that Dyptique one you have which uses commercial grade fragrance! It will give you a fragranced candle, it’ll just be a bit more subtle.
Step 6
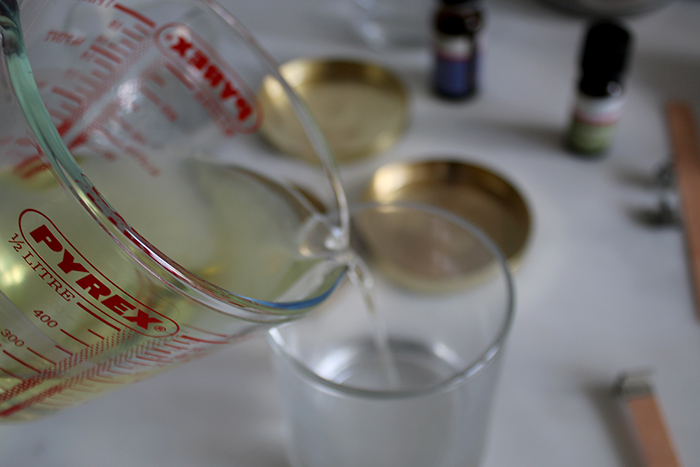
Pour the melted wax into your candle jar until it’s a few centimetres from the top. If you use the method of twice the amount of flakes as the size of your vessel, you should have the right amount!
Step 7
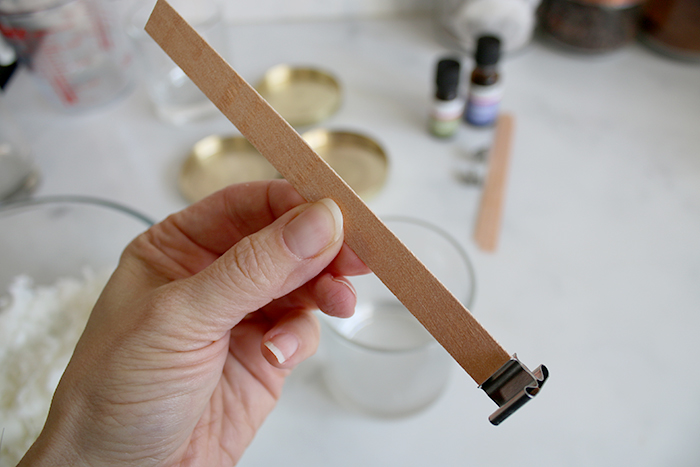
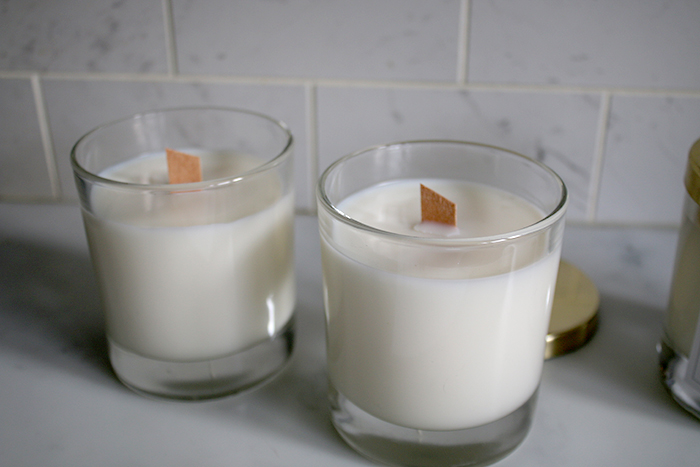
Attach the wood wick stabiliser to the bottom of your wick.
*UPDATE!* I’ve had some trouble with pooling in some of my candles (this is when the wax doesn’t fully melt around the edges) and so I’d suggest doubling up the wood wicks – so just use two of them clipped together to the stabiliser! I’ve tested this since writing this post and it works well to ensure there’s no pooling :)
Step 8
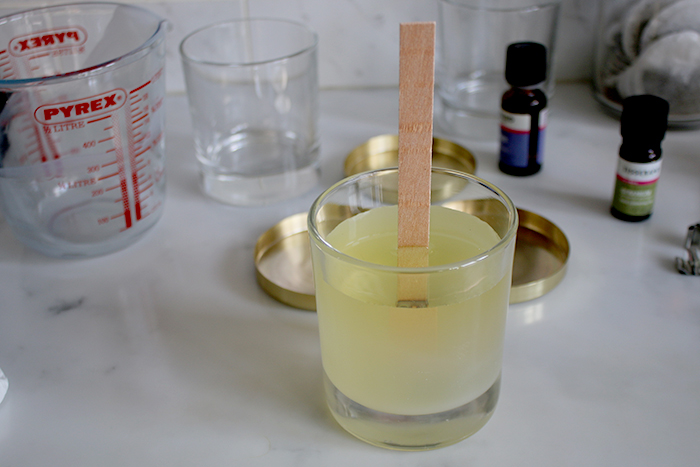
Centre the wood wick candle in the melted wax and leave undisturbed to harden overnight. As tempting as it will be to light it after a couple of hours, you really need to wait around 24 hours before you can use your candle or it won’t burn properly.
Step 9
Trim your wick with scissors – you can cut it straight across or at an angle.
Step 10
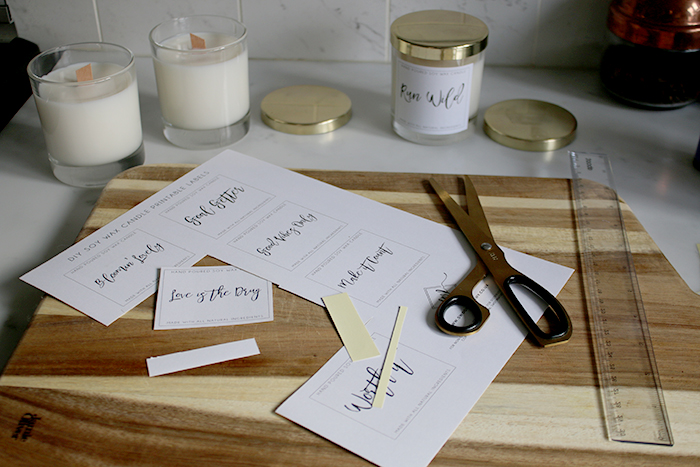
Print out your labels and cut to size. I’d suggest putting the candle lid on first and then attaching your label so it’s placement looks good when the lid is on.
And that is it! Candle making may seem intimidating but once you have the materials, it’s so easy to do. It’s really just melting wax (which takes like 5 minutes), adding your fragrance, adding your wick and pouring it into your vessel. I did these in less than an hour (aside from leaving them overnight!) – super quick!
I think after such a crazy few months with the move, I may just leave one as a house-warming present for the people who are buying our home. A little gift of a candle and maybe some Prosecco would be a nice little welcome when they get the keys, don’t ya think? I reckon the ‘Worth It’ candle would be perfect! Ha! So have you ever made your own candles? Is this a DIY you would try? If so, who would be on your gift list?


I just made my first reed diffuser and now I think I may try candles too! I spend sooooo much money on both it must be more economical (and satisfying) to make my own……thanks for the tutorial!
Cx
It’s been many years, but yes, I have made candles before, and would love to get back to making them again, but my disability prevents me unfortunately. I didn’t know that the wood wicks were available to the crafter now. That will save some money, as candles with wood wicks are quite expensive.
I think your idea of leaving one for the new owners is lovely, I’m sure they’ll appreciate it.
Oh this is an inspired idea! What a lovely gift to make for someone and the labels are gorgeous too – I love it! x
Thanks, Kim, for giving us this recipe, especially in the midst of all your moving, etc. Hope all is going well and we get some new pics soon!
xoSusan
These look so good! Really professional – I love them! That’s a lovely idea to leave one with some prosecco for the new owners – why haven’t I ever bought a house of you?? No-one has ever left anything nice for me! xx
Thank you so much for sharing this super cute candle ideas with printables.
I’ve made candles before but never with wood wick. My initial thought was, doesn’t the wick burn too quickly or create too much smoke, but I’m guessing it burns the same as a normal wick, am I right?