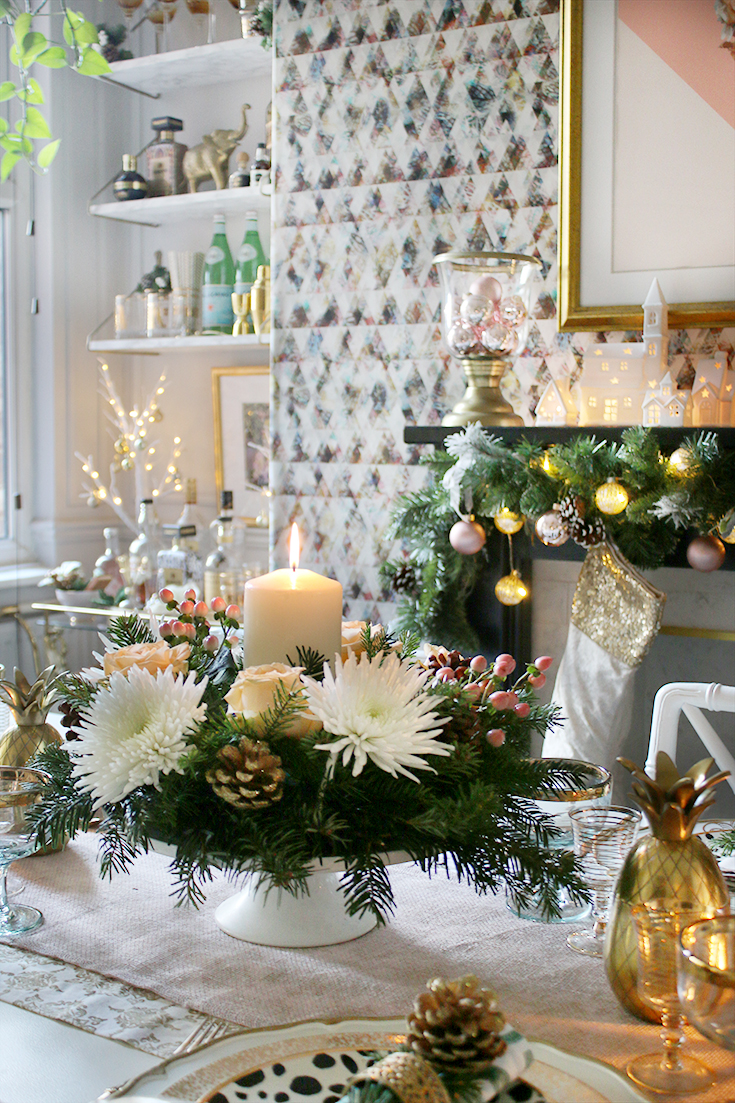
I know I said that my DIY Gold and Marble Coasters would be my last DIY of the year but I completely forgot that I still had this one to share! So it’s a little bonus one to finish off the year. If you saw my Christmas table setting, you will have seen this gorgeous floral and pine Christmas centrepiece on my table. Now, if there is one thing that I could never claim, it’s being good with floral arrangments. It’s something I’ve struggled with for a long time but if even a novice like myself can manage this one, I’m sure you can too.
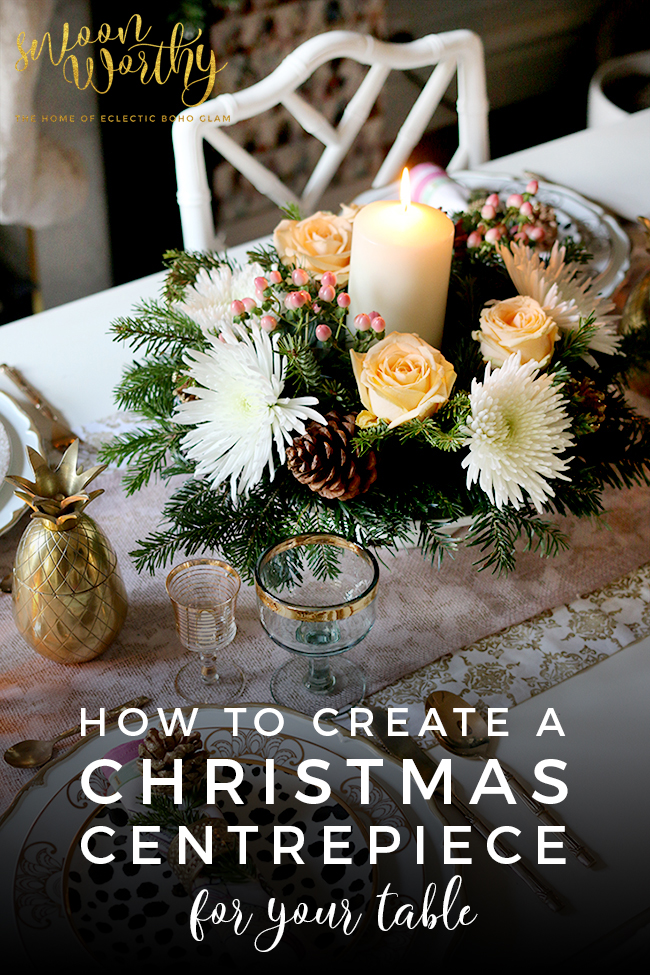
I created this for AO Life and when I volunteered the idea to them, I have to admit, I was a little nervous. Having never attempted anything like it before, I was a little worried it would come out looking rubbish! So imagine my delight when I not only managed to create something worthy of a Christmas table, I have actually had a few visitors say how impressed they were as they thought I’d purchased it at a florist! #WINNING

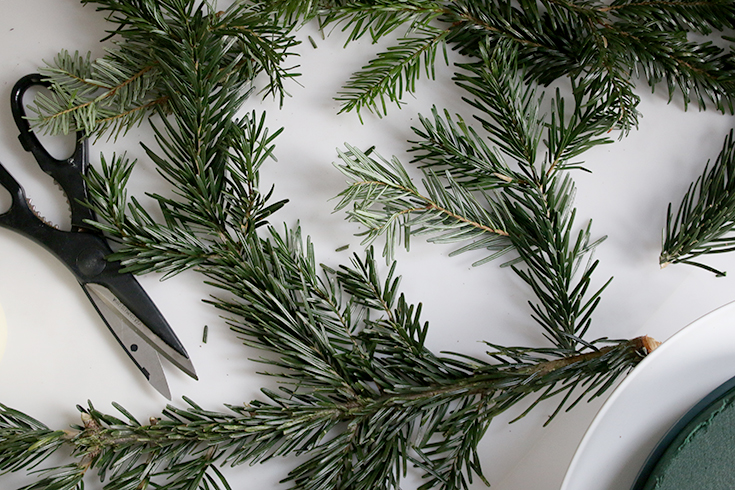
Gathering the materials was relatively easy. I nipped to my local garden centre where they were selling Christmas trees and asked if I could get some off-cuts for a craft I was doing. The man was super nice (and acted like he’d heard it a million times before so I was clearly not the first person to ask) and directed me to a big pile of offcuts and told me to help myself (they were free!). I used about 3 large-ish branches of pine for this. I purchased the flowers at my local florist.
Here’s what you’ll need to create your Christmas centrepiece:
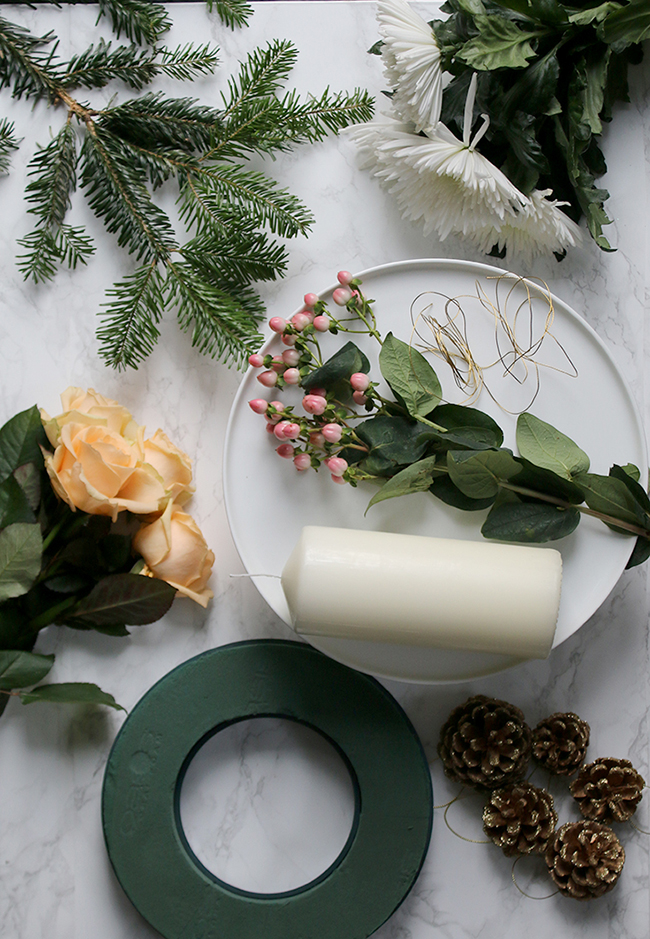
White single-tier cake stand (similar* or in plastic if you’re on a budget!*)
Floral foam in the shape of a wreath*
Off cuts of pine
4 peach roses
4 large white chrysanthemums
2 stems hypericum (you can find these at a florist or use faux ones*)
Floral wire
Instructions:
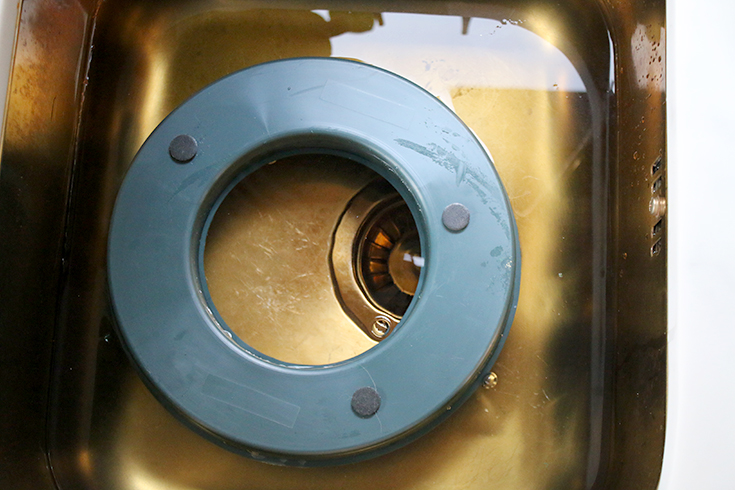
Step 1
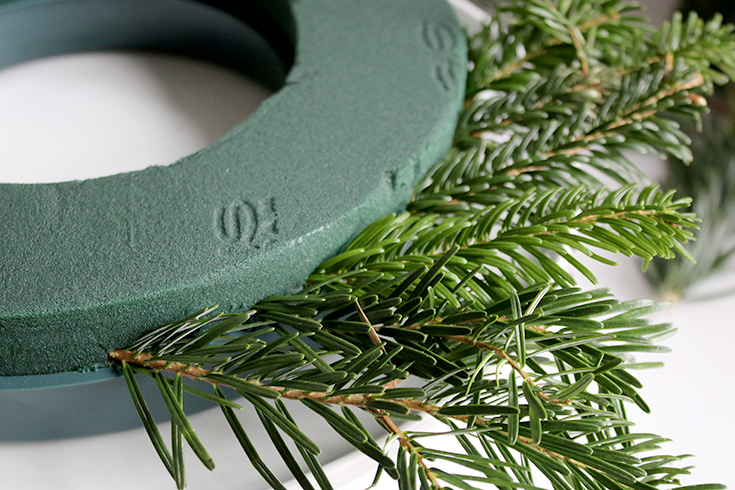
Immerse the floral foam in water until the bubbles stop forming and it floats to the top (normally 30 seconds to a couple of minutes)
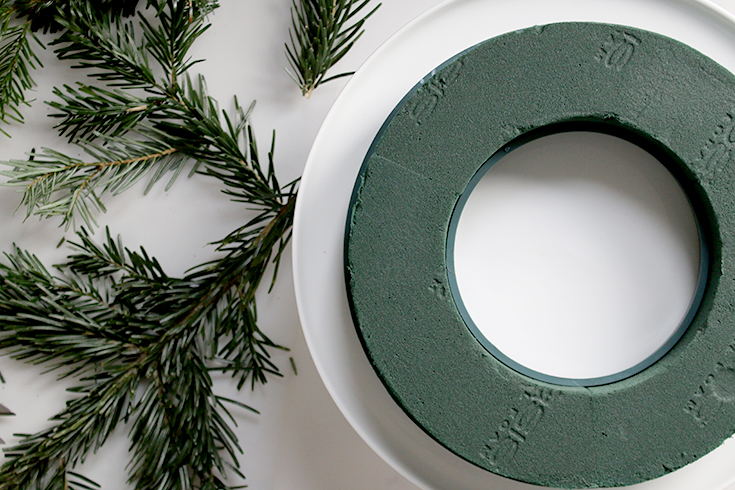
Step 2
Set the foam on the cake stand
Step 3
Begin by cutting small pieces from your pine branches so that each stem is between 3-6” long.
Step 4
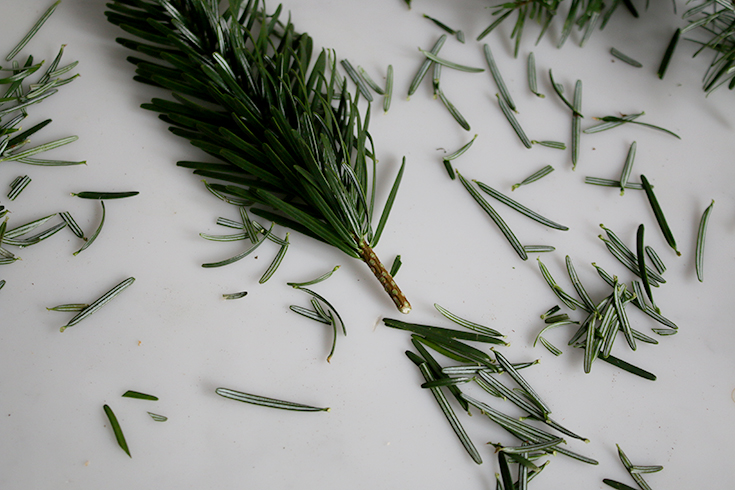
Remove the needles just from the base so it’s easier to insert in the foam.
Step 5
Start inserting the stems into the wreath starting from the edge of the wreath. You want to insert each stem at a 45-degree angle to the wreath so that as you insert them, they begin to wrap and cover the base of the wreath.
Step 6
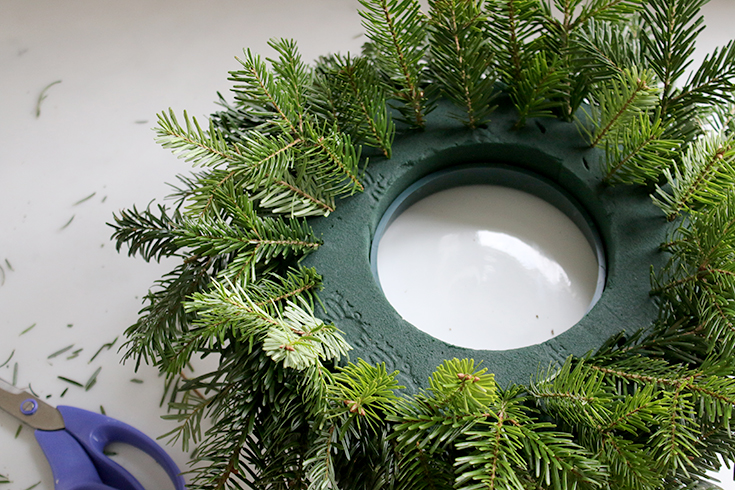
Continue doing this all the way until the bottom is fully covered.

Step 7
Then begin using the pine stems to fill in the top of the wreath. Keep them relatively short and again, angle them slightly so they are facing away from the middle of the wreath.
Step 8
Once you are satisfied that the base is about 70% covered, cut the stems of your chrysanthemums to about 1-2” long and insert them at various spots around the wreath. Do the same with the roses followed by the hypericum.

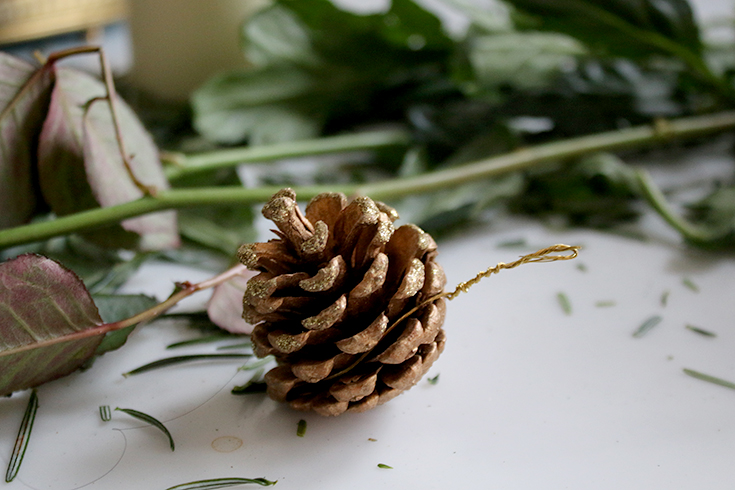
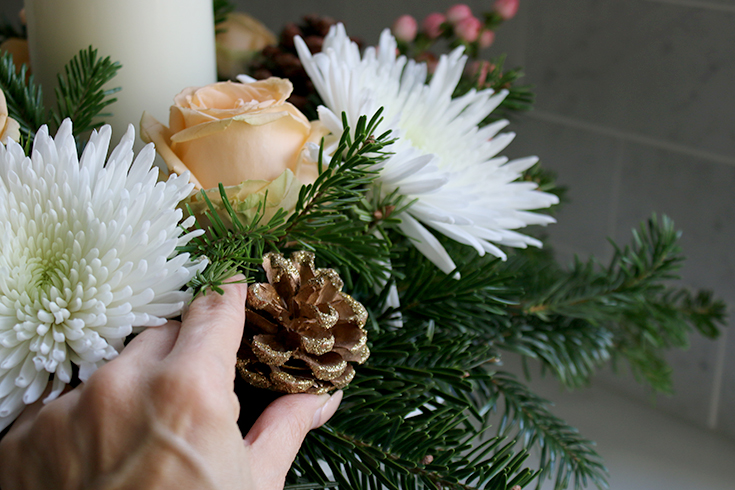
Step 9
For the pinecones, wrap a long piece of wire to the bottom of the stem and twist to form a spike. Use the spike to secure the pinecone to the foam.
Step 10
Remember to turn the cake stand as you go to ensure the foam is not visible from any side and the flowers and accents are nicely dispersed throughout.
Step 11
It’s quite simple to remove and replace the pieces if you aren’t immediately happy with them – a little trial and error goes a long way here.
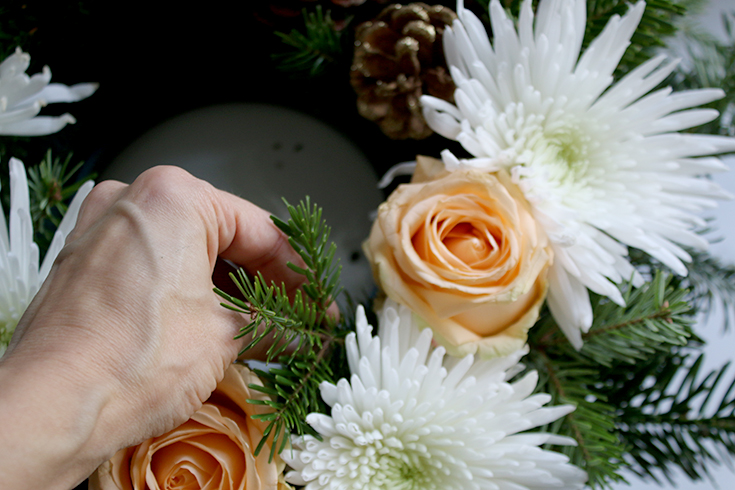
Step 12
Place your candle in the centre and fill in any empty spots with a few more sprigs of pine.
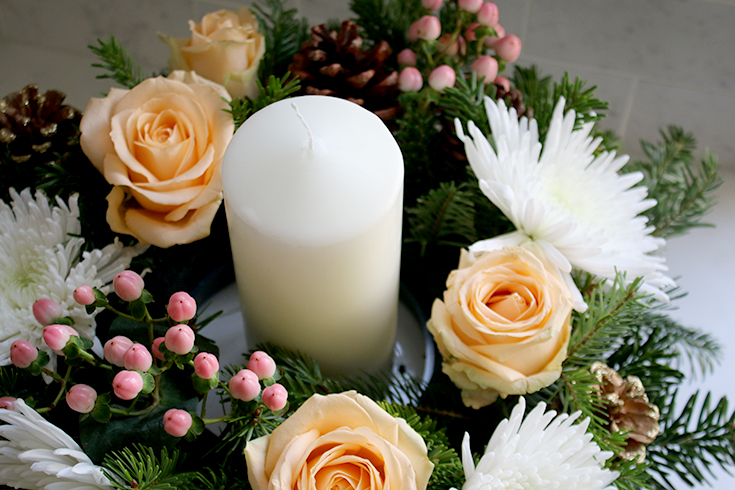
That’s it! You can now place the candle on your Christmas table and light. Remember to never leave any candles unattended and don’t let your candle burn down too far!
I have been so encouraged by how this came out, I’m looking forward to trying it again sometime, perhaps with flowers and greenery in Spring or even my own homemade wreath next Christmas.
Is this a DIY you would try?
Check out my top tips on creating a glamorous Christmas table settings on a budget here!


That looks fab, i’m going to have a go at making that when, I come home from work on Thursday, i’l call at the market on my way home and see what flowers they’ve got. Thanks Kimberly, I just hope it looks as good as yours xxx
Very lovely!!!! Have a GREAT day!!!