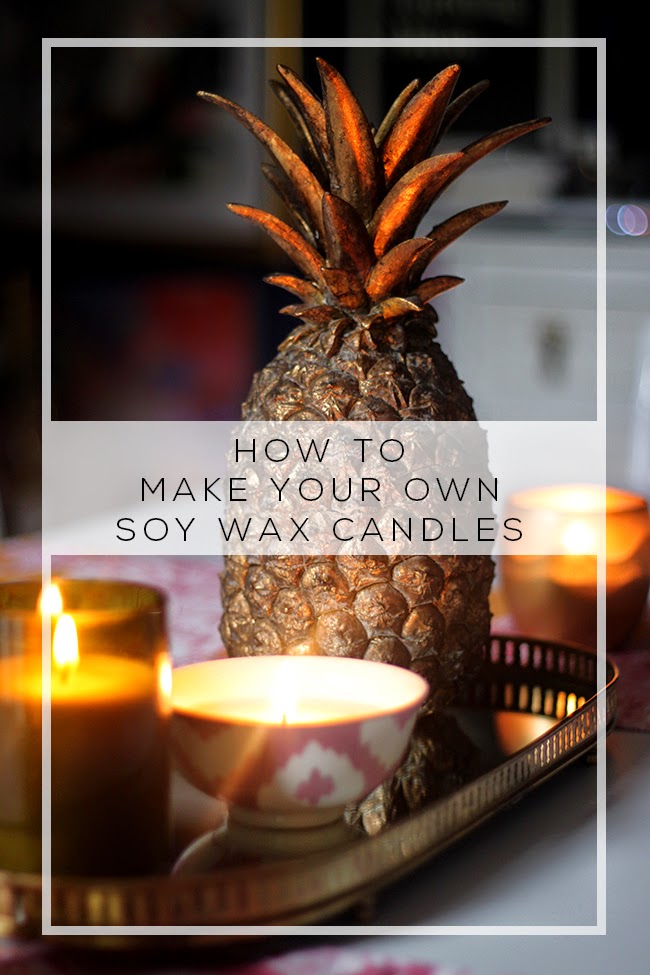
It turns out it’s Autumn, folks. Yes, it’s time for clocks to go back, for the daylight to shorten, time to pull on our heavier coats and break out the thick socks and jumpers. As much as I’m much more a fan of summer and warm balmy weather, there is one thing I really love about the season. I can light candles. In the height of summer, it doesn’t get dark here until nearly 10:30pm but once Autumn comes, the days shorten and soon, I’m lighting them as soon as I’m home from work. As you can imagine, we get through a lot of candles during Autumn and Winter.
Now, you may know that every once in a while I like to mess around a bit with making my own STUFF. I’ve made my own soap, beauty products and most recently, a fragrance diffuser. Well, I decided to try my hand at making my own soy wax candles, fragranced with essential oils.
Dudes. Let me tell you something.
THIS IS SO EASY.
Seriously.
There is something rather therapeutic about making your own products. And while there are few different ways to make candles (all following roughly the same idea), I like to take my time and engross myself in it, consider carefully the essential oil combinations I’m going to use, give myself a good few hours to mess around in the kitchen and really enjoy the fruits of my labour.
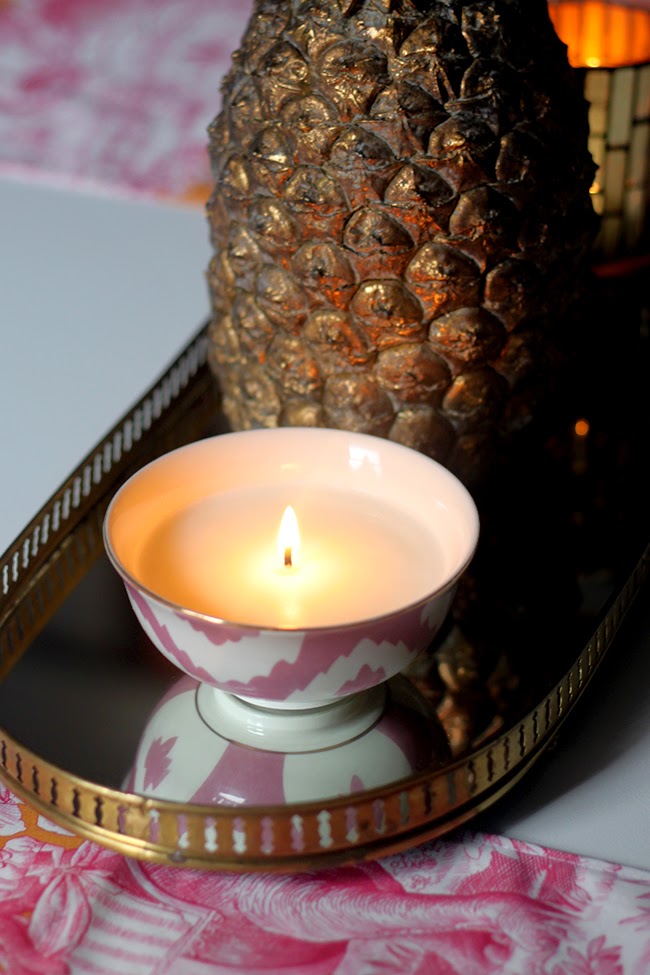
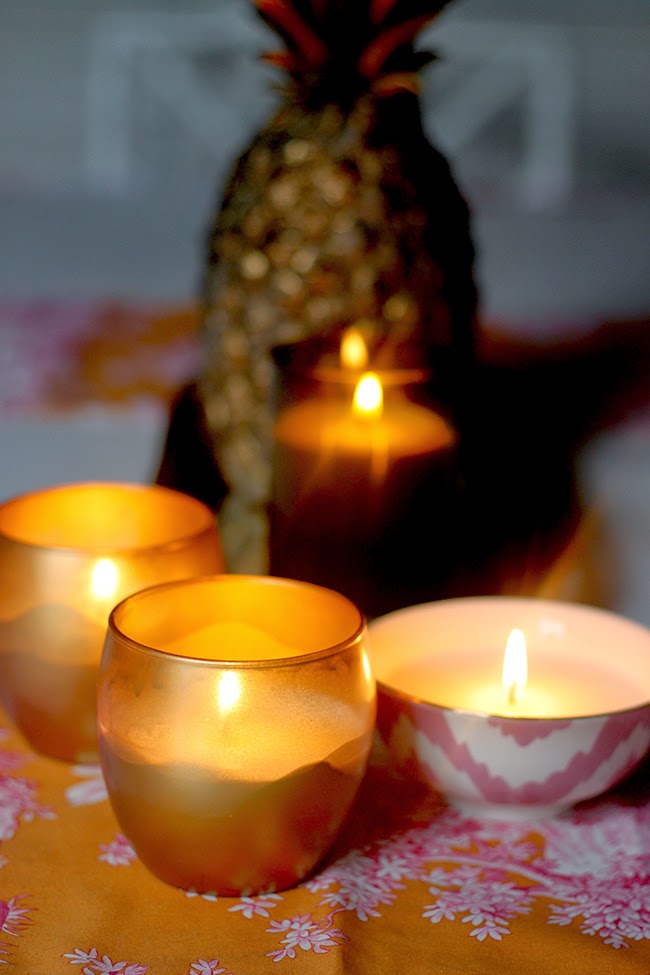
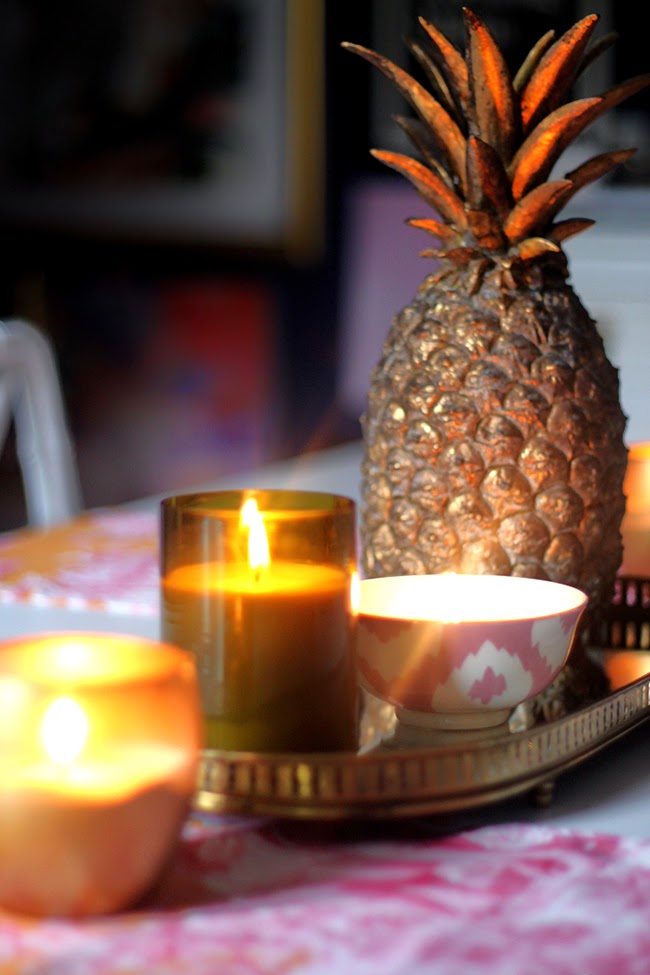
This one is Geranium and Lemongrass – the smell is divine, a lovely combination of floral and citrus.
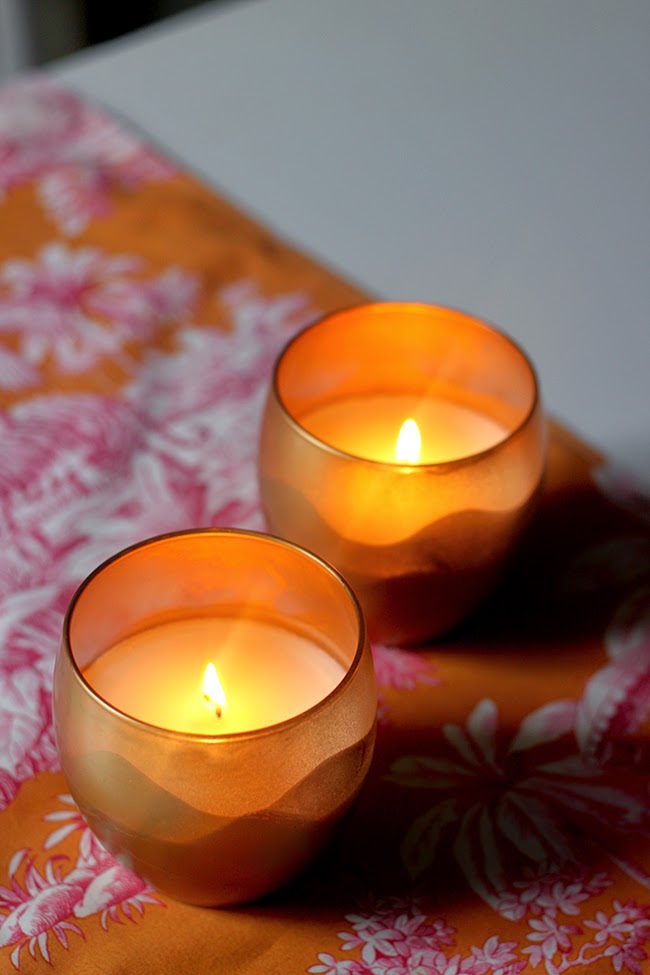
The two gold ones are Rosemary and Peppermint. An earthy herbal scent with a little bit of zing in the top notes.
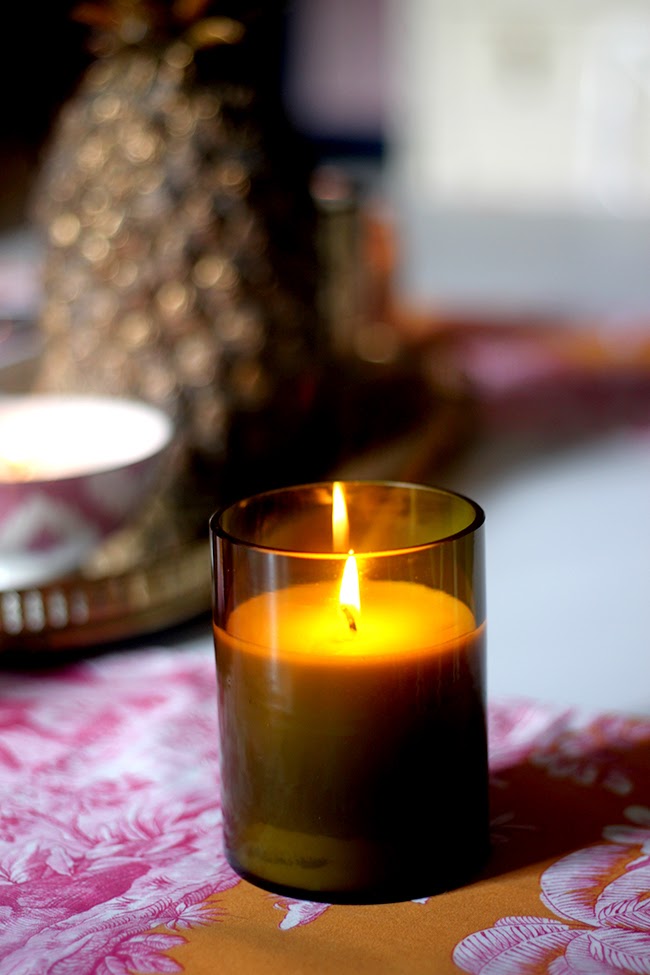
And finally, the last one is a truly Autumn scent – Cinnamon and Orange.
I love the glow when they are collected together but you want to make sure your fragrances mix well when you do this. They do emit a nice light scent but if you want a much stronger scent, then I would increase the volume of essential oils you use.
So the first thing I did was a little research and purchased a few things that I knew I would need for this project.
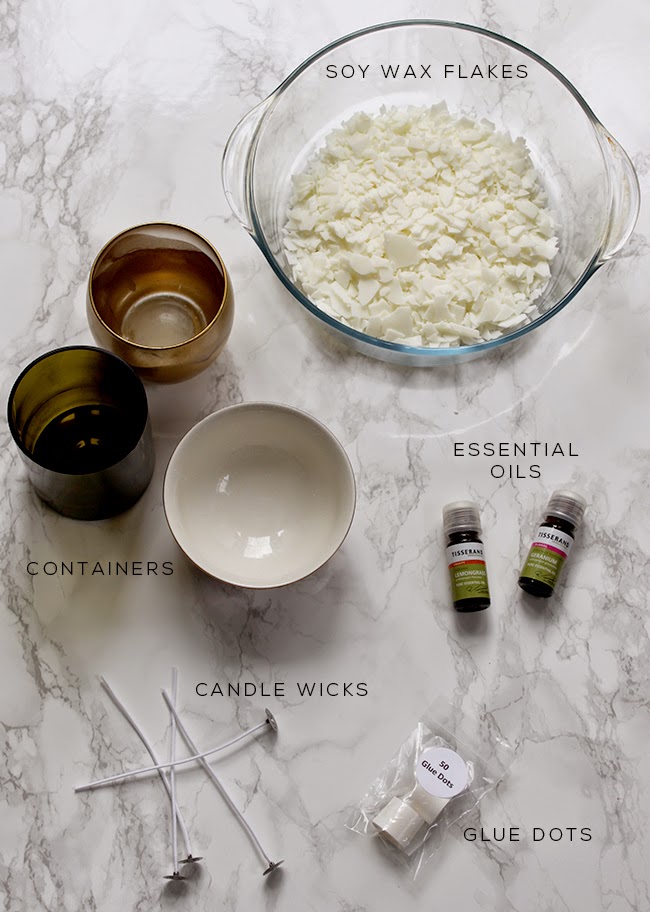
Here’s what you’re going to need:
*This post contains affiliate links – you don’t pay any more but I may earn a few pennies with your click! Please see my sidebar for more info on affiliate links!
Containers: You can really use anything vaguely candle holder shaped in glass or ceramic – I used 2 gold spray-painted glass tumblers (in fact, that’s a DIY as well, found here), a small bowl from Anthropologie and a taller green glass candle holder I’ve had for a while. I’ve seen a lot of people use vintage teacups too which is also a rather nice look.
Soy wax flakes*: You can use paraffin wax for this as well but soy wax supposedly burns cleaner and longer and I like pure white candles which soy wax will give you instead of the creamy colour of paraffin. The other benefit is clean up – soy wax cleans pretty easily. I’ve used beeswax for other things (lip balm) and it is a total bitch to clean so while I don’t have experience of using paraffin, it may be similar in that sense. So soy wax works really well because candles can be pretty messy business.
Essential oils*: Now, there are fragrances you can buy specifically for candle making. Apparently, they will give a stronger fragrance in soy wax than essential oils will. However, I do like using essential oils as they are organic and I feel better about having natural oils burning rather than some synthetic chemical smell. But that’s just me, again the choice is yours. (I prefer Tisserand as a brand if you are looking for a recommendation – the scents are really potent, organic and in certain cases, ethically harvested.)
Candle wicks*: I purchased a set of candle wicks that come with the small metal bit on the bottom to make them easier to attach to the bottom of your candle. Do you need to have these? Not necessarily, it just makes your candle a little more professional. If you don’t want to spend the money on wicks with the attached metal bottom, you can just tie a knot on the bottom and set it like that. Again, up to you.
Glue dots*: I had mixed success with gluing my wicks to the bottom. I do know that using a hot glue gun doesn’t work because the hot wax will just heat up the glue rendering it useless. The glue dots seemed to work well in the more shallow containers but not so great in the taller ones. They aren’t expensive so I suppose it’s worth a try if you are using something like teacups but perhaps not if you want to make something much larger.
Ok, now that you have all your supplies, here’s how it’s done…
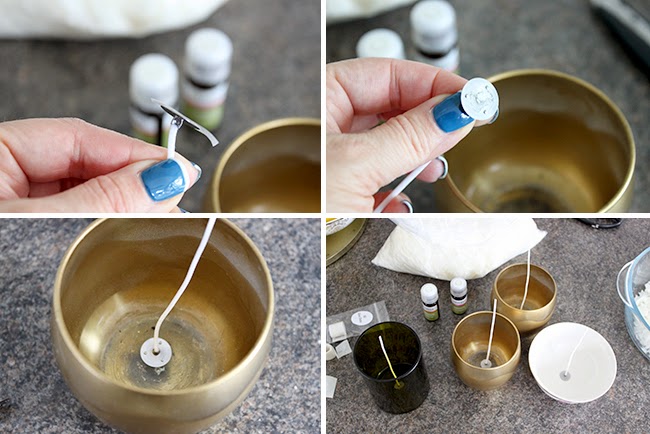
First attach your glue dot to the underside of the metal bit of your wick. I found it easiest to attach it here first and then just stick it down to the middle of the container, pressing it down with my finger (rather than attaching the glue to the bottom of the container first). Once you have all your wicks attached, you just want to straighten the wicks so they stand straight and tall and upright. The location of your wick is important to ensure the candle burns evenly.
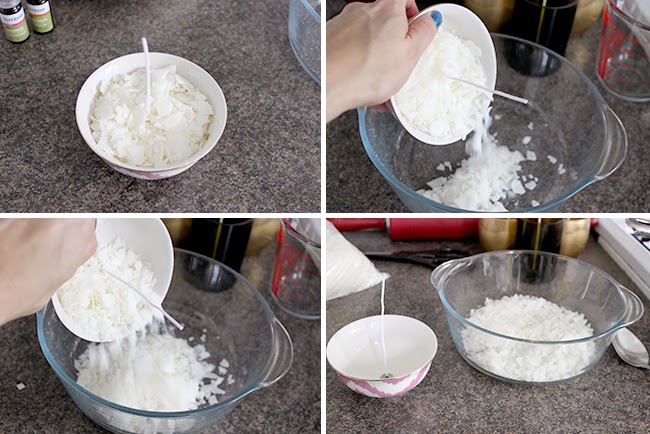
Now, you want to measure out your wax flakes. The formula is very simple. Fill your container with the wax flakes to about an inch or so from the top of the container, dump it into your glass bowl and then do it again. The solid wax reduces to approximately half the volume once it’s melted. So to find out how much solid wax you’ll need, simply fill the container and then double it.
I used a bain marie to melt my wax down. Now, there are tutorials online that tell you that you can melt it in a microwave. And yes, you can. But how your candle burns once it’s solid again is related very much to the temperature it is when you pour it into the container. And I don’t like the idea of not being able to control the temperature or ‘boiling’ the wax by accident in the microwave. Besides, making products like this is therapeutic to me… so watching the flakes slowly turn to liquid as you move it around in the bowl is rather nice. Maybe that’s just me but it feels a bit more ‘pure’ (is that the right word?) to melt it like that. Again, your choice.
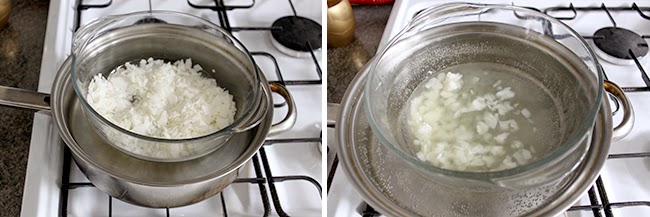
The wax doesn’t take too long to reduce to fully reduce to liquid. Once all the wax is melted, remove the bowl from the bain marie (use oven gloves, the glass gets hot! Safety first, people.) and set it down to cool for a couple of minutes.
Once it’s cooled a bit (but still in it’s liquid state), you can add your essential oils. The reason you don’t want to add them to the melted wax immediately is that the high heat will reduce the scent of your oils so letting the temperature drop slightly will ensure your candles smell lovely when they burn. I used about 50 drops for the smaller bowl container and 100 drops for the larger ones. The combinations I chose were: geranium and lemongrass (50% each pink bowl), cinnamon orange (green container) and rosemary and peppermint (60% rosemary to 40% peppermint) in the 2 gold ones. Again, they give off a lovely light scent but if you really want something more powerful, simply increase the amount of essential oils you use.
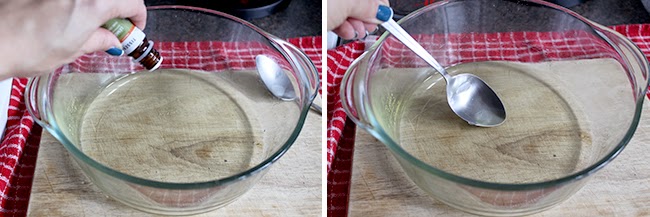
Mix the essential oils well into the melted wax and then carefully pour into your container.
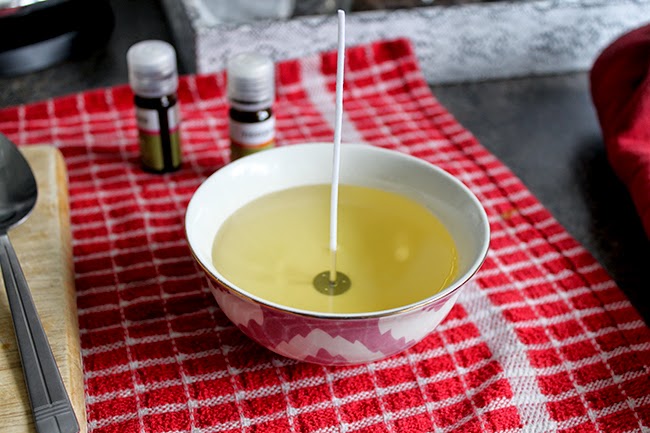
The wick stayed nice and upright in the shallow bowl but not as well in the taller containers so I used a couple of fragrance diffuser reeds to hold them in place because I had those to hand but you can use a pencil or a chopstick or whatever you need. It’s just to balance the wick while the wax dries.
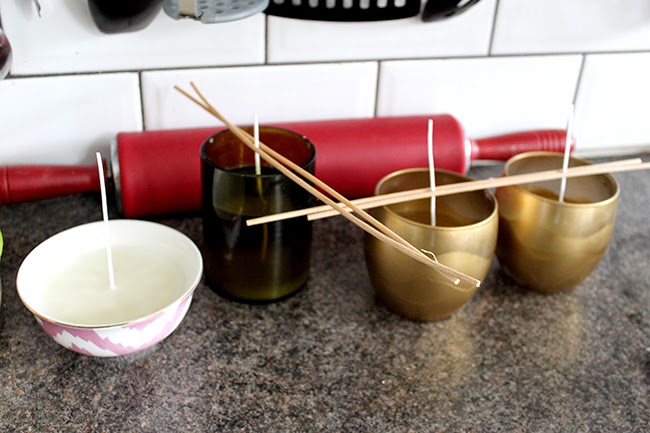
Give the candles 24 hours to fully set and then you can light and enjoy them. And THAT’S IT.
I am going to make a few this year for Christmas gifts! Is this a DIY you would try? I’d love to know if you’ve made your own as well and what fragrance combinations are your favourites so please do weigh in if this is something you’ve done yourself!
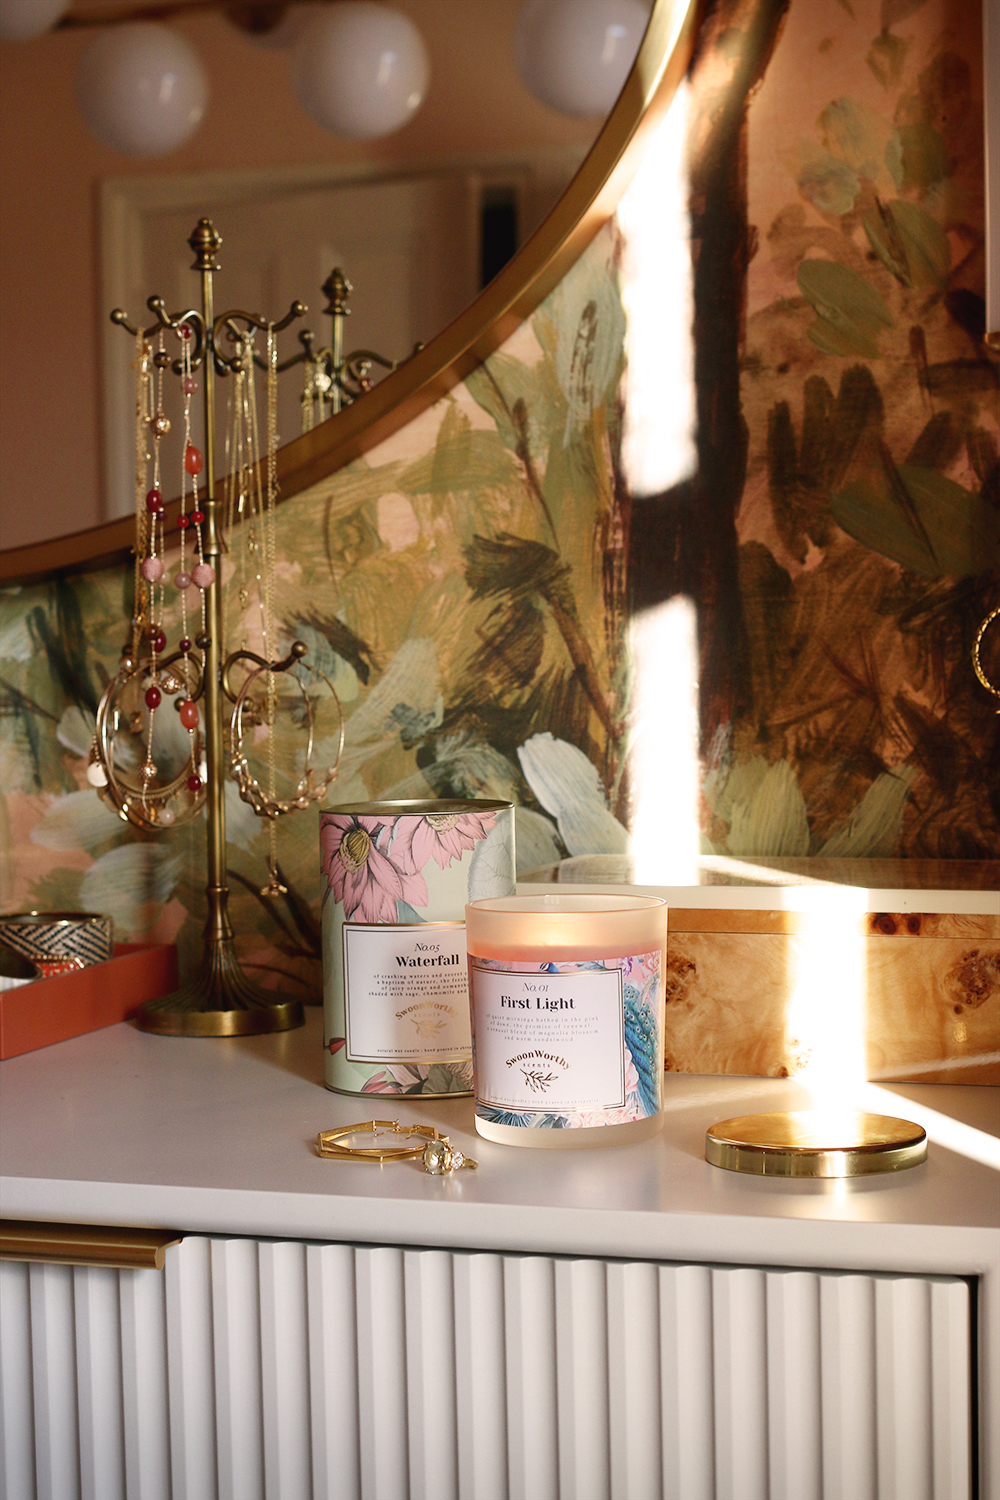
Update! After many years of making candles as a hobby, I’ve launched my own brand of luxury candles in 2021. Shop Swoon Worthy Scents here.


Oh I so have to try this
I've got a weekend project for myself now.
You made it look so easy! How big a bag of wax flakes should I get to make 10 teacup sized candles do you think?
Fill the cups with water, double that and that’s how much wax you need.
Ooooh what a lovely idea! I'm definitely going to be trying this! I love the though of adding my own essential oils, as I often don't like most of the ones available in the shops!!<br />Emily xxx<br />www.emilymaydesigns.com
I really love this idea! I need to try this. Thanks for sharing.
Clocks go back in October, "spring forward, fall back" ;-)
Oh my goodness, you are absolutely right! LOL! Corrected now ;) xx
This is on my to do list for the weekend. I have made candles before but the top cracked, I think this is because I didn't let the wax cool down before pouring. If I succeed in making crack free candles for myself I will steal your idea and make some for Christmas presents.
Oooh I've made a lot of candles and that's not happened to me. Did you use soy wax or a different kind? I would let it cool a bit and make sure your containers are room temperature too ;) Good luck! xxx
Thanks for this tutorial, I'm making some vintage tea cup candles which I've hand painted, and this is just what I was looking for to help me melt the wax and give it a lovely scent, and also keep the wicks from falling over! Thanks you!
So pleased you found it helpful! :) xx
Great post thanks for sharing! Do you know if there are any concerns using the spray painted tumblers with an open flame? Are there any chemicals or fumes that may be produced when it gets hot?
The tumblers were sprayed on the outside only and obviously you will want to extinguish it when you aren’t in the room or when the wax gets too low. I’ve used these a few times (refilling when they empty) and I’ve never had a problem with them but your question in terms of fumes is a good one! I genuinely don’t know but if you’re concerned, it’s probably worth either researching it or just not using spray-painted candle holders. In my experience, I’ve never noticed any strange odours or anything at all but obviously that’s not always indicative there there aren’t fumes. So I guess after all that, it’s really a matter of proceeding at your own risk! ;)
Hope that helps!
xxx
at a craft fair yesterday, lady selling soy candles, so bought a couple, Frankinscence & Myer, also Grapefruit, very uplifting, Really fancied doing it. So came home, and found you.! Would also like to maybe try Soap, or Skin creams, made with natural products. But think I would start with the soaps. Thanks for taking the time to blog this. Will let you know my results.Georgina.
Yay! So happy you found me Georgina! I actually made a few candles recently with Orange, Cinnamon and Frankincense and they came out gorgeous! Have fun with it and let me know how you get on ;) xx
hi there, loved this post! do you mind sharing the websites where you’ve learned more about making these candles? thanks!
Fantastic idea! Thanks for the simply put and streamlined tutorial! I can’t wait to try this!!!!
What wicks did you use? There are so many available and I’ve found that you have to get the right wick for the size of the container or the candle will not burn properly, you need the melt pool to go all the way to the edge of the container. I have looked at lots of pins on Pinterest and nobody says anything about choosing wicks.
I’ve only just started making soy candles, I bought a couple at a craft fair and I was very disappointed with the way they burnt and thought I could do a better job, but the wicks, the fragrance and the temperatures make a huge difference to the end result.
I went to the op shop and got a milk warmer with a handle and a simmer mat works as well. If i do melt wax in the microwave i use a thermometer and check every 10 seconds till it reaches 50°c the heat will melt any residual flakes. But i prefer stove top, it just feels better.
I have been searching the website for a practical beginners guide to candle making, and this is it. Very useful information and advice on what not to do. Thank you so much. I am inspired!
May I ask what’s the actual proportion of oil and soy wax? 100 g soy wax need how many ml of oil? thanks!
Hello love you link to making soywax candles I have been successful in making lovely vintage glass ones so far but not to sure on how much oil to add would you say a teaspoon to a say wine glass?
Lovely post, thanks for the tips. Began making my Lavender & Rosemary candles today and used your post as a reference! Looking good so far…
Oh how fab! Good luck with the candles – it becomes slightly addictive after a while ;) xx
I let the wax cool to 135-140 degreex before pouring to avoid cracks and holes. Love the bowls you used…great idea.
Hi. Love your link, guna try making a few myself. I’ve got some 0.5l jars to put them in, around how much oil do you think I will need? I have been reading up on a few sites and it seems a lot! Thanks
Hi Zoe, I reckon you’ll need quite a bit – I’d try about 200 drops and see how it goes because it really depends upon the oils you use. Some are stronger than others so they’ll carry differently but I’d start there and experiment :) Good luck! xx
Hi! I just made a lemon and peppermint candle! I’m waiting for it cool so I can light it but it smells amazing! What other summer fragrances would you recommend? TIA!! :)
Can you burn soya wax without a wick?
You can put it on a warmer!
Just picked up supplies from a friend yesterday. I will be making my candles today as soon as my granddaughter leaves. I’ll post an update when I am done.
omg. I just happened upon this blog by accident in looking up good essential oil scent combos. And I have to say, THANK YOU SO MUCH for the simple way to measure the wax. I tried doing the weight thing before where you calculate oz by volume, and yada yada yada, and ya know what? IT STILL DIDN’T GIVE ME ENOUGH WAX IN THE END! Your method is basically fool proof! And so much easier than having to calculate volumes of whatever container I so choose to use in my candle making endeavors.
Oh I’m so pleased that tip helped you out! Happy Candle Making! ;) xx
I wish I would of found your site before my daughter made her candles for gifts. They ended up having barely any smell. Her container holds a 1/2 cup of melted soy flakes and we are using a high quality essential oils. She was told to put 24 drops into the wax. So is that just way too low of an amount? Can I remelt the candles and start again? Thanks, any help will help this Momma calm her girl down haha.
I wouldn’t recommend remelting them because the essential oils may burn at high temperatures during the process. However, it really depends on the oils you use – some scents I find are just stronger than others. I would have thought about a tablespoon would have been more than sufficient but it does just take some experimentation and sometimes you need to use a higher amount. I do find that essential oils don’t throw off as much fragrance as commercial fragrances unfortunately so if you are looking for a big blast that fills the room, you may struggle! xxx
This is awesome! What was your wax to essential oil ratio?
What type of soy wax did you use? I made soy candles, recently and upon burning them noticed that they were burning and leaving alot of black soot on the container. any suggestions would help.
Also, i noticed that it burned down the center and not evenly all the way around, do you know what could have caused that to happen?